Aloe vera is one of the most loved houseplants—beautiful, low-maintenance, and incredibly useful. Whether you keep it for its medicinal gel, air-purifying qualities, or simply its aesthetic appeal, aloe is a plant that rewards you with fast growth and easy propagation. If you’ve ever wanted to multiply your aloe plants to create a fuller garden, share with friends, or expand your indoor greenery, you’ll be happy to know it can be done with very little effort.
In this guide, you’ll learn two super-easy methods to grow aloe at home and multiply your plants naturally. Both methods work perfectly for beginners and require minimal tools and time. Let’s dive into the world of aloe propagation and turn a single plant into many!
Why Aloe Is One of the Easiest Plants to Multiply

Before we get into the propagation methods, it’s important to understand why aloe multiplies so easily. Aloe is a succulent, meaning it stores water in its thick fleshy leaves. This adaptation helps the plant survive tough conditions, making it incredibly hardy.
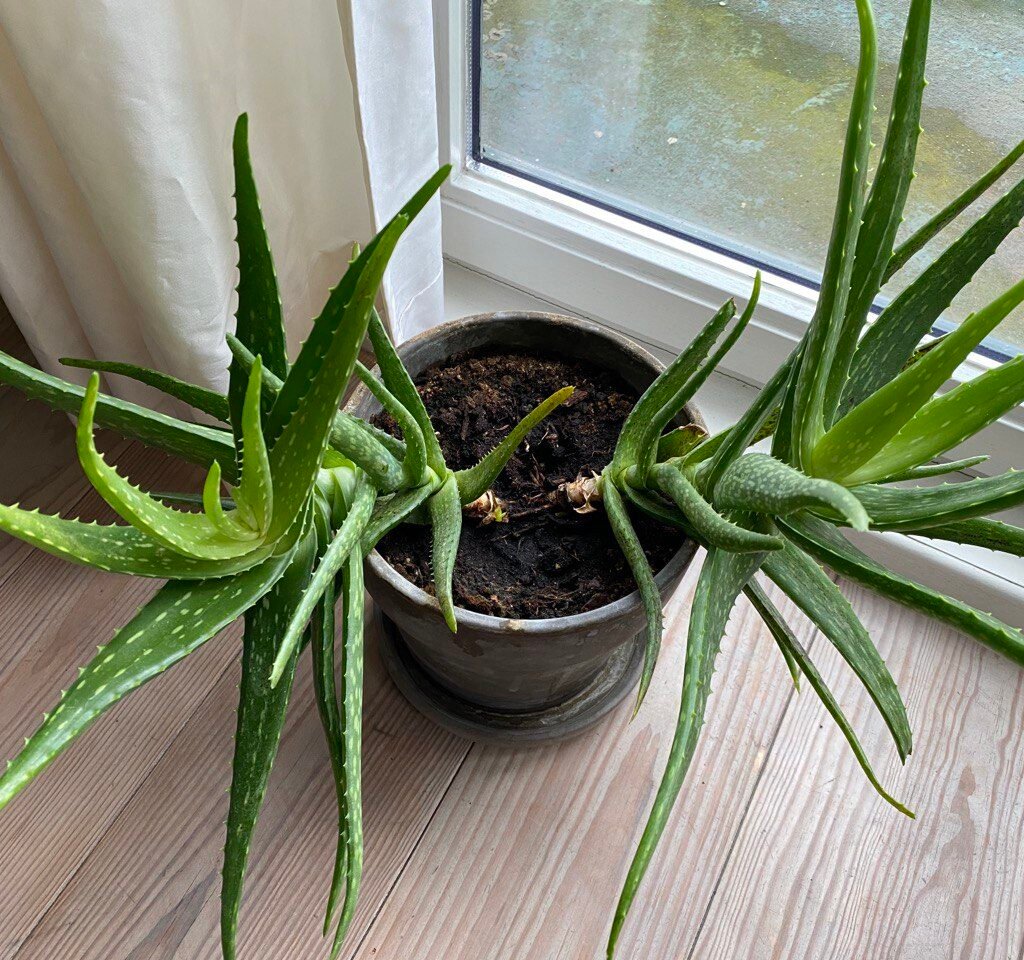
Aloe has a natural habit of producing pups (baby plants) around the base. These babies grow from the mother plant’s root system and can be separated to create new, independent plants. Aloe also regrows well from leaf cuttings, although this method requires some patience.
The best part? Aloe propagation doesn’t require fertilizers, hormones, or special soil mixes. A sunny windowsill and well-draining soil are enough to help your new plants thrive.
METHOD 1: Growing Aloe from Offsets (Pups)
The Easiest and Most Successful Method for Beginners
If you want guaranteed results, propagating aloe from pups is hands down the most reliable method. These baby plants are already genetically identical to the mother plant and begin growing immediately once separated.
Step 1: Identify Healthy Aloe Pups

Look at the base of your aloe plant. You’ll often notice smaller aloe rosettes clustered around the main plant. These are pups.
Choose pups that meet the following criteria:
- At least 3–5 inches tall
- Have their own root system
- Look firm, green, and healthy
- Growing slightly away from the mother plant
If the pup has a few roots attached, it will adapt extremely fast after separation.

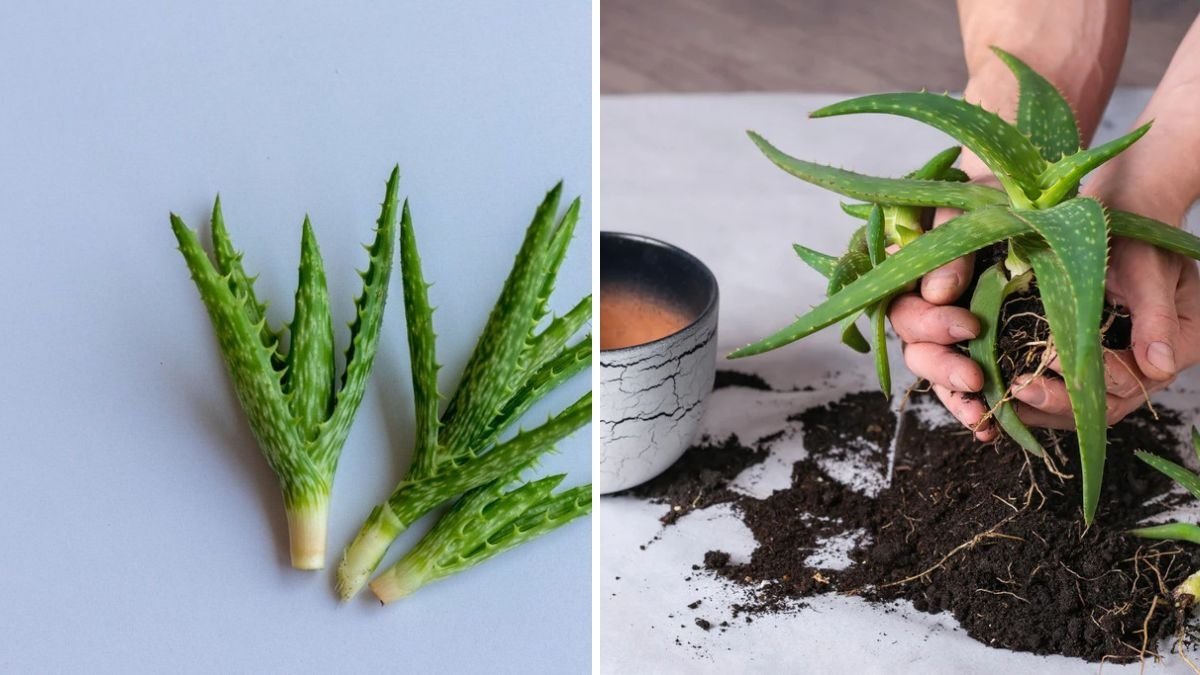
Step 2: Remove the Aloe Pup Safely
Here’s how to separate the pup without harming the mother plant:
- Water the plant lightly one day before, to soften the soil.
- Gently remove the entire aloe plant from its pot.
- Brush away soil from the roots.
- Locate the pup and carefully cut or pull it away from the mother plant.
- Make sure the pup has at least 1–2 inches of roots attached.
If it doesn’t have roots, don’t worry—you can still root it, but it will take a bit longer.
Step 3: Let the Pup Dry (Callusing)
Place the separated pup on a plate or tray in a dry, shaded place for 24–48 hours.
This allows the cut area to dry and prevents rot when planted.
Aloe plants are desert natives, so they naturally seal their wounds—like magic!
Step 4: Plant the Pup in the Right Soil
Use a well-draining soil mix. You can choose:
- Cactus/succulent potting mix
or - DIY mix: 50% sand + 25% garden soil + 25% compost
Plant the pup so its roots are covered but the rosette stays above the soil.
Step 5: Water Carefully
After planting:
- Do not water immediately.
- Wait for 5–7 days, then water lightly.
Aloe hates wet feet and prefers to settle in the soil before moisture is added.

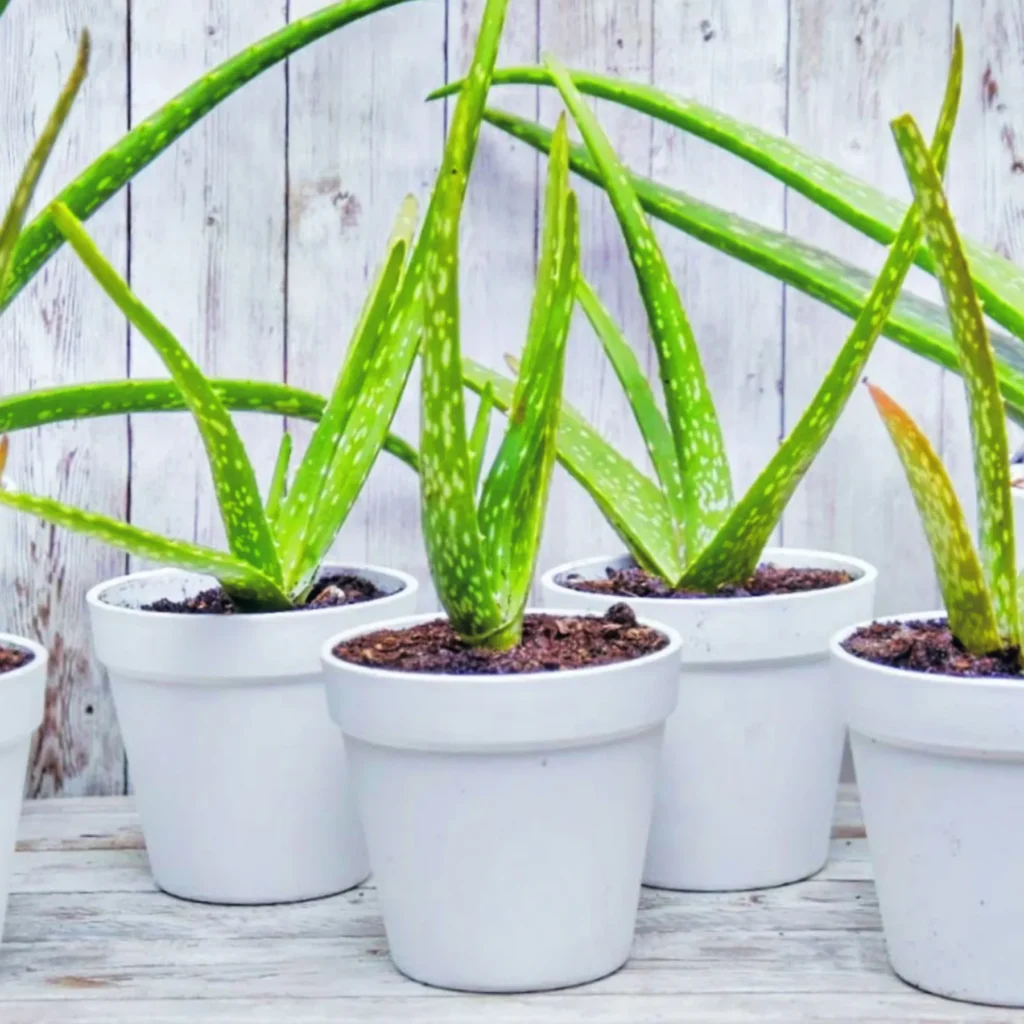
RESULT:
Within 2–3 weeks, the pup will start growing new roots. In 1–2 months, you’ll see fresh leaves emerging—your new aloe is thriving!
METHOD 2: Growing Aloe from Leaf Cuttings
Perfect for Experimenters (Results Vary but Still Fun!)
While this method is a bit less reliable, it’s still possible to grow aloe from a single leaf. The process is slow but satisfying.
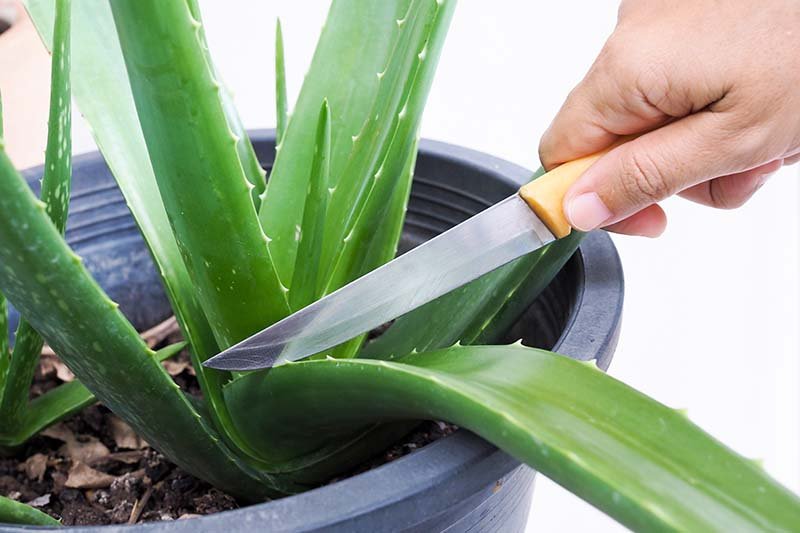
Step 1: Choose a Healthy Leaf
Pick a thick, mature leaf from the outer sections of the plant. Healthy leaves will feel plump and firm.
Cut it cleanly using:
- A sharp knife or scissors
- Sterilized blade (wiped with alcohol)
A clean cut reduces the chance of infection or rot.
Step 2: Dry the Leaf
Place the leaf in a shaded place for 4–7 days until the cut tip forms a hard callus.
This step is crucial—planting a fresh cut can cause the leaf to rot instantly.
Step 3: Plant the Leaf Vertically
Prepare a pot with sandy, well-draining soil.
Insert the callused end of the leaf 1–2 inches deep into the soil. Make sure the leaf stays upright.
Water lightly only once every 10–14 days because leaf cuttings rot easily.
Step 4: Be Patient
Leaf propagation takes time:
- Roots may take 3–6 weeks to form
- New baby aloe plants develop at the base slowly over 2–3 months
Not all leaves will root successfully, but the ones that do will reward you with beautiful new offspring.
Caring for Your Newly Propagated Aloe Plants
Whether you grow them from pups or leaf cuttings, follow these basic care tips to keep your aloe healthy:
Provide Plenty of Light
Aloe loves:
- Bright, indirect sunlight
- 4–6 hours of daily light
- A sunny windowsill, balcony, or terrace
Avoid harsh midday sun for young plants—it may scorch the leaves.
Water Sparingly
Aloe is drought-tolerant. Overwatering is the number one killer.

Water only when:
- The top 2 inches of soil are completely dry
- Pot feels very light
- Leaves are slightly wrinkled
Always drain excess water. Never let aloe sit in standing water.
Choose the Right Pot
Use:
- Clay/terracotta pots (best for drainage)
- Pots with several holes
- Medium-sized pots—not too large
Aloe prefers slightly tight spaces and grows better in compact pots.
Use Occasional Fertilizer
Feed your aloe once every 2 months during the growing season (spring/summer) using:
- Diluted seaweed fertilizer
- Succulent fertilizer
- Organic compost tea (very light)
Avoid heavy feeding—it can burn the roots.
Remove Dead Leaves
Trim off:
- Brown leaves
- Mushy or damaged parts
- Dried pups
This helps the plant focus energy on new growth.

Common Problems and How to Avoid Them
Leaves Turning Brown or Yellow
Cause: Overwatering
Solution: Reduce watering, repot in dry soil.
Soft and Mushy Leaves
Cause: Root rot
Solution: Cut healthy sections and propagate again.
Slow Growth
Cause: Low light
Solution: Move plant to a brighter area.
No Roots on Pups
Cause: Too early separation
Solution: Let pup grow bigger before removing.
Final Thoughts
Multiplying your aloe plants at home is truly rewarding. Whether you choose the fast and reliable pup method or the experimental leaf method, you’ll find aloe propagation simple, fun, and beginner-friendly. Aloe is one of those plants that keeps giving—once you master these techniques, you’ll never need to buy aloe again.
With patience and care, your aloe collection will grow beautifully, bringing greenery, healing, and natural beauty into your home.
Leave A Comment