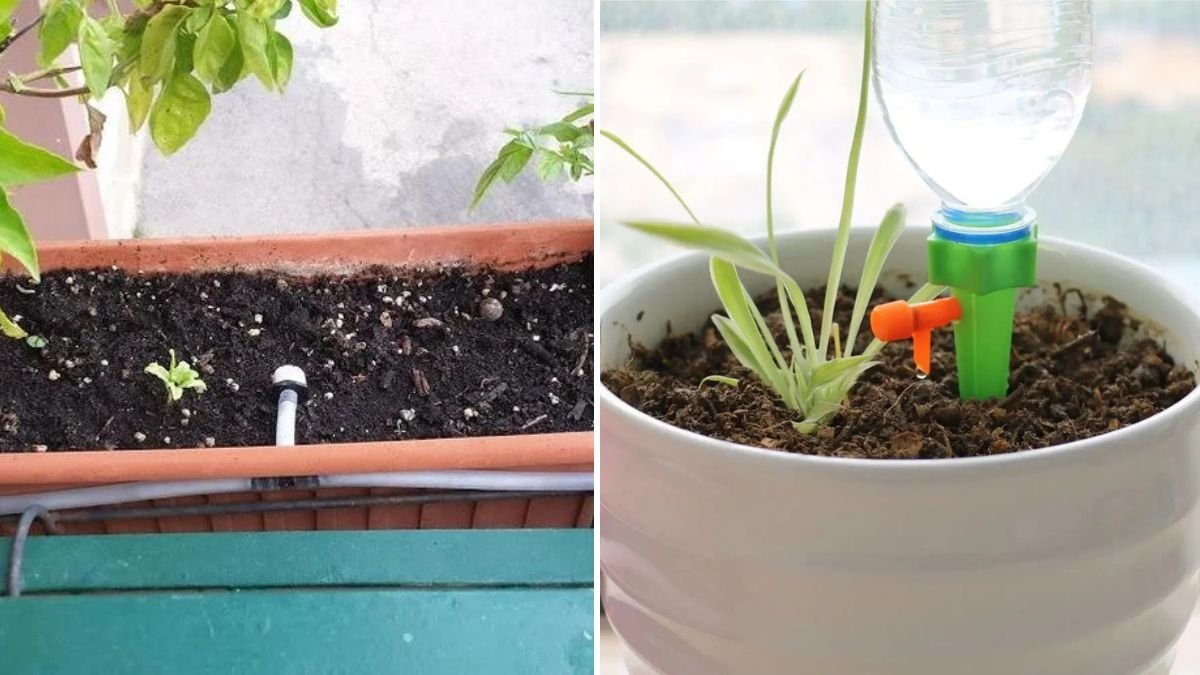
Watering balcony plants can be challenging, especially if your schedule is busy or your space receives strong sun and wind. Containers dry out quickly, and hand-watering every day can become exhausting. That’s where a drip irrigation system comes in—a simple, efficient, cost-effective solution that delivers water directly to your plants’ roots while saving time, effort, and water.
The best part? You don’t need a garden or professional tools to set this up. A small balcony is perfect for drip irrigation, and you can easily build it yourself using readily available parts. This guide breaks down every step so even beginners can create a reliable, long-lasting irrigation system.
Why Use Drip Irrigation on a Balcony?
Before getting into the installation process, it’s important to understand why drip irrigation is ideal for small balcony gardens:
Saves Water
Unlike hand-watering or using a hose, drip systems deliver water directly to the soil with minimal evaporation.
Ensures Even Moisture
Each plant gets the right amount of water, preventing underwatering or flooding.
Perfect for Busy Gardeners
Set it on a timer and water your plants automatically—even when you’re on vacation.
Reduces Fungal Issues
Leaves stay dry, lowering the risk of diseases like mildew.
Works for Any Type of Balcony Garden
Whether you grow herbs, vegetables, flowers, or ornamentals, drip irrigation fits all container types.
Materials You’ll Need
All items are easily available online or at local gardening stores.
Essential Components:
- Water source (tap or water tank)
- Pressure regulator (optional but recommended for apartment taps)
- Main supply tubing (usually 12mm or 16mm)
- Micro tubing (4mm for connecting to individual pots)
- Drip emitters (1–4 liters per hour, depending on plant needs)
- T- and L-connectors (for branching pipes)
- Inline connectors (for extending tubes)
- Hole punch tool (for main line)
- End caps (to close the system at the end)
- Plant stakes or clips (to fix emitters)
- Timer (optional but ideal for automation)
Step-by-Step Guide to Building a Drip Irrigation System
Step 1: Plan Your Layout
Before installing anything, observe your balcony:

Map Out Your Plants
- Count how many pots you have.
- Group plants with similar water requirements together.
- Identify where the water source is located.
Decide the Main Line Path
- The main tubing should run along the railing, wall, or floor edge.
- Keep it as straight as possible for better pressure distribution.
Measure the Distances
This helps you cut tubing correctly and avoid wastage.
Step 2: Install the Main Supply Line
The main supply line acts as the backbone of your drip system.
How to Set It Up
- Connect the main tubing to your water tap.
- Add a pressure regulator if your tap water pressure is high.
- Add a filter to prevent clogging (highly recommended).
- Run the main line along the perimeter of your balcony.
- Use clips or zip-ties to hold it firmly in place.
Tip:
Avoid bending the tubing too sharply—this restricts water flow.
Step 3: Connect Micro Tubes to Individual Pots
Micro tubing (4mm) distributes water from the main line to each container.
Steps to Follow:
- Use a hole punch to make a small opening in the main line.
- Insert a connector (also called a barb).
- Attach the micro tube onto the connector.
- Run the micro tube to the pot.
- Secure it using a plant stake.
Pro Tip:
Try to keep micro tubes short; longer tubes reduce water pressure.

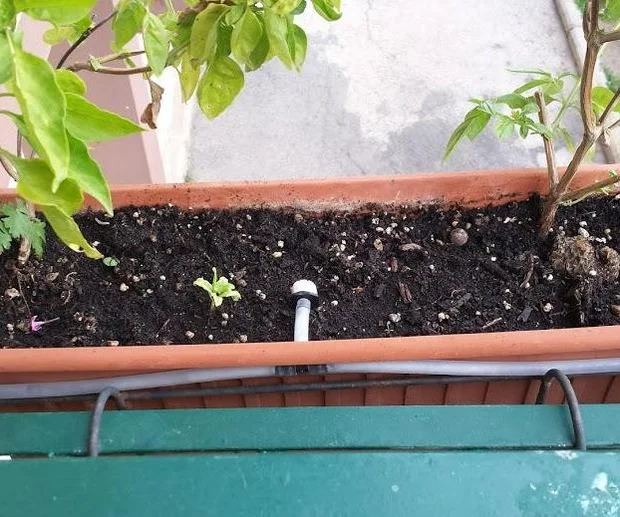
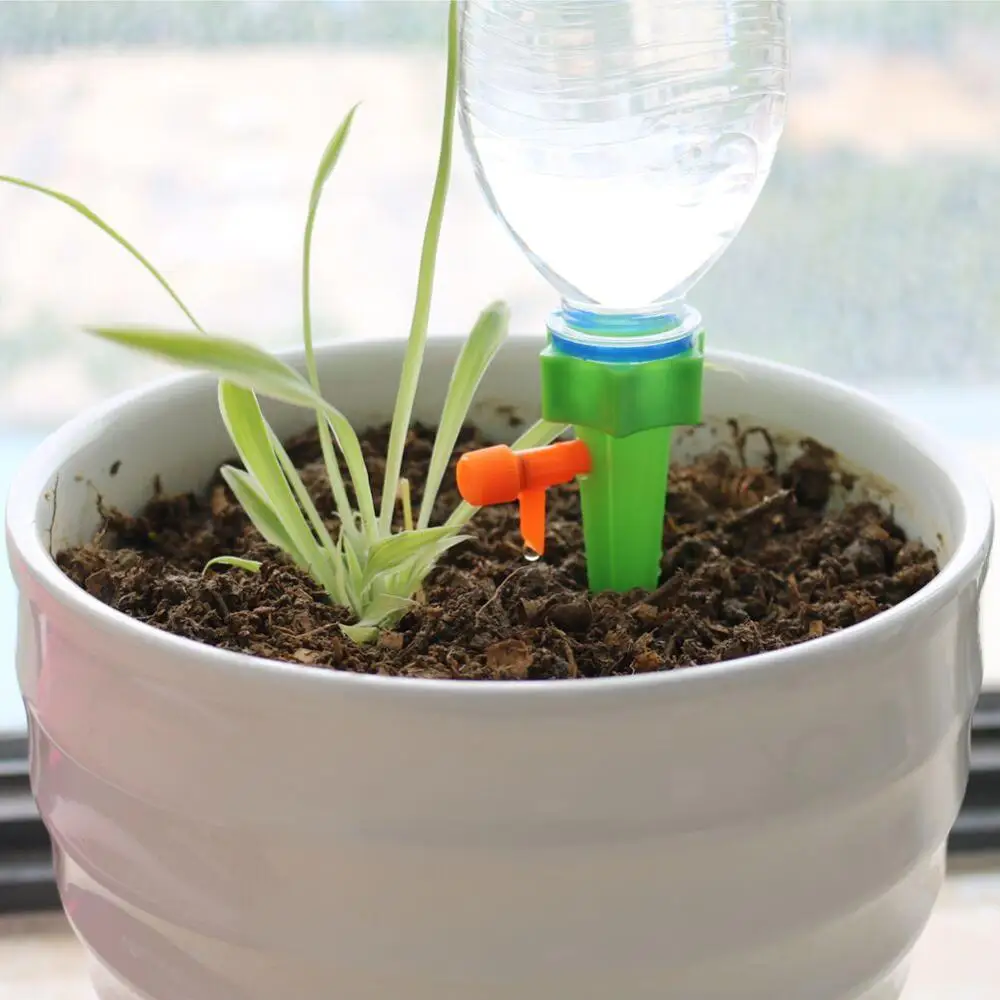
Step 4: Install Drip Emitters
Emitters control how much water each plant receives. Different plants require different flow rates.
Types of Emitters:
- Drippers (1–4 L/hour)
- Adjustable emitters (let you control the flow manually)
- Micro-sprinklers (for wide containers)
- Bubblers (for thirsty plants like tomatoes or cucumbers)
How to Install Emitters:
- Attach them at the end of the micro tube.
- Insert the drip emitter into the soil near the plant base.
- Test the flow to ensure even distribution.
Step 5: Close and Secure the System

To ensure water flows properly:
Finish the Main Line
- Add an end cap to seal the main tube.
- This prevents water waste and maintains pressure.
Test Your System
- Turn on the water tap.
- Check each emitter in every pot.
- Ensure no tubes are leaking or popping out.
Adjust Flow Rates
If a pot gets too much or too little water:
- Adjust the emitter manually (if you chose adjustable ones)
- Change to a higher or lower-flow emitter
Bonus: Automate Your Watering Schedule
If you want your system to work even when you’re away, add a timer.
Benefits of a Timer
- Waters at the same time every day
- Ensures consistency for sensitive plants
- Saves water and prevents overwatering
Best Time to Water
- Early morning
or - Late evening
This minimizes evaporation and helps plants absorb more water.

Maintenance Tips for Long-Lasting Drip Irrigation
A well-maintained system can last for years.
Clean the Filter Regularly
Once every two weeks is enough.
Flush the Pipes
Open end caps every month and let water run through to remove debris.
Check Emitters
Replace clogged or slow-flowing ones immediately.
Protect Tubes from Direct Sun
Although UV-resistant, long-term harsh sunlight can wear them out faster.

Common Mistakes to Avoid
Using too many emitters on one line → reduces pressure
Running micro tubes too long → uneven water flow
Mixing high- and low-water plants on one emitter line
Not securing pipes properly → pipes may shift or disconnect
Ignoring leaks → wastes water and reduces pressure
Final Thoughts
A drip irrigation system is one of the most efficient ways to water balcony plants—whether you’re a beginner or an expert gardener. It saves time, reduces effort, and ensures your plants always get consistent hydration. With a basic setup and a little planning, you can build your entire system in just a couple of hours.
From small herb pots to big vegetable containers, drip irrigation keeps your balcony garden healthy, green, and thriving—all year long.
Leave A Comment