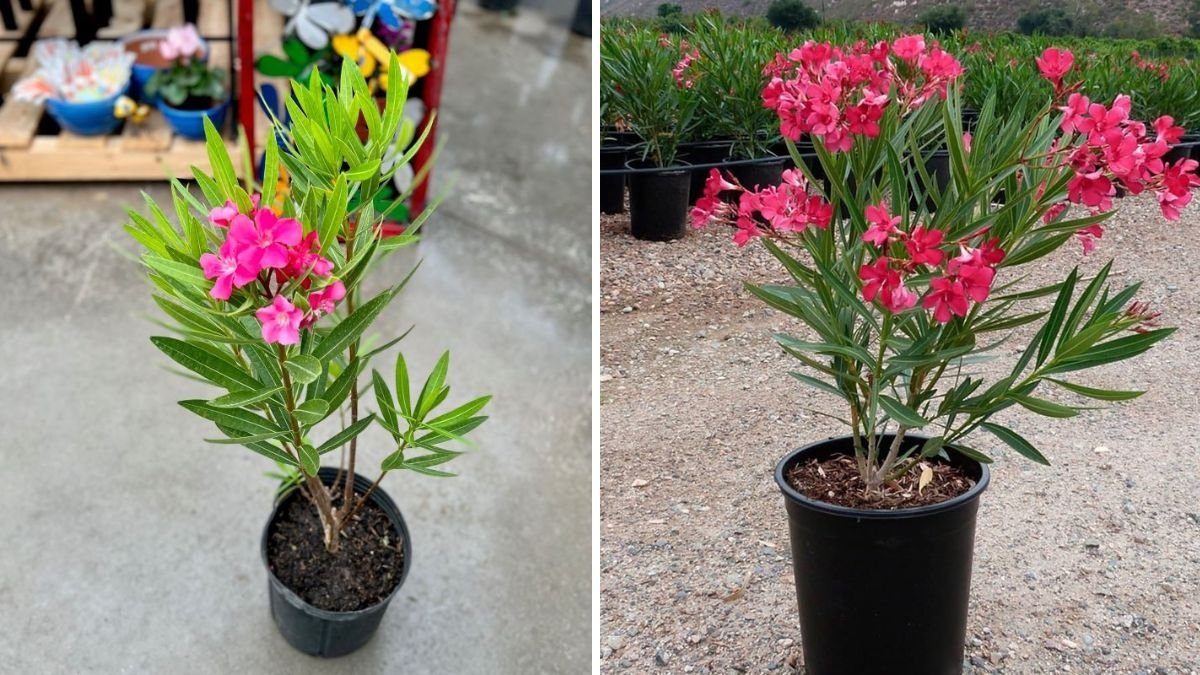
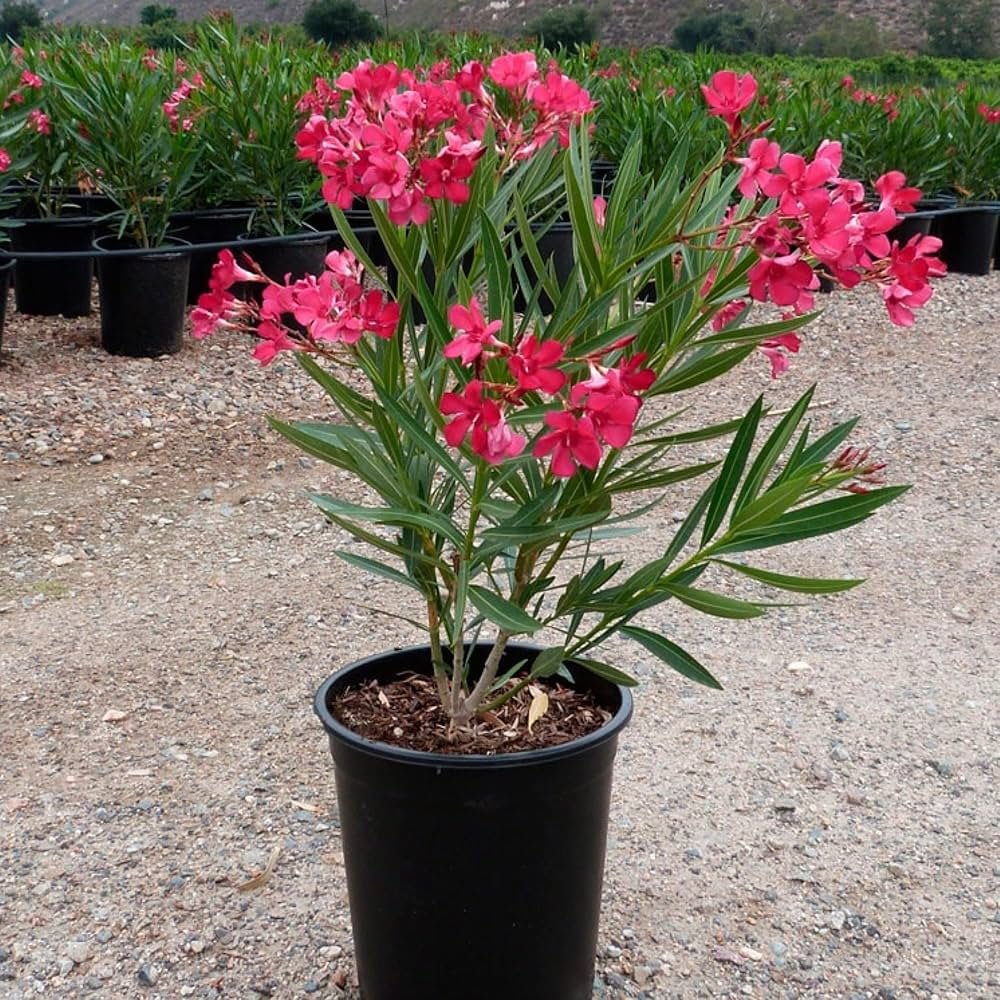
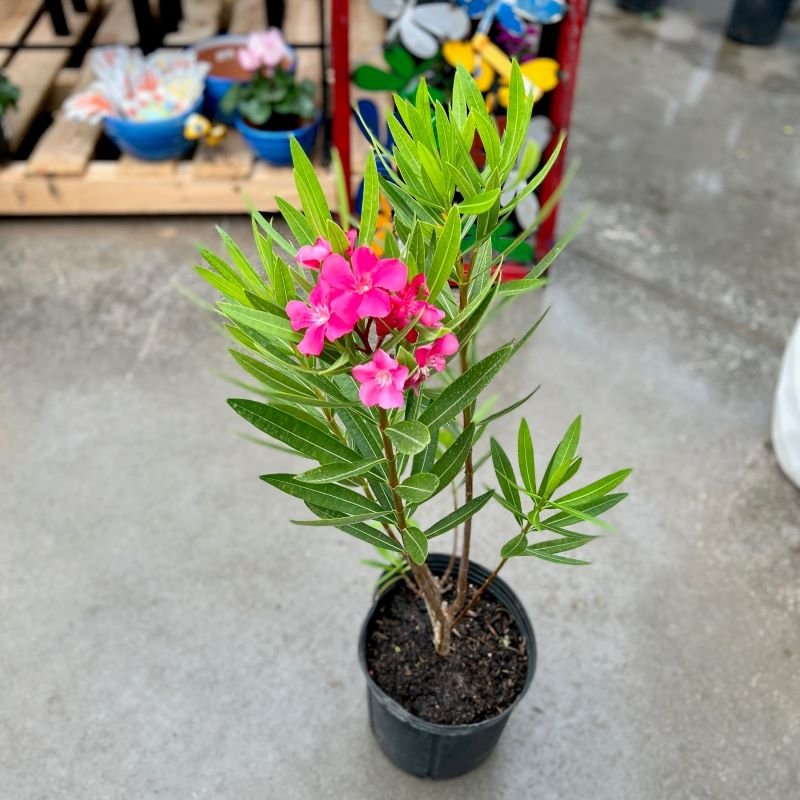
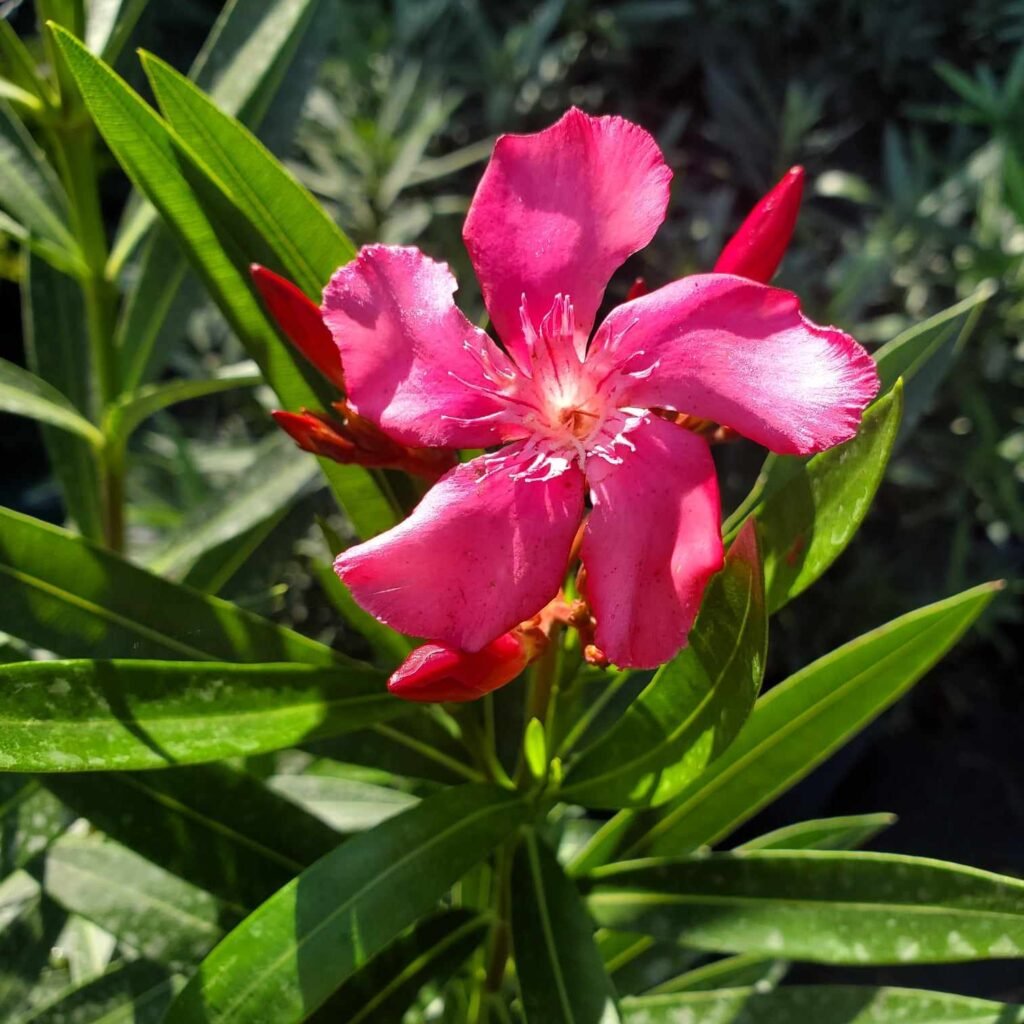
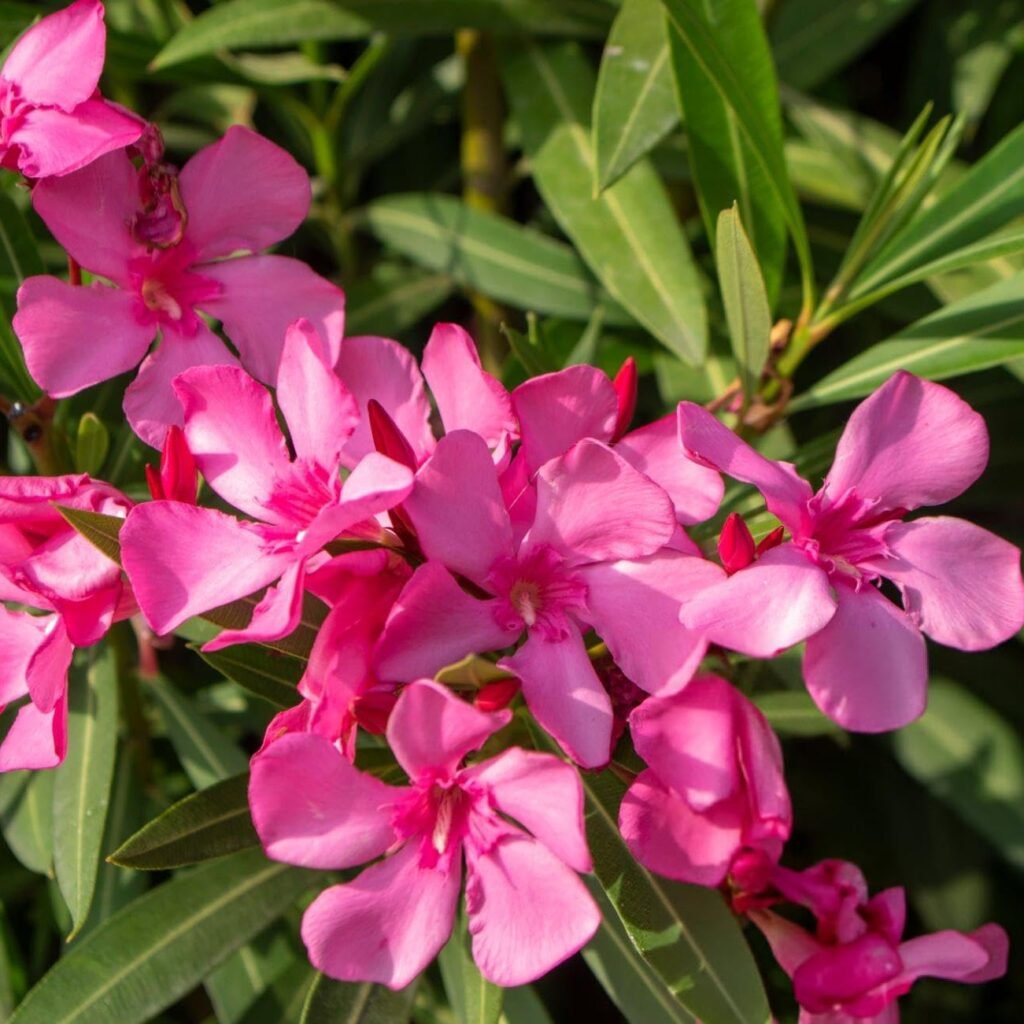
Oleander, popularly known as Kaner in India, is one of the most attractive, hardy, drought-tolerant flowering plants you can grow at home. With its vibrant blooms in pink, yellow, white, and red, Kaner adds instant beauty to any garden, balcony, or terrace. The best part? You don’t need to buy new plants every time—you can multiply your oleander plants easily through cuttings!
In this complete guide, you’ll learn how to grow oleander/kaner from cuttings step by step, including the best time to take cuttings, soil mix, rooting method, aftercare tips, and update results—just like a full gardening video tutorial.
Why Propagate Oleander From Cuttings?
Growing oleander from cuttings has several advantages:
- Fast growth compared to seeds
- Identical flowers to the parent plant
- High success rate
- Cost-free propagation
- Blooms faster than seed-grown plants
Whether you’re a beginner or a seasoned gardener, this method is super simple and highly effective.
Best Time to Take Oleander Cuttings
For maximum success, take cuttings during:
- Early Summer (April–June)
- Monsoon Season (July–September)
Oleander is an evergreen shrub, so you can technically propagate it anytime, but warm months encourage faster root growth.

Types of Cuttings You Can Use
Oleander can be propagated using:
Semi-hardwood cuttings (best choice)
- 6–8 inches long
- Flexible but not too soft
Softwood cuttings
- Tender, green, very fast to root
- Must prevent fungal infections
Hardwood cuttings
- Thick, woody stems
- Root slower but still work
For beginners, semi-hardwood is the easiest and most successful.
Materials You Will Need
Before you start, keep these items ready:
- Healthy oleander plant
- Clean pruning shears
- A 6–8 inch cutting
- Light and airy potting mix
- Rooting hormone (optional but helpful)
- Small pot or plastic bottle
- Transparent polybag for humidity
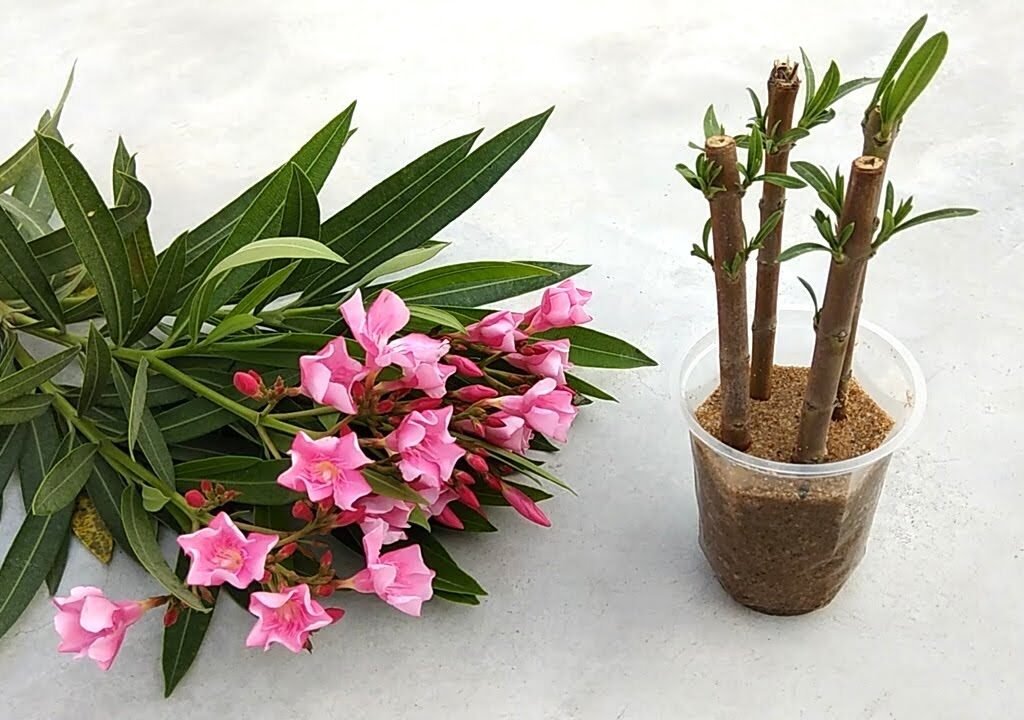
Step-by-Step: How to Take the Perfect Cutting
- Choose a healthy branch that is disease-free.
- Cut 6–8 inches of stem just below the node.
- Remove the lower leaves, keeping only 2–3 leaves at the top.
- If the cutting has flowers or buds, remove them.
- Dip the cut end in rooting hormone (optional but increases success 40–50%).
TIP: Make sure your cutting tool is disinfected to avoid infections.
Best Soil Mix for Fast Rooting
Oleander roots best in a light, well-draining mix. Use:
Option 1 (Best for beginners):
- 50% Cocopeat
- 30% River Sand
- 20% Garden Soil
Option 2 (Fastest rooting):
- 70% Sand
- 30% Cocopeat
Avoid heavy clay soil—it suffocates the cuttings.

Planting the Oleander Cutting
- Make a small hole in the soil using a pencil.
- Insert the cutting 2–3 inches deep.
- Firm the soil around it to remove air pockets.
- Water lightly—just enough to keep soil moist, not soggy.
Creating a Greenhouse Effect
To increase rooting speed:
- Cover the pot with a transparent polybag
- Ensure small air holes to prevent fungal growth
- Keep in bright, indirect sunlight (never direct)
This mini greenhouse traps humidity and encourages faster root development.
Watering Routine
For successful rooting:
- Keep soil lightly moist
- Never overwater
- Mist instead of pouring water
Water only when the top layer feels dry.
Light Conditions
While rooting:
- Keep in shade or indirect light
- Avoid full sun
After roots develop (4–6 weeks):
- Gradually shift to direct morning sunlight
- Eventually, oleander can handle full sun easily
Common Problems & How to Fix Them
Leaves turning yellow
Too much water.
Reduce watering
Cutting turning black
Fungal infection.
Use fungicide
Improve air circulation
No root growth
Wrong season or heavy soil.
Try during warm months
Use sandy mix
Update Timeline (Just Like an Update Video)
Week 1 – Initial Cutting
- Cutting looks fresh
- Leaves stay green
- No visible roots yet
Tip: Keep the humidity high.
Week 2 – Swelling at the Base
- Base becomes slightly thick
- Internal root activity begins
Tip: Don’t disturb the cutting!
Week 3–4 – Root Growth Begins
- Roots start forming
- Light resistance when you tug gently
Tip: This is the most crucial time.
Avoid sunlight and overwatering.
Week 5–6 – Visible Growth
- New leaves appear
- Cutting becomes firm
- It’s ready for repotting
Tip: Shift to a 6–8 inch pot with soil mix:
- 50% garden soil
- 25% compost
- 25% sand
Week 8–10 – Strong Plant Development
- More leaves
- Strong branching
- Faster growth
Tip: Add seaweed fertilizer or diluted NPK 19-19-19 every 15 days.
2–3 Months – Final Update
Your oleander cutting is now:
- 1–1.5 feet tall
- Bushy and healthy
- Ready to bloom during the next flowering season
Oleander usually starts flowering within 6–12 months of propagation.

Fertilizer Guide for Oleander
Use fertilizers carefully because the plant grows fast.
Monthly Organic Feed:
- Compost
- Vermicompost
- Cow dung manure
Chemical Fertilizer (every 20–25 days):
- NPK 19-19-19 (half teaspoon per liter)
Bloom Booster (During flowering season):
- NPK 0-52-34 or
- Bone meal (once in 45 days)
Important Safety Note
Oleander is toxic if ingested.
So always:
- Wear gloves when handling
- Keep away from pets and children
- Wash hands after touching
Final Tips for Fast Growth
- Give 4–6 hours of sunlight daily
- Prune lightly to encourage branching
- Repot every year
- Keep soil well-draining
With the right care, your oleander will reward you with clusters of beautiful blooms throughout the year.
Conclusion
Growing Oleander/Kaner from cuttings is one of the easiest and most rewarding gardening projects you can do at home. With simple materials, basic care, and the update timeline provided, you can turn a single plant into multiple flowering shrubs.
If you’re shooting a gardening video or blog, this method gives excellent before-after updates and eye-catching results.

Leave A Comment