Blackberries are one of the most rewarding fruits you can grow right in your backyard or even in containers on a terrace or balcony. These sweet, slightly tangy berries are packed with antioxidants, vitamins, and flavor—perfect for fresh eating, smoothies, jams, and desserts. Most gardeners prefer growing blackberries from cuttings or nursery plants, but growing them from seeds is a fun, cost-effective, and satisfying method that lets you watch the entire plant life cycle from start to finish.
In this detailed guide, you’ll learn how to plant blackberries from seeds at home, from collecting or preparing seeds to germination, transplanting, and caring for your young berry plants. With patience and proper technique, you can enjoy fresh, homegrown blackberries straight from your garden.
Why Grow Blackberries from Seeds?
Growing from seeds requires some patience, but it also offers several benefits:
Cost Saving
Buying blackberry plants can be expensive. Seeds allow you to grow multiple plants at a very low cost.
Genetic Diversity
Plants grown from seeds may vary slightly, producing unique flavors and growth habits. Sometimes these variations are even better than the parent plant.
Educational & Fun
For home gardeners, especially beginners, seed propagation is a rewarding learning experience.
More Plants for Your Garden
A single blackberry fruit contains several seeds—you can grow many plants from just one berry.
Step 1: Collecting and Preparing Blackberry Seeds
You can either buy blackberry seeds or extract them from fresh fruits.
A. Extracting Seeds from Fresh Berries
If you want to extract seeds yourself:
- Choose fully ripe, dark-black, plump berries.
- Mash the berries gently in a bowl.
- Add water and stir.
- Healthy seeds sink, while pulp and bad seeds float.
- Pour off the floating debris.
- Collect the seeds from the bottom.
- Spread them on tissue paper or a plate and let them dry for 2–3 days.
B. Buying Seeds
If you prefer consistent quality, go for packaged seeds, which are already cleaned but still require stratification.
Step 2: Stratification (Cold Treatment) — The Most Important Step!
Blackberry seeds won’t germinate unless they go through a cold period, just like they do naturally in winter. This process is called stratification.
How to Stratify Blackberry Seeds at Home
- Take a small zip-lock bag.
- Mix seeds with moist (not wet!) peat moss, cocopeat, or vermiculite.
- Seal the bag.
- Place it in the refrigerator (not freezer!) for 8–12 weeks at 2–5°C.
This cold treatment breaks seed dormancy and triggers germination.

Tip:
Mark the date on the bag so you can track the stratification time easily.
Step 3: Sowing the Seeds After Stratification
After 8–12 weeks, it’s time to sow the seeds.
Soil Mix for Sowing
Blackberry seeds prefer a light, well-draining mix:
- 40% cocopeat or peat moss
- 30% perlite or sand
- 30% compost or vermicompost
How to Plant the Seeds
- Fill seed trays, cups, or small pots with the mixture.
- Sow seeds ¼ inch (0.5 cm) deep.
- Lightly cover with soil.
- Water gently using a spray bottle.
- Place the pots in a warm, bright spot but away from direct harsh sunlight.
Temperature for Germination
- Ideal: 18–24°C
- Germination takes 2 to 6 weeks depending on conditions.
Step 4: Caring for the Seedlings
Once seedlings appear, your baby blackberry plants need special care.
Light
- Give them 4–6 hours of indirect sunlight.
- After 3–4 weeks, expose them to morning sun for 1–2 hours.
Watering
- Keep the soil slightly moist, not soggy.
Overwatering can cause root rot.
Ventilation
- Good airflow prevents fungal infections.
Feeding
- After 4–5 weeks, apply a very mild liquid fertilizer once every 15 days.
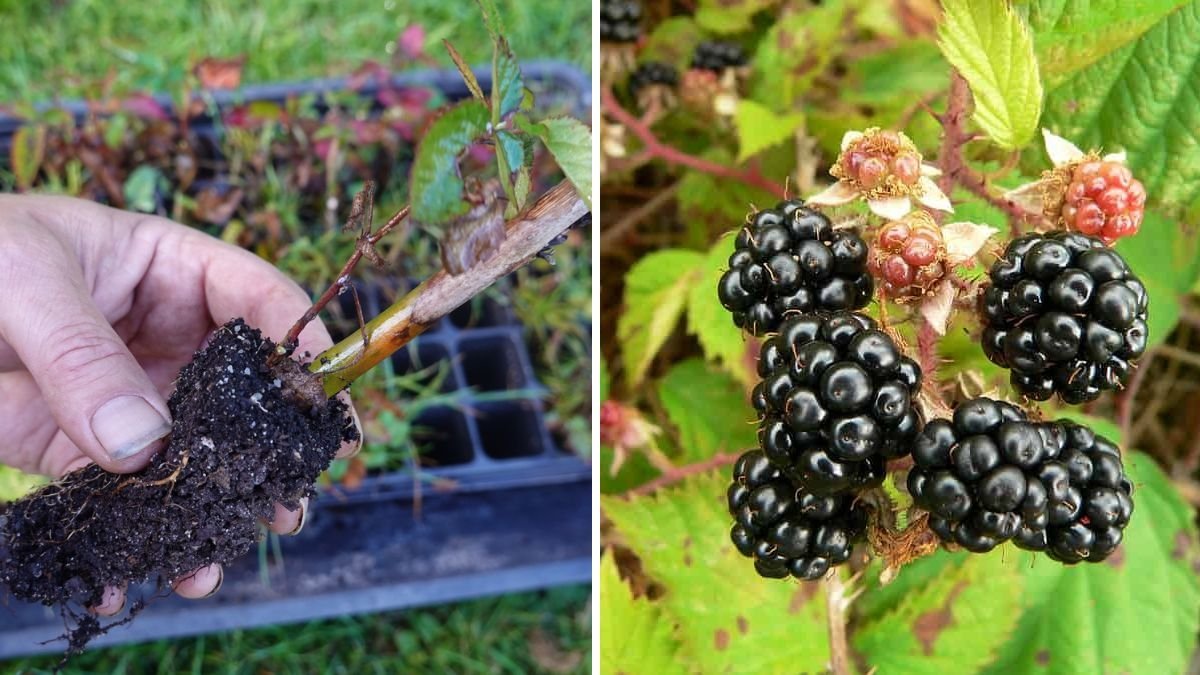
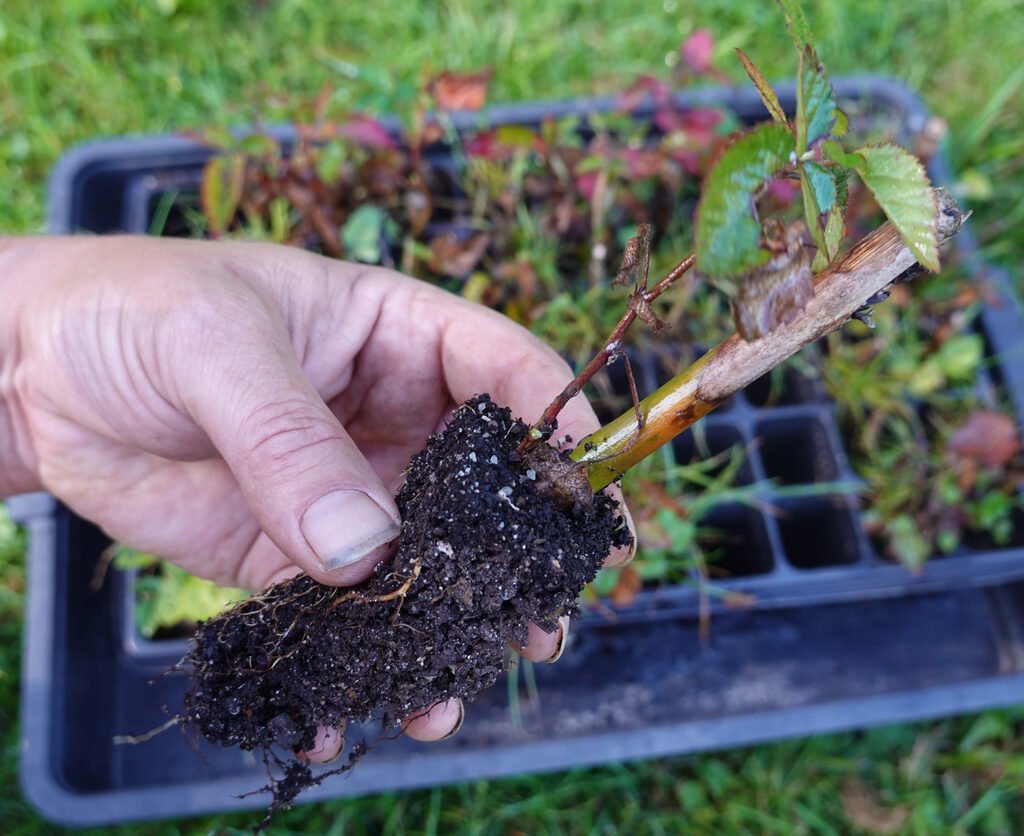
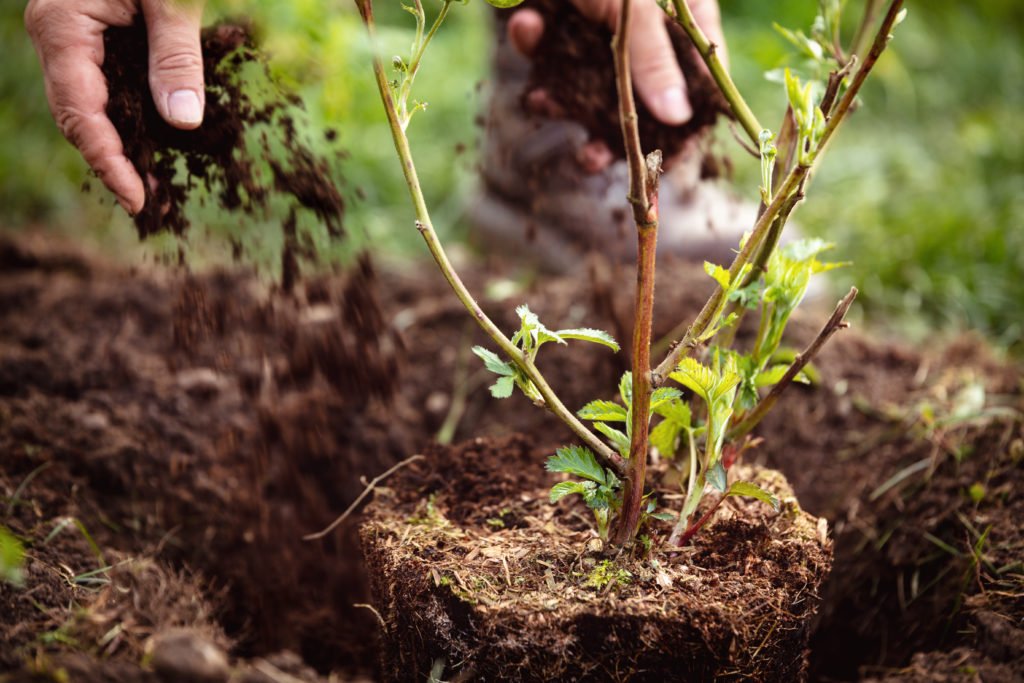
Step 5: Transplanting the Seedlings
After the seedlings reach 4–6 inches in height and have strong roots, transplant them into bigger pots or ground.
For Container Growing
Choose a container:
- 12–18 inch pot
- Has good drainage holes
Ideal Soil Mix
- Garden soil – 40%
- Compost – 40%
- Sand/perlite – 20%
Planting
- Plant them 1–2 inches deeper than they were in the seed tray.
- Water thoroughly after transplanting.
Step 6: Growing Blackberry Plants to Maturity
Blackberry plants are hardy but need proper care to grow vigorously.
1. Sunlight
Blackberries love sunlight.
- Provide 6–8 hours of direct sunlight daily.
2. Watering
- Keep soil moist during the first year.
- Once established, blackberries become drought tolerant.
3. Feeding
Use an organic fertilizer:
- Compost
- Vermicompost
- Cow dung manure
- Or a balanced NPK 10-10-10
Feed your plants every 4–6 weeks during the growing season.
4. Mulching
Mulch helps retain moisture and control weeds.
Use:

- Straw
- Dry leaves
- Wood chips
5. Support System
Some blackberry varieties grow tall; provide:
- Stakes
- Trellis
- Wires
This keeps the plant off the ground and improves air circulation.
Step 7: Flowering and Fruiting
With good care, blackberry plants from seeds begin fruiting:
- Typically in 2–3 years
- Some may take up to 4 years
What to Expect
- First-year growth is mostly vegetative.
- Flowers form on second-year canes.
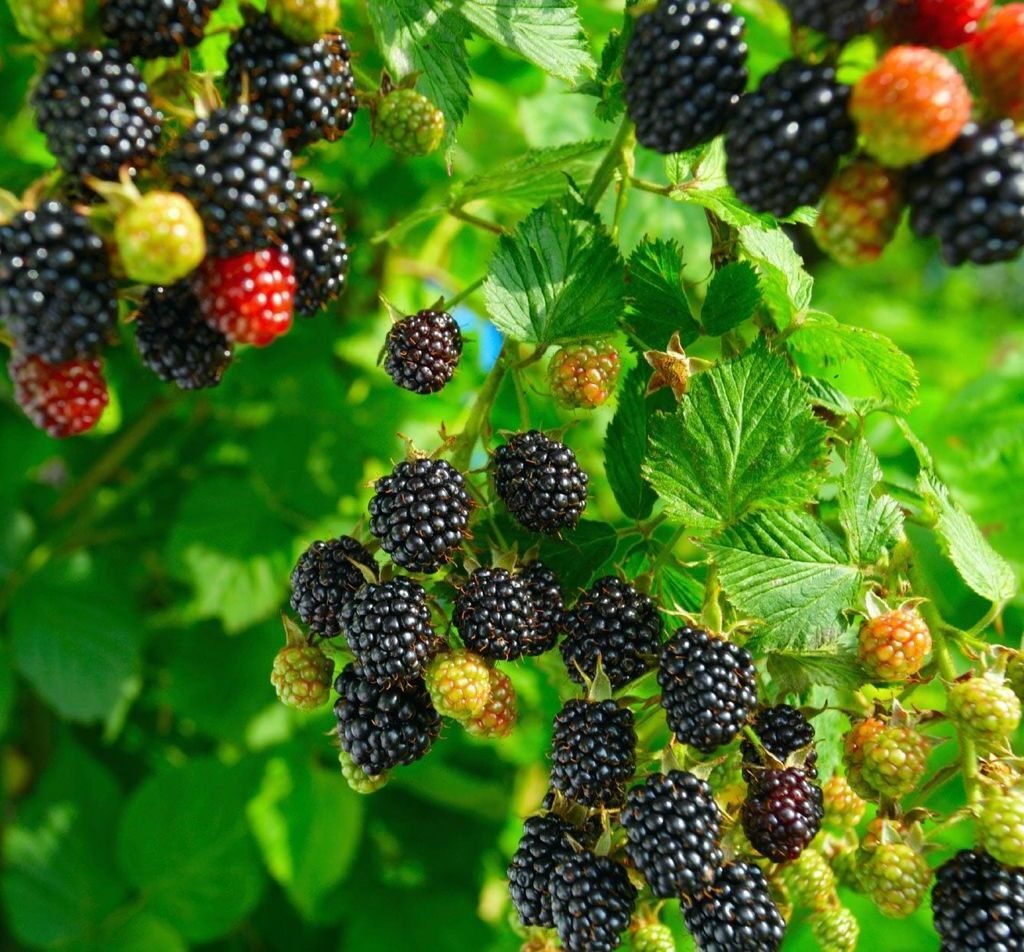
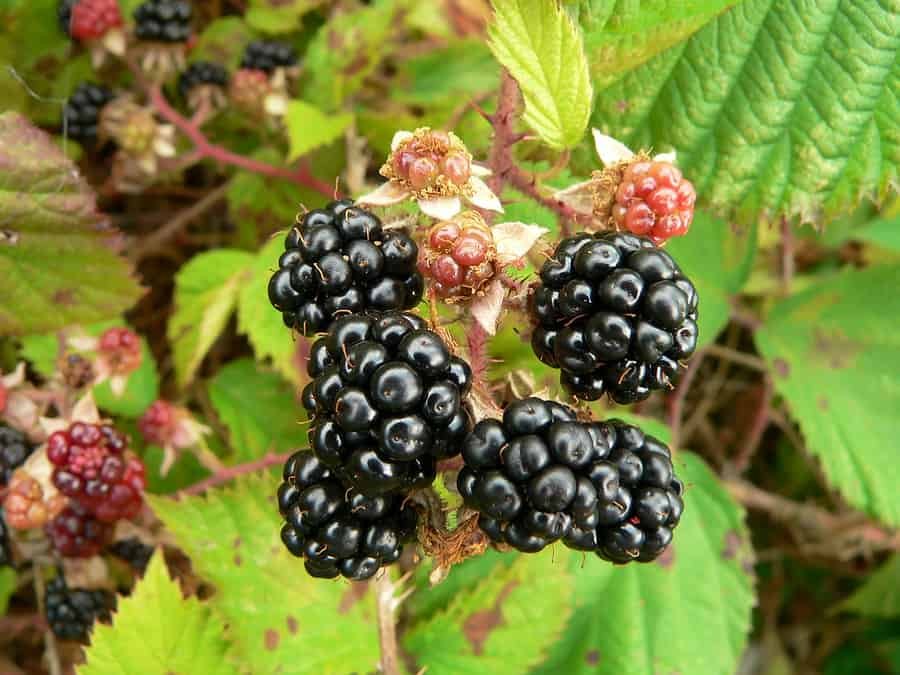
- Berries change from green → red → black when ripe.
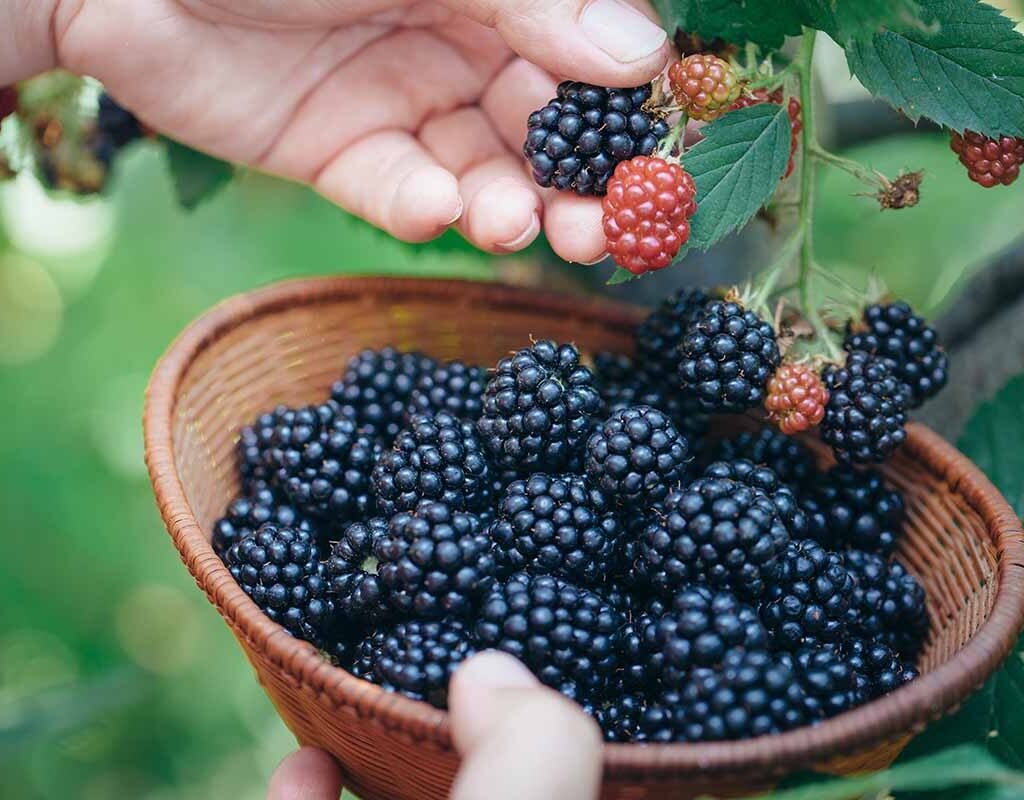
Step 8: Harvesting Your Homegrown Blackberries
Harvest only when:
- The berries turn deep black
- They come off easily with a gentle pull
- They feel soft and juicy
Tip:
Blackberries don’t ripen after harvesting, so pick them only when fully ripe.
Common Problems & Solutions
Poor Germination
- Caused by skipping stratification
Solution: Always cold-stratify seeds.
Mold on Soil
- Caused by overwatering
Solution: Improve ventilation, reduce watering.
Seedlings Turning Yellow
- Caused by nutrient deficiency
Solution: Apply mild liquid fertilizer.
Slow Growth
- Caused by low sunlight
Solution: Provide at least 6 hours of direct sunlight after transplanting.
Final Tips for Successful Blackberry Growing
- Be patient—seed-grown blackberries take longer than nursery plants.
- Use organic fertilizers for the best fruit taste.
- Keep pruning old canes to encourage new growth.
- Protect young plants from extreme heat or frost.
Conclusion
Growing blackberries from seeds at home is a rewarding gardening project. From preparing seeds and stratifying them to nurturing the seedlings and finally harvesting juicy berries—every stage brings you closer to nature. With patience, proper care, and the right environment, you can enjoy fresh, organic blackberries grown right in your home garden or balcony.

Whether you’re a beginner or an experienced gardener, planting blackberries from seeds will give you a deeper appreciation for the process of growing fruit-bearing plants.
Leave A Comment