Chrysanthemums, popularly called Gul-E-Daudi or Mums, are one of the most loved flowering plants in gardens worldwide. Their vibrant colors and charming blooms can transform any space into a floral paradise. While chrysanthemums can be grown from seeds, the cutting method is faster, easier, and guarantees that the new plant will look exactly like the parent plant.
In this guide, we’ll show you step-by-step how to grow chrysanthemums from cuttings, the best soil mix, watering routine, light requirements, and a week-by-week update timeline, perfect for gardeners, bloggers, or anyone making an update video.
Why Grow Chrysanthemums From Cuttings?
Propagation from cuttings offers several benefits:
- Faster flowering compared to seeds
- Exact copy of the parent plant with the same flower color and pattern
- Higher success rate
- Cost-effective—no need to buy multiple plants
- Allows year-round propagation
This method is ideal for beginners and experienced gardeners alike.
Best Time to Take Chrysanthemum Cuttings
For successful propagation, the best time is:

- Spring to early summer (March–June) for fast root growth
- After flowering season if you want to multiply existing plants
Young, semi-hardwood stems are perfect for taking cuttings.
Types of Chrysanthemum Cuttings
There are mainly two types of cuttings:
1. Semi-Hardwood Cuttings (Most Recommended)
- 4–6 inches long
- Firm yet flexible
- Best success rate
2. Softwood Cuttings
- Tender stems
- Root quickly but more prone to drying out or infection
Tip: Avoid old, woody stems—they take longer to root and are less successful.
Materials You’ll Need
Before starting, gather:
- Healthy parent chrysanthemum plant
- Sharp pruning shears
- Rooting hormone powder or gel (optional but helps)
- Small pots or seed trays
- Light and well-draining soil
- Clear plastic bags for humidity
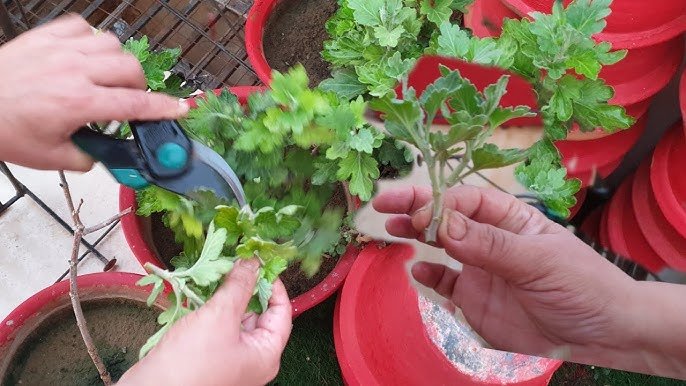
Step-by-Step Guide to Take Cuttings
- Choose a healthy, disease-free stem.
- Cut a 4–6 inch stem just below a node.
- Remove lower leaves, keeping only 2–3 at the top.
- Remove flowers or buds to divert energy to root growth.
- Dip the cut end in rooting hormone (optional but boosts success).
Pro Tip: Sterilize scissors to avoid fungal infections.

Soil Mix for Fast Rooting
Chrysanthemums need light, airy soil to develop strong roots:
Recommended Mix:
- 50% Cocopeat
- 30% River Sand
- 20% Compost or Garden Soil
Avoid:
- Heavy clay soil
- Wet, compacted soil
Good drainage prevents root rot and fungal diseases.
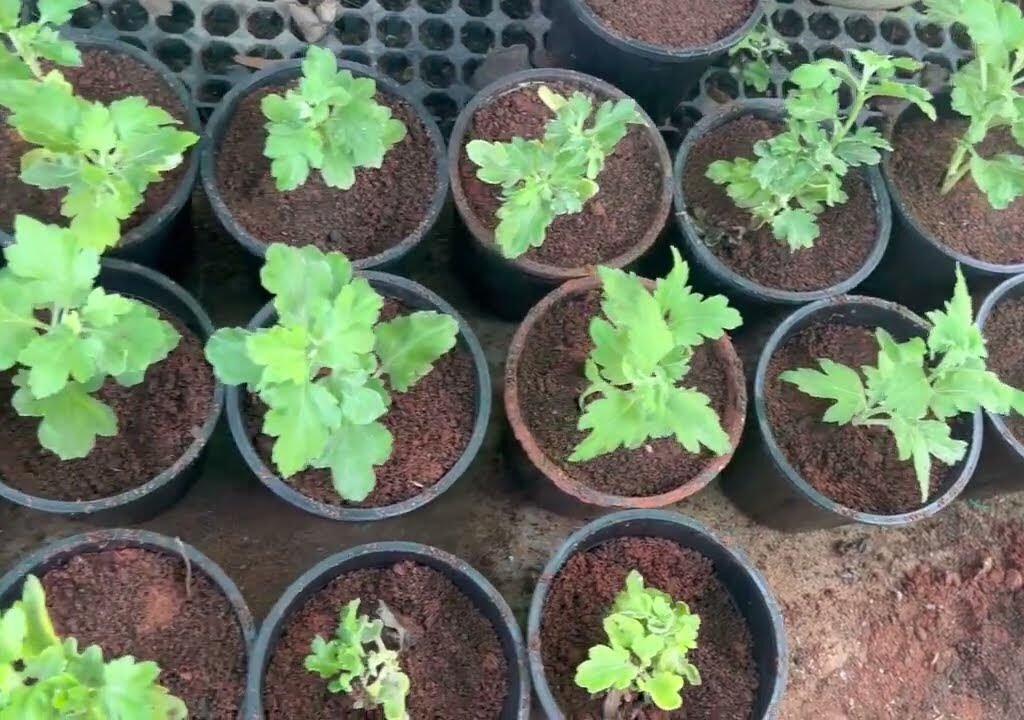
Planting the Cuttings

- Fill small pots or trays with soil mix.
- Make a small hole with a pencil.
- Insert the cutting 2–3 inches deep.
- Firm the soil gently around the stem.
- Water lightly to keep soil moist.
Creating Humidity for Rooting
Cuttings root faster with high humidity:
- Cover the pot with a transparent plastic bag
- Keep small holes for air circulation
- Place in bright, indirect sunlight
Humidity prevents the cutting from drying out while roots develop.
Watering Routine
- Keep the soil slightly moist, not soggy.
- Mist daily or water gently.
- Reduce watering once roots appear.
Light Requirements
- During rooting: Indirect light only
- After roots form (3–4 weeks): Gradually introduce to morning sun
- Mature chrysanthemums thrive in full sun for 4–6 hours daily
Common Problems & How to Fix Them
1. Leaves turning yellow
- Cause: Overwatering
- Solution: Reduce watering, improve drainage
2. Cutting wilting
- Cause: Low humidity or too much sun
- Solution: Cover with plastic bag, keep in shade
3. No root growth
- Cause: Old or soft stem, wrong soil
- Solution: Use fresh semi-hardwood cuttings, proper soil
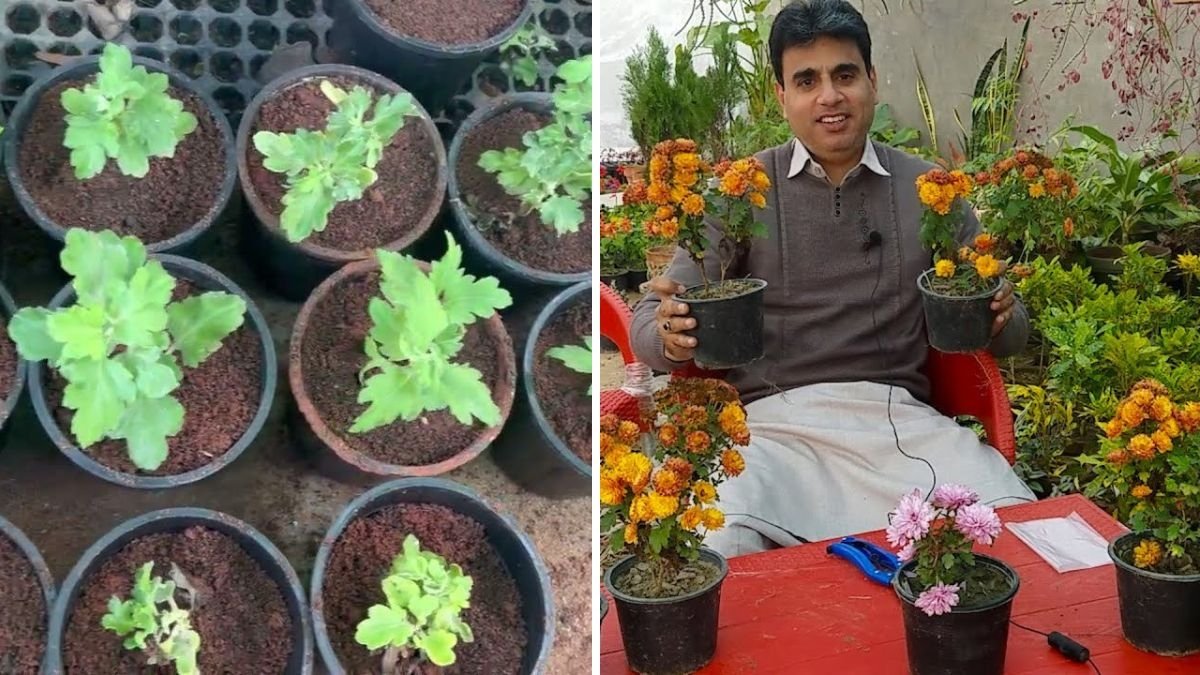
Update Timeline (Perfect for Videos)
Week 1 – Initial Stage
Cuttings planted; leaves intact. No visible roots yet.

Tip: Keep soil moist and humidity high.
Week 2 – Swelling Begins
Base of the cutting swells slightly, indicating root formation.
Week 3–4 – Rooting Begins
Gentle tug shows resistance; small roots develop.
Tip: Avoid moving the pot too much.
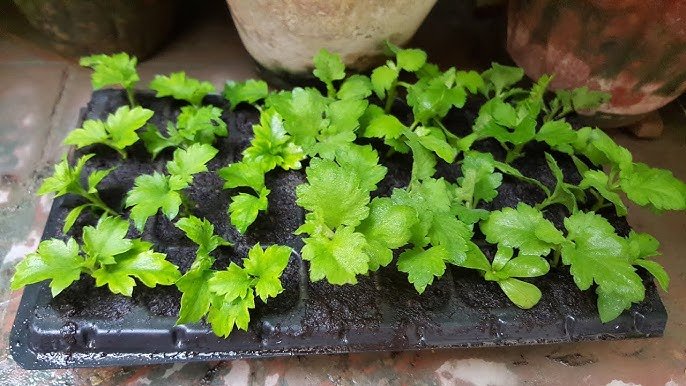
Week 5–6 – First Leaf Growth
New leaves appear; cutting becomes firm.

Tip: Gradually introduce to indirect sunlight.
Week 8 – Repotting Stage
Cutting develops multiple roots; ready to move to larger pots.
Soil Mix for Repotting:
- 50% Garden Soil
- 25% Compost
- 25% Sand
Week 10–12 – Strong Plant Formation
- Multiple branches form
- Leaves grow larger and greener
- Plant ready for partial sunlight
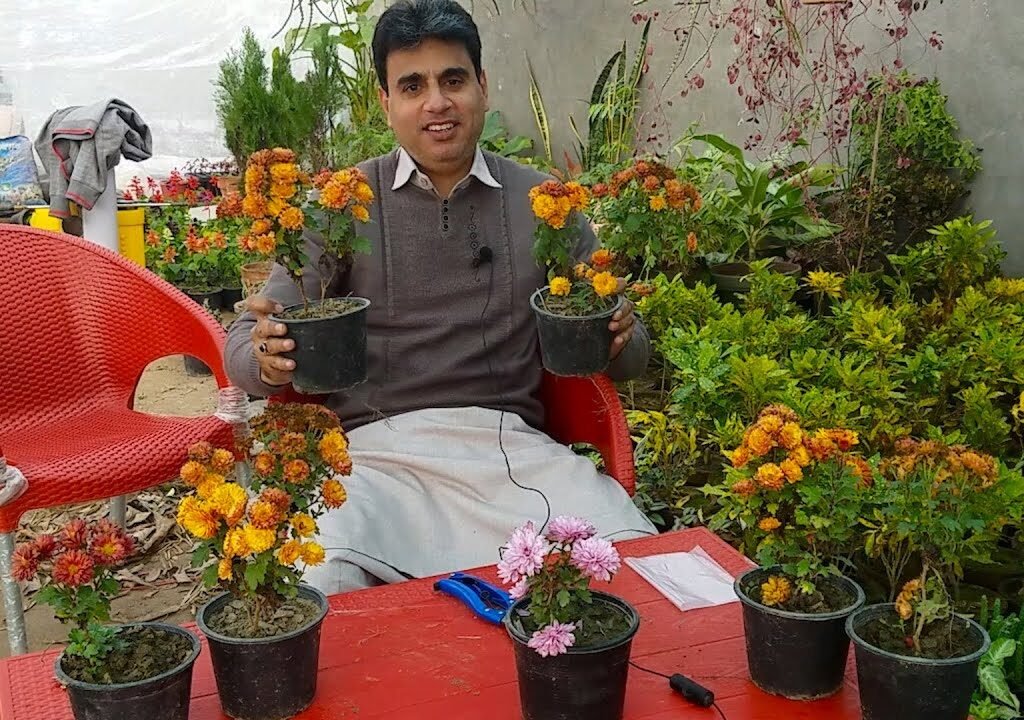
Month 4 – Mature Plant Ready to Flower
- Plant height: 12–15 inches
- Blooms may appear in 1–2 months depending on variety
- Full sun exposure and regular watering for best flowering
Fertilizer & Care Tips
- Use organic compost monthly for healthy growth
- Optional: Diluted NPK 19-19-19 every 15–20 days during growth season
- Pinch the tips regularly to encourage branching
- Remove dead flowers to extend bloom duration
Safety Note
Chrysanthemums are non-toxic but some people may have mild skin irritation. Always:
- Wear gloves when handling
- Wash hands after pruning
Pro Tips for Faster Growth
- Use semi-hardwood cuttings
- Maintain high humidity until roots form
- Avoid direct sunlight initially
- Pinch tips for bushy growth
- Repot annually in fresh soil
Conclusion
Propagating Chrysanthemums/Gul-E-Daudi/Mums from cuttings is fast, easy, and highly rewarding. With the step-by-step guide, correct soil mix, watering routine, light exposure, and update timeline, even beginners can successfully grow multiple flowering plants from a single parent.

This guide is perfect for gardening blogs, YouTube update videos, and home gardeners who want beautiful chrysanthemums blooming in their homes, gardens, or terraces all year round.
Leave A Comment