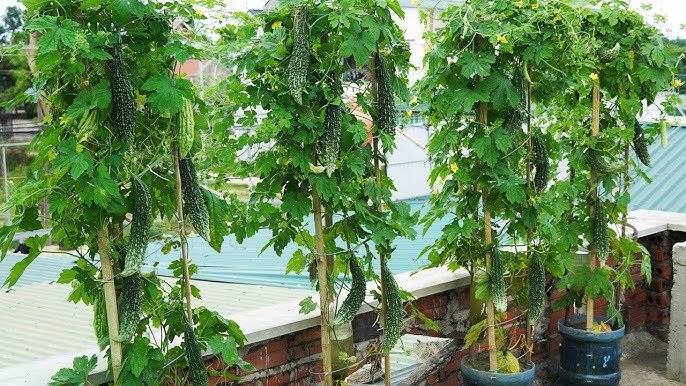
If you’ve ever dreamed of growing fresh, organic bitter gourd (karela) at home, even without a garden, you’re in luck! Bitter gourd is one of the easiest vegetables to grow—especially in warm climates—and thrives beautifully in pots or containers. With the right care, a single plant can produce multiple healthy fruits all season long.
In this detailed, friendly, and updated guide, you’ll learn everything—from choosing seeds to harvesting your first homegrown karela. Let’s begin your balcony or terrace farming journey!
Why Grow Bitter Gourd at Home?
Growing karela provides incredible benefits:
Fully organic, pesticide-free vegetables
Great nutritional value—rich in vitamin C, iron & antioxidants
Saves money and gives consistent harvests
Fun gardening experience even in small spaces
Plus, the vine looks beautiful while climbing.
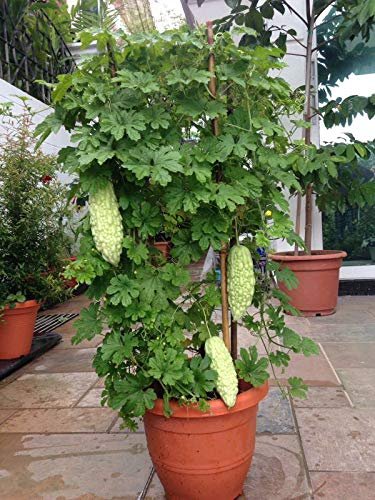
Best Containers for Bitter Gourd
Choose a container that allows proper root development.
| Pot Type | Minimum Size | Notes |
|---|---|---|
| Plastic or Grow Bag | 18–24 inches deep | Lightweight and ideal for terrace gardening |
| Clay Pot | 16+ inches | Good airflow but heavy |
| Drum Container | 20 inches + | Best for long-term growth |
Make sure your pot has 5–7 drainage holes. Bitter gourd hates waterlogged soil.
Soil Mix for Faster Growth
A light, fertile mix gives the best results.
Perfect Soil Recipe:
- 40% garden soil
- 30% compost (cow dung, vermicompost, or homemade)
- 20% cocopeat
- 10% sand or perlite
Add:
- 1 handful neem cake powder (prevents soil pests)
- 1 spoon bone meal or potash (boosts fruiting)
Mix well before filling the container.
Step-by-Step Seed Preparation
Bitter gourd seeds have a hard outer shell, so pre-treatment helps.
Follow this process:
- Soak seeds in warm water for 12–24 hours.
- Wrap them in a moist tissue or cloth for 1–2 days until they sprout.
- Plant sprouted seeds ½ to 1 inch deep in soil.
Water lightly and keep the container in a warm area. Seeds germinate in 5–10 days.
Sunlight Requirements
Bitter gourd LOVES sunlight.

Provide 6–8 hours of direct sunlight daily.
More sunlight = faster growth + more fruits.
Watering Schedule
Rules to follow:
- Keep soil moist, not soggy.
- Water deeply when the top 1 inch of soil feels dry.
- Avoid watering leaves to prevent fungal diseases.
During flowering and fruiting, increase water slightly.
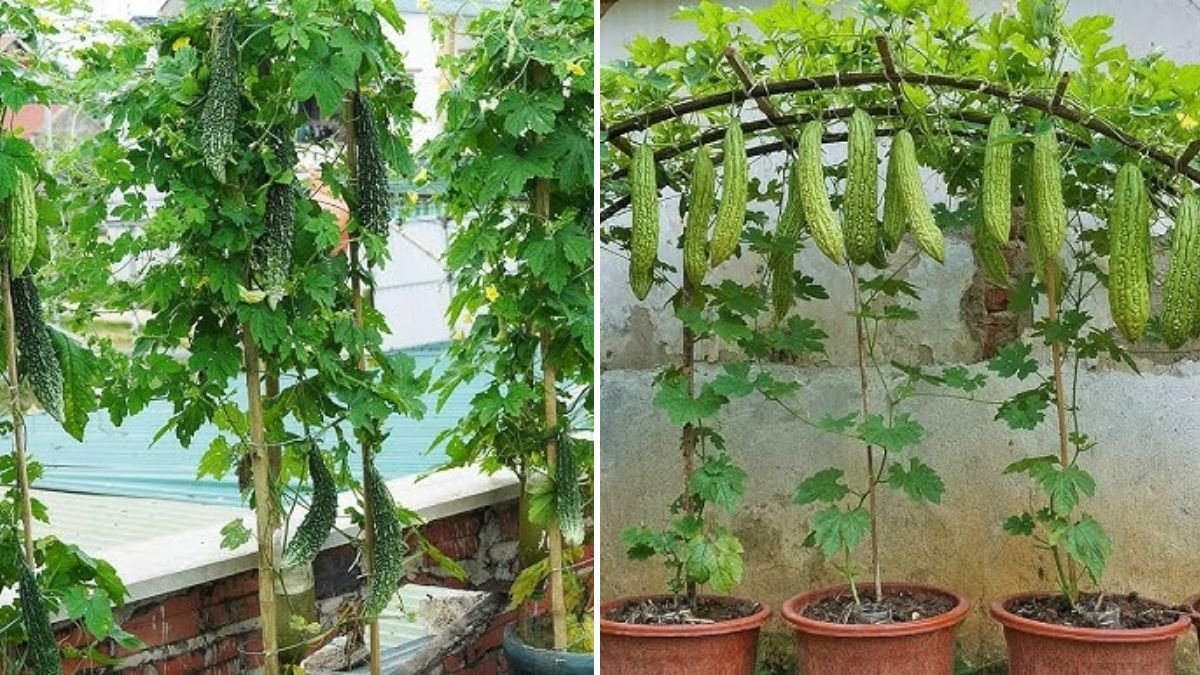
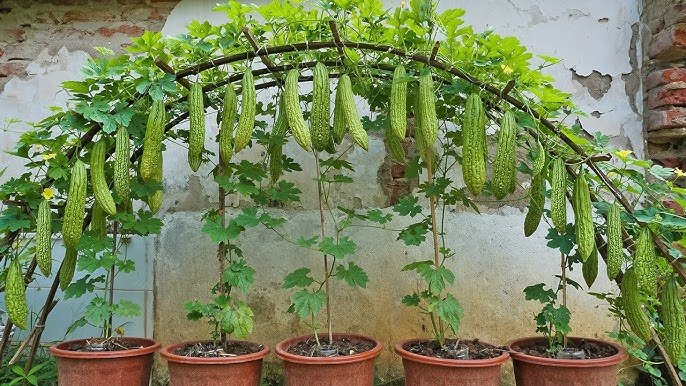
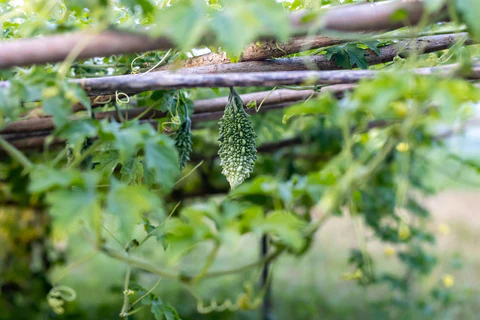
Provide Support: Trellis or Net
Bitter gourd is a climbing vine, and support ensures better yield.
Use:
Bamboo sticks
Nylon net
Chain-link fencing
Vertical trellis
Train the vine gently toward the support as it grows.
Fertilizing Schedule (Full Growth Updates)
To keep the plant productive, follow this feeding routine:
| Growth Stage | Fertilizer | Frequency |
|---|---|---|
| After 15 days | Compost + seaweed or humic acid | Once |
| Flowering stage | Liquid fertilizer/banana peel fertilizer/Jeevamrut | Every 10 days |
| Fruiting stage | Vermicompost + potash (wood ash, cow dung, bone meal) | Every 2 weeks |
Avoid excess nitrogen after flowering—it creates leaves, not fruits.
Pollination Tips
Bitter gourd produces male and female flowers separately.
If bees are low in your area, do hand pollination.
To Pollinate:
- Pick a fresh male flower.
- Remove petals.
- Gently rub the pollen onto the center of the female flower (with a tiny fruit behind it).
Common Problems & Fixes
| Problem | Cause | Solution |
|---|---|---|
| Yellow leaves | Overwatering or nutrient deficiency | Reduce water, add compost or Epsom salt |
| Fruit deformation | Improper pollination | Hand pollinate |
| White spots (powdery mildew) | Humidity + shade | Spray neem oil every 7 days |
| Aphids/mites | Plant pests | Spray neem oil + soap solution |
Always spray neem oil early morning or late evening.
Growth Timeline (FULL UPDATES)
| Days | Stage |
|---|---|
| 0–7 | Seed germination |
| 10–20 | Seedlings grow leaves |
| 20–35 | Vines start climbing |
| 40–55 | Flowering begins |
| 60–75 | First fruits appear |
| 80+ | Continuous harvest |
With proper care, each plant can produce 15–30 fruits.
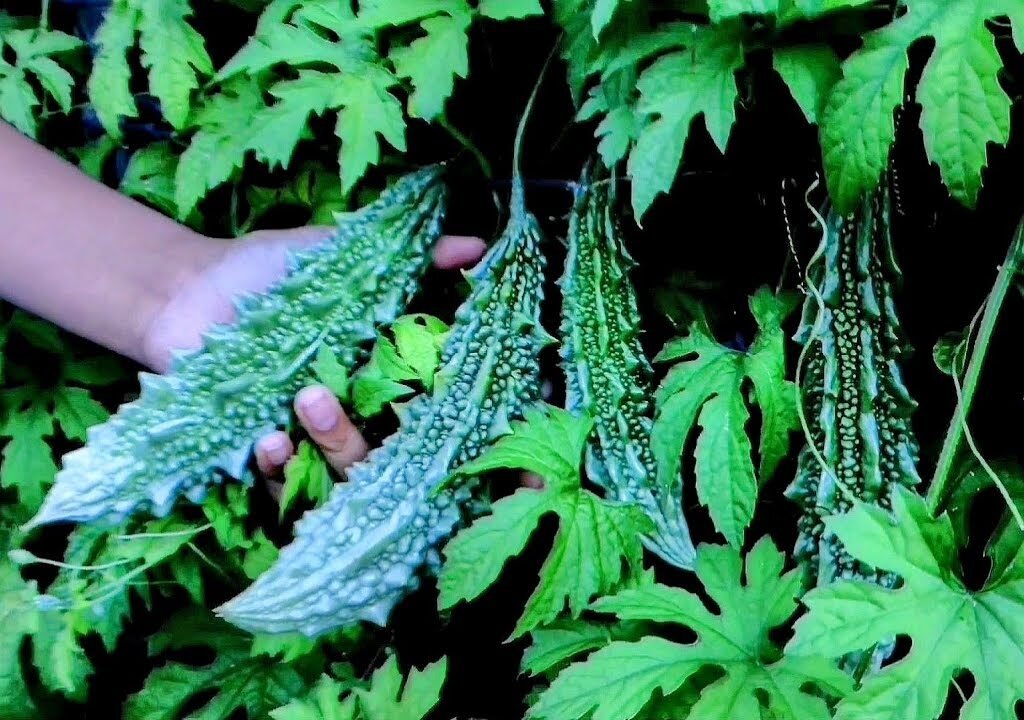
Harvesting Bitter Gourd
Harvest when fruits are:
Green
Firm
4–8 inches long (depending on variety)

Don’t wait until they turn yellow — at that stage they become too bitter and split open.
Use scissors or pruning shears to avoid damaging the plant.
After First Harvest: Boosting Production
To keep the plant producing:
Trim old leaves
Add compost around the root area
Spray seaweed or compost tea
This helps the plant continue fruiting for 2–3 months more.
Final Tips for Success
Always grow during warm seasons (spring–summer).
Rotate pot position if sunlight changes.
Keep soil loose—not compacted—to encourage root growth.
Use organic fertilizers for tastier fruits.
Conclusion
Growing bitter gourd in containers is not just simple—it’s rewarding! Whether you’re gardening on a balcony, terrace, or small backyard, karela vines will thrive and reward you with fresh, homegrown vegetables.

With patience, sunlight, and care, you’ll enjoy delicious harvests for months.
So grab seeds, prepare a pot, and start your bitter gourd gardening journey today.
Would you like the same article format for Bottle Gourd, Tomato, or Ridge Gourd next?
Leave A Comment