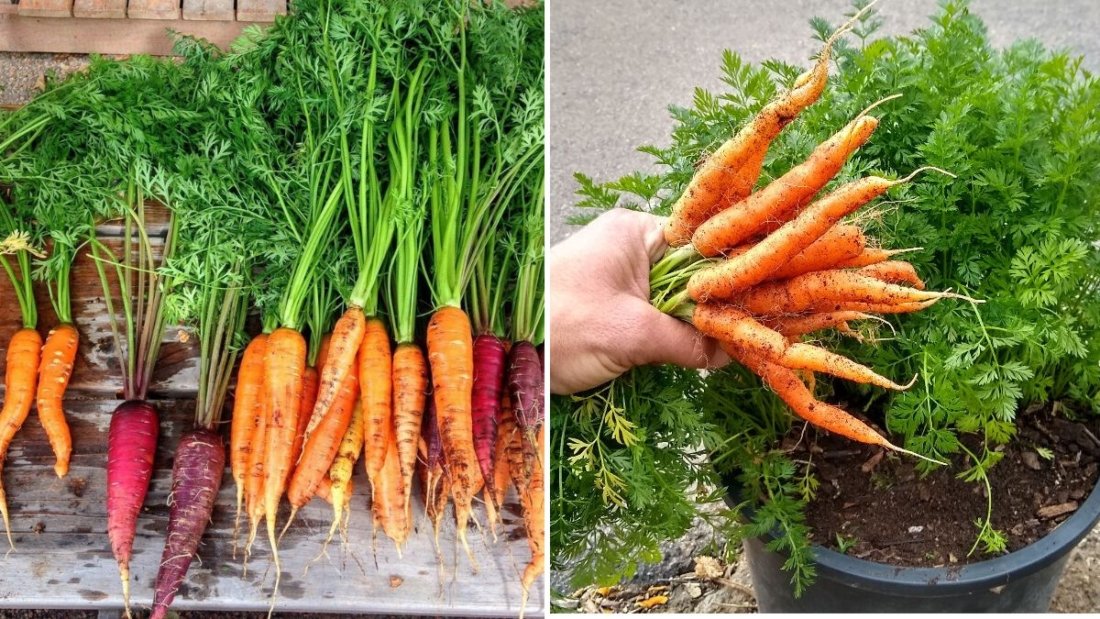
Growing carrots at home is easier than most people think—especially if you use deep pots and loose, well-draining soil. Carrots don’t need garden beds or large outdoor spaces. In fact, container-grown carrots often turn out straighter, sweeter, and more tender because you can control the soil quality and moisture far better than in the ground.
If you’ve ever struggled with short, cracked, forked, or deformed carrots, this guide will show you exactly how to grow perfect ones using deep pots and loose soil. Whether you’re gardening on a balcony, terrace, patio, or even a sunny window, this method ensures consistent results.
Let’s dive into the complete 1200-word guide.
Why Grow Carrots in Deep Pots with Loose Soil?
Growing carrots in containers offers several advantages—especially for urban gardeners or those with limited outdoor space.
1. Prevents Deformed Carrots
Most carrot deformities come from compact soil. Pots filled with loose soil help carrots grow long and straight.
2. Easy Soil Control
No stones, clay, or hard patches—just the perfect texture for smooth roots.
3. Fewer Pests and Diseases
Soil-borne carrot pests like carrot flies are far less common in container gardening.
4. Space Efficient
You only need a deep pot, a corner with sunlight, and good care.
5. All-Season Possibility
Carrots tolerate cool temperatures and grow well year-round depending on the variety.
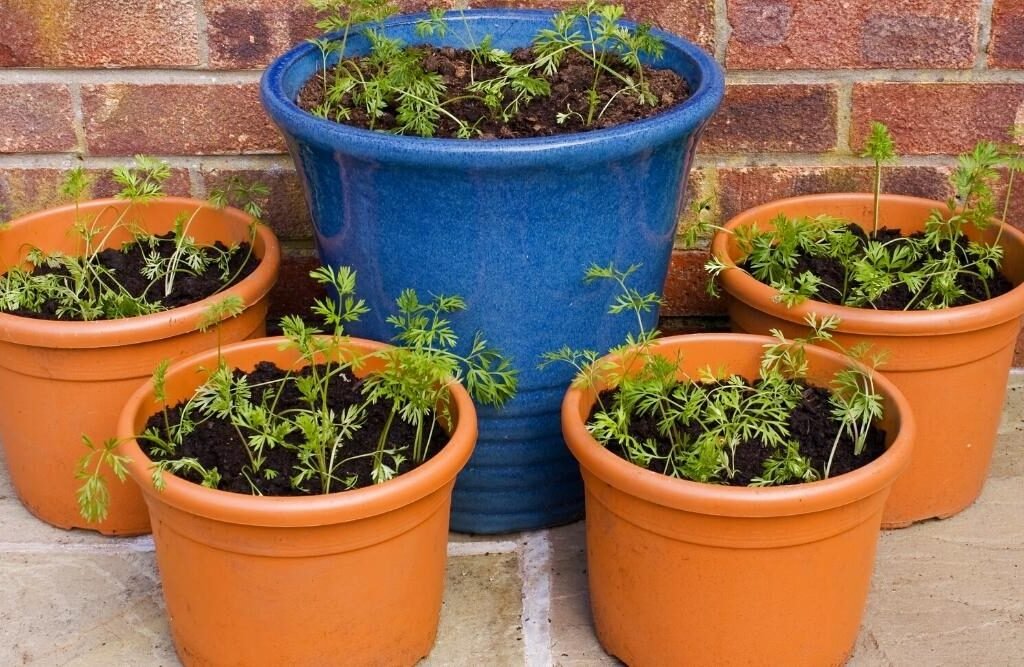
Choosing the Right Pot for Growing Carrots
Carrots come in different sizes, so the pot depth depends on the variety you choose.
Ideal Pot Size
- Depth: 12–14 inches minimum
- Width: 10–12 inches
- Drainage: At least 5–6 holes
Deep pots are essential because carrot roots elongate quickly. If the pot is too shallow, your carrots will become stunted or twisted.
Best Container Types
- Fabric grow bags (excellent aeration)
- Plastic pots (lightweight & affordable)
- Wooden boxes (sturdy and spacious)
- Vertical planters designed for root vegetables
Avoid clay pots unless you’re in a cool climate because they dry out quickly.
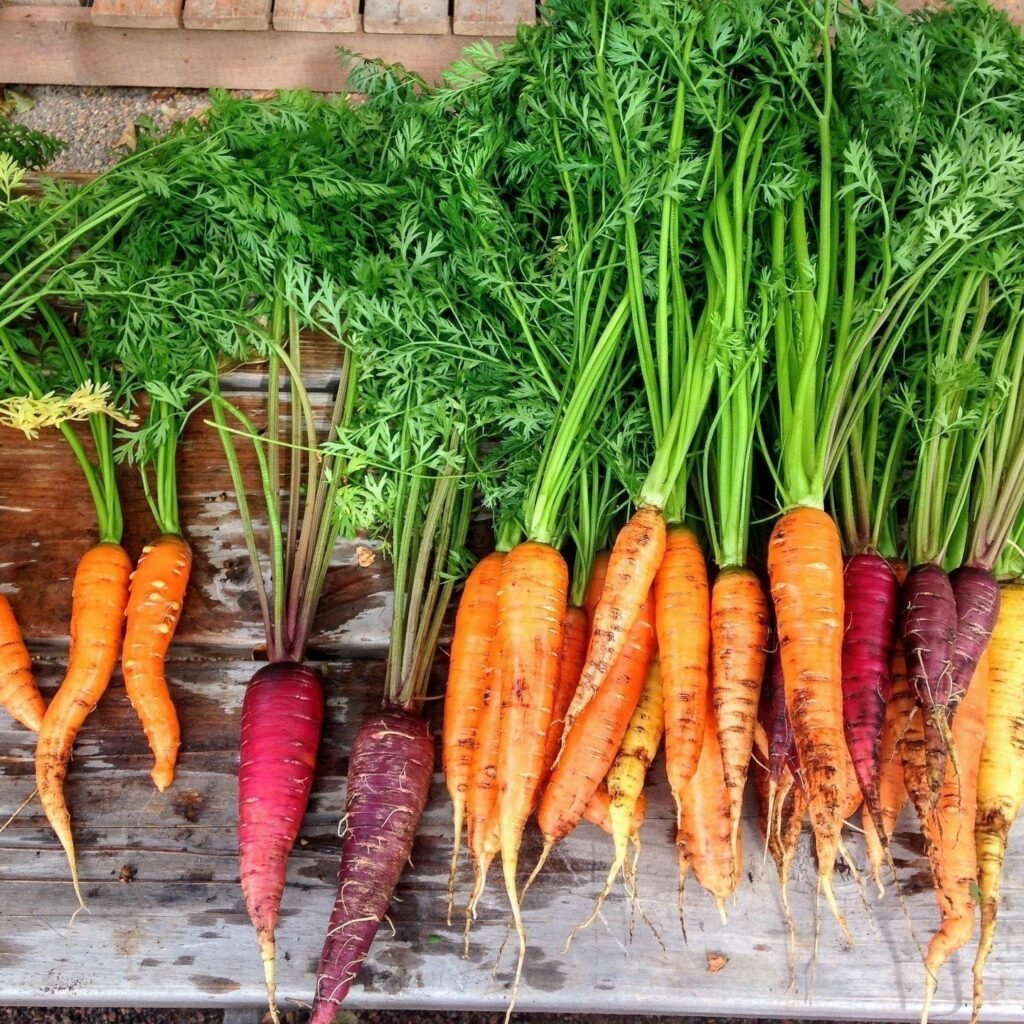
Selecting the Best Carrot Varieties for Pots

Some carrot varieties are more container-friendly than others.
Long Varieties (Ideal for Deep Pots)
- Nantes
- Danvers
- Imperator
- Sugarsnax 54
Short Varieties (Work in Smaller Pots Too)
- Thumbelina (Round carrots)
- Chantenay
- Parisian Market
If you have a pot deeper than 12 inches, go for Nantes or Imperator—they grow beautifully long and sweet.
Creating the Perfect Loose Soil for Carrots
Loose soil is the secret to growing beautiful, flavorful carrots. Dense or heavy soil blocks the growth of carrot roots, forcing them to split or fork.
Ideal Soil Texture
- Light
- Airy
- Fine
- Loose
- Well-draining
Best Potting Mix Recipe for Carrots
Mix the following:
- 40% sandy soil or coarse sand
- 40% coco peat or peat moss
- 20% compost (well-rotted, fine-textured)
Tips
- Avoid manure-rich soil—it can cause hairy roots.
- Remove stones or lumps.
- Compost should be fully decomposed.
- Soil pH should be between 6.0–6.8.
The more crumble-textured the soil is, the straighter your carrots will grow.
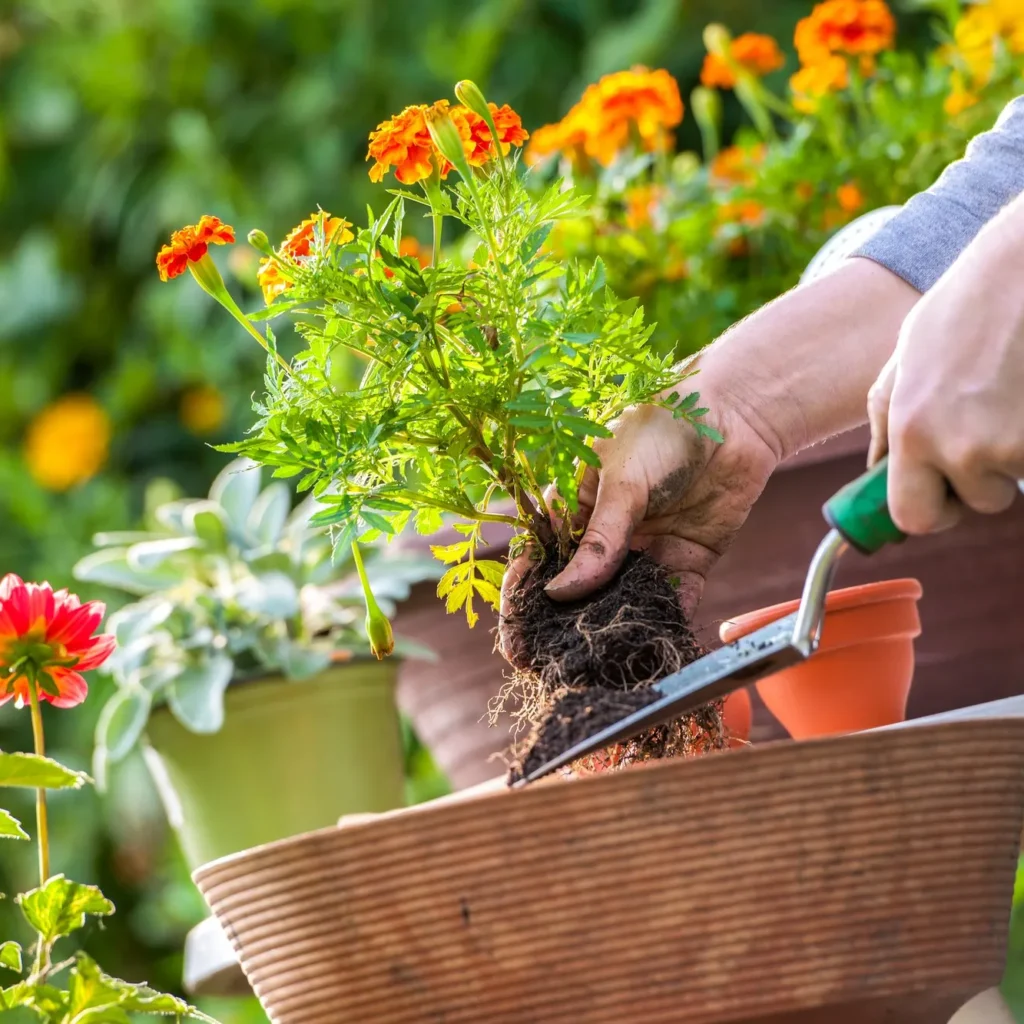
Planting Carrot Seeds Correctly
Carrots should always be grown from seed—not transplants. Transplanting damages the long taproot and causes deformities.
How to Plant Carrot Seeds
- Fill the pot with your loose soil mix.
- Lightly moisten the soil before sowing.
- Sprinkle the seeds evenly on the surface.
- Cover with a very thin layer of soil—about ¼ inch.
- Mist with water (don’t pour directly).
- Cover the pot with a thin sheet of newspaper to retain moisture.
Germination Time
Carrot seeds take 10–20 days to sprout. Be patient—they are slow starters!
Important
Carrot seeds need consistently moist soil during germination. Never let the top layer dry out completely.
Light Requirements for Carrot Plants
Carrots need sunlight for strong, healthy foliage, which in turn feeds the root.
Light Needs
- 6 hours of full sunlight is ideal
- They can tolerate partial shade
- Morning sun is best; avoid harsh mid-day heat in hot climates
If indoors, place them near a bright window or use a grow light for 8–10 hours daily.
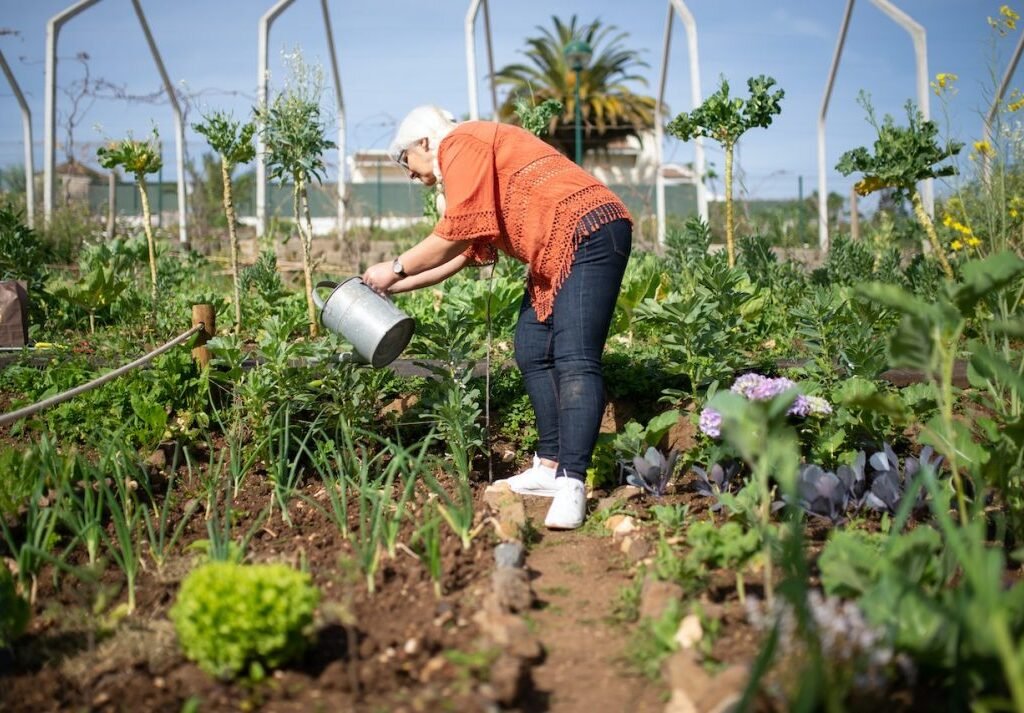
Watering Carrots in Pots (The Right Way)
Watering carrots requires balance: too much water causes rot; too little stunts growth.
Watering Tips
- Keep soil evenly moist—not soggy
- Water deeply to encourage root growth
- Reduce watering slightly once roots start forming (after 3–4 weeks)
- Never let the soil completely dry out
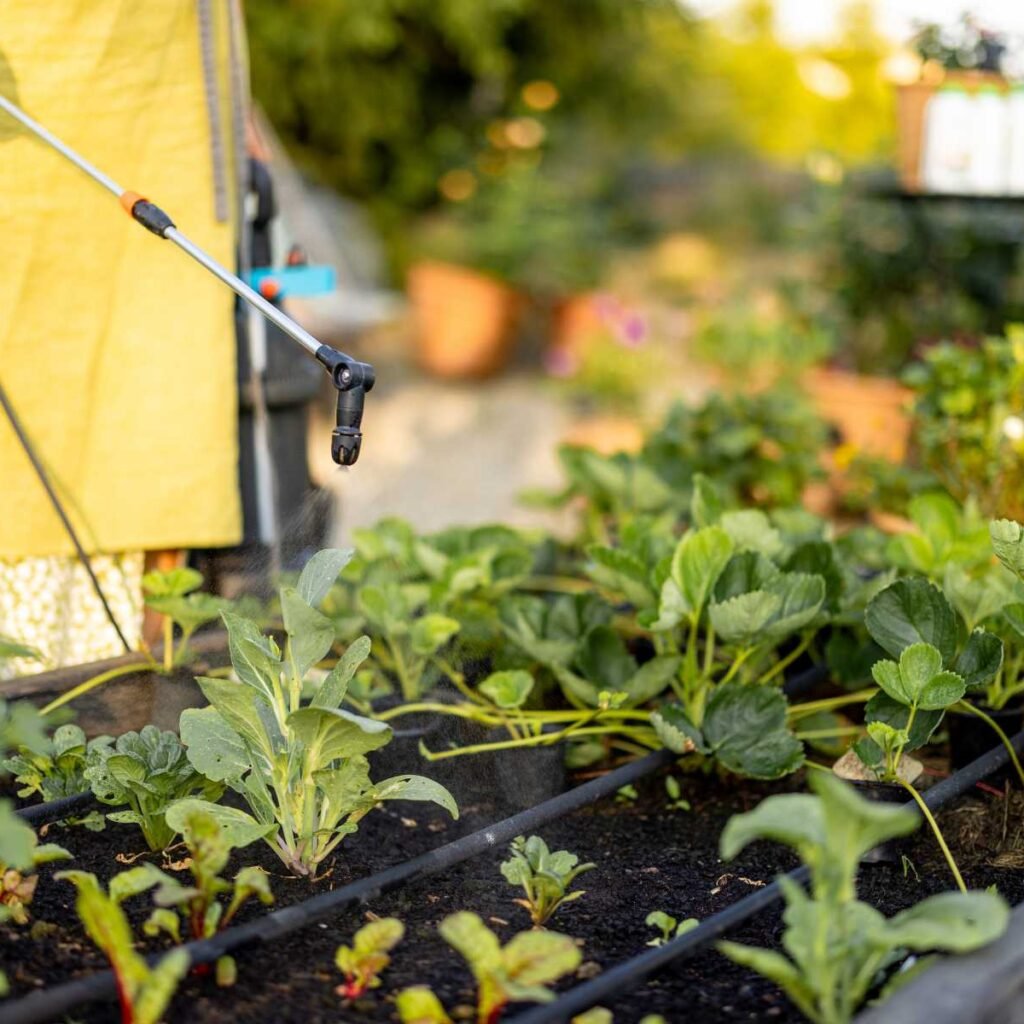
Best Watering Method
Use a watering can with a fine spout or a drip system to avoid washing out the seeds or disturbing loose soil.
Thinning: The Most Important Step for Perfect Carrots
Carrots must be thinned to avoid overcrowding. If they grow too close together, they become thin, crooked, or severely deformed.
When to Thin
- When seedlings reach 2 inches tall
- Thin to 2 inches apart for long varieties
- Thin to 1 inch apart for short or round varieties
Be gentle—pull out the weaker seedlings and leave the strongest ones.
Fertilizing Carrots in Pots
Carrots don’t need heavy feeding. Too much nitrogen causes lush leaves but small roots.
Best Fertilizers
Use low-nitrogen fertilizers such as:
- Seaweed extract
- Wood ash (very lightly)
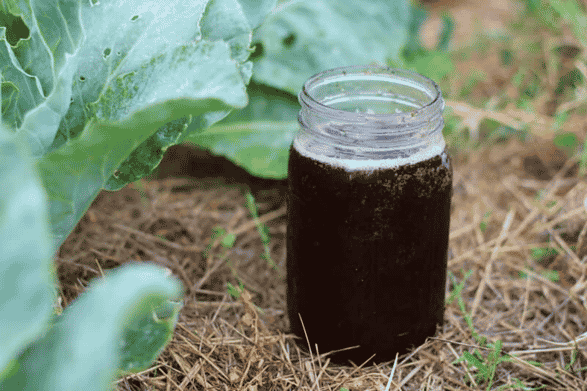
- Compost tea (once a month)
- Vermicompost (very small amounts)
Avoid chemical fertilizers unless you know the nutrient ratio. Choose NPK ratios like 5-10-10 or low nitrogen blends for root vegetables.
Caring for Growing Carrot Plants
Here’s how to keep your carrots healthy throughout the growing cycle:
1. Mulch Lightly
A thin layer of mulch:
- Keeps soil moist
- Prevents cracking
- Stops carrot tops from turning green
Use straw, dried leaves, or coco mulching.
2. Rotate the Pot
If sunlight hits one side stronger, rotate the pot every few days to keep foliage even.
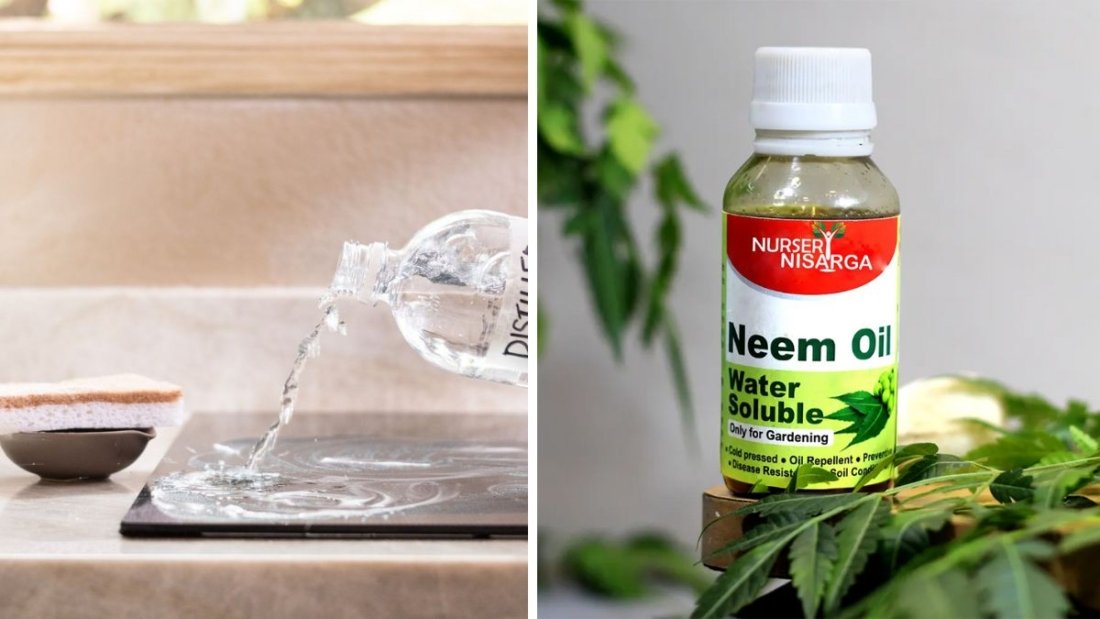
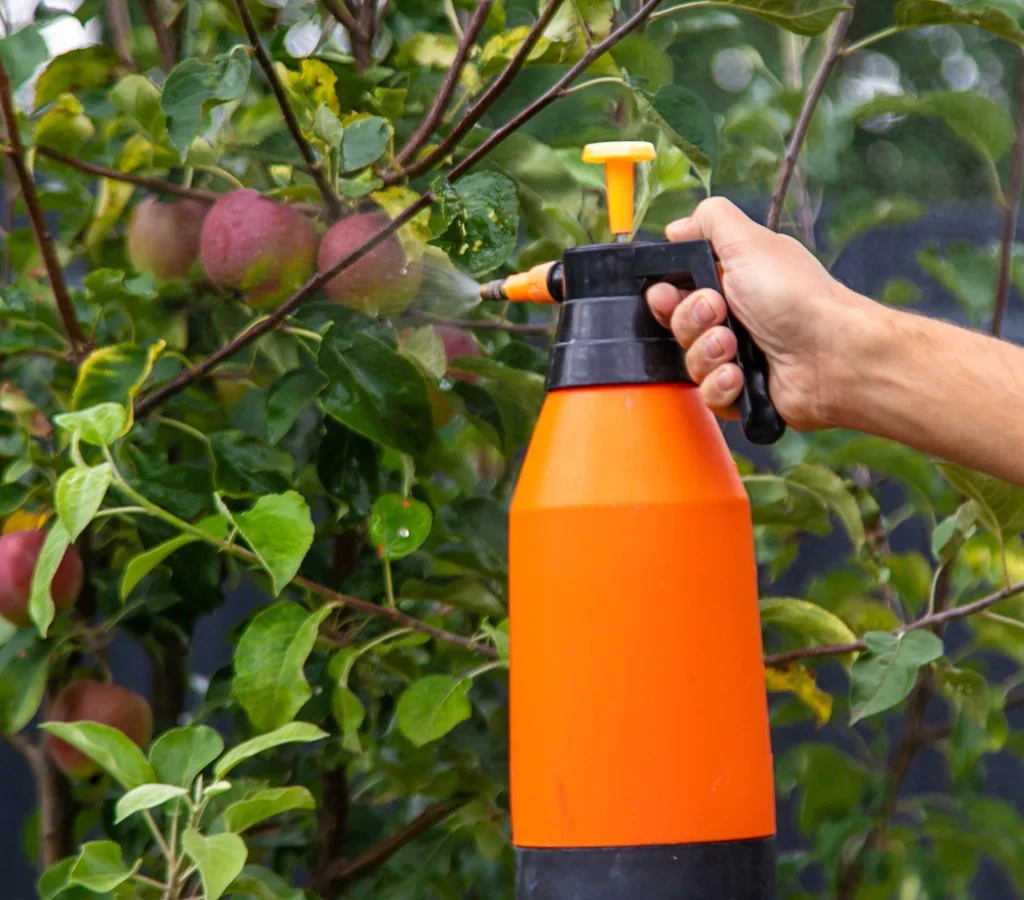
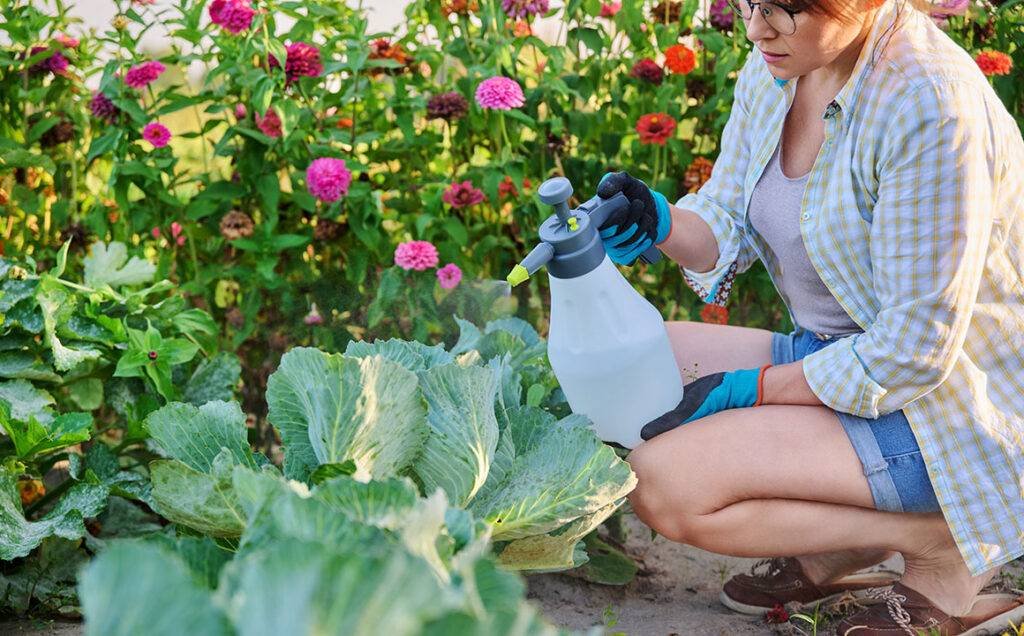
3. Watch for Pests
Carrot pots rarely get pests, but:
- Aphids
- Spider mites
- Caterpillars
can appear.
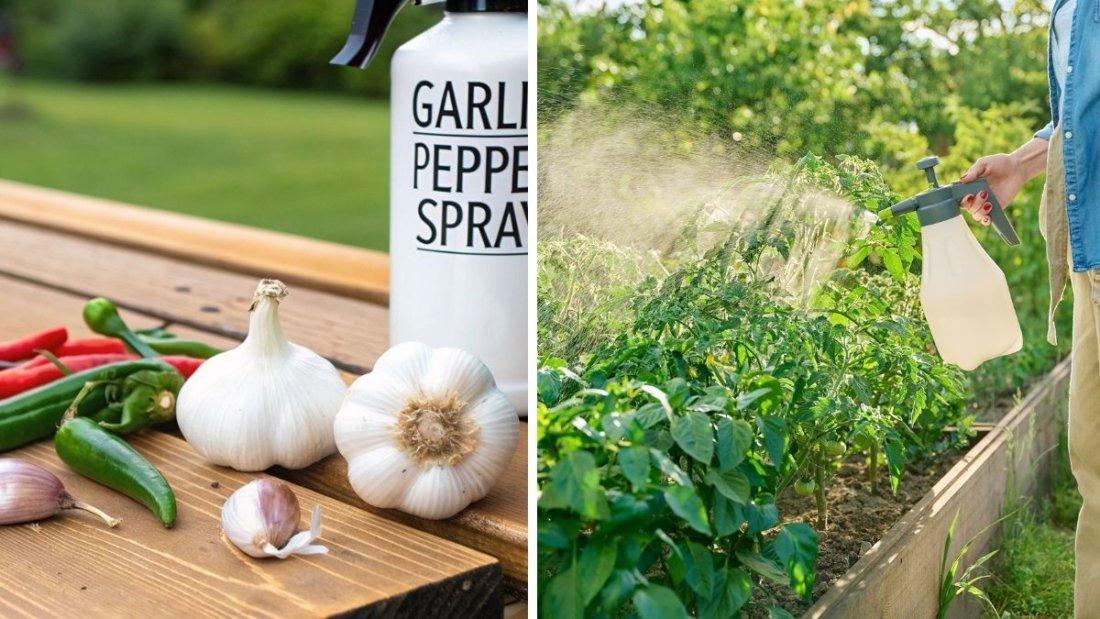
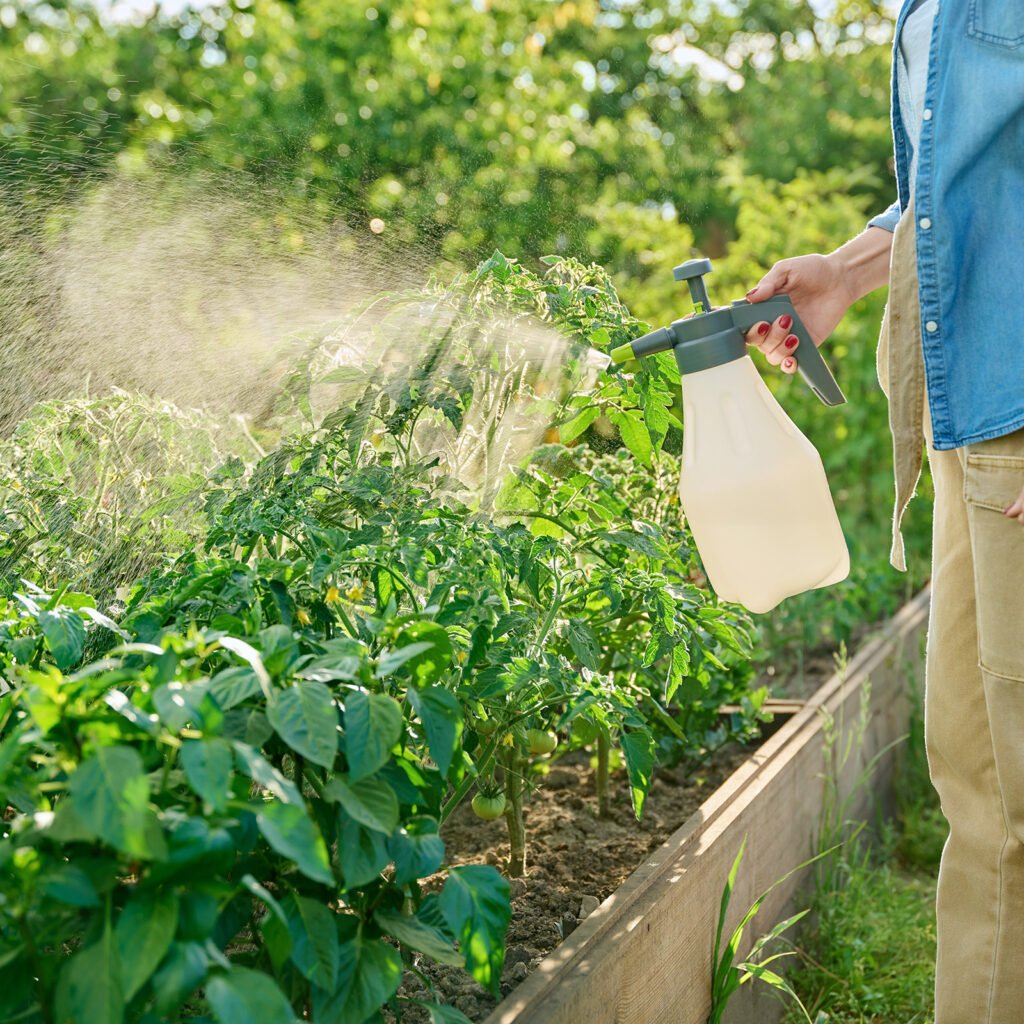
Use neem oil spray weekly as a preventive measure.
4. Avoid Root Disturbance
Do not poke or dig around the soil once carrots start forming roots.
How to Know When Carrots Are Ready to Harvest
Carrots are usually ready in 65–80 days, depending on the variety.
Signs of Maturity
- Tops (shoulders) appear above the soil
- Diameter looks 1–1.5 inches
- Leaves are lush and green
- Variety-specific harvest window has passed
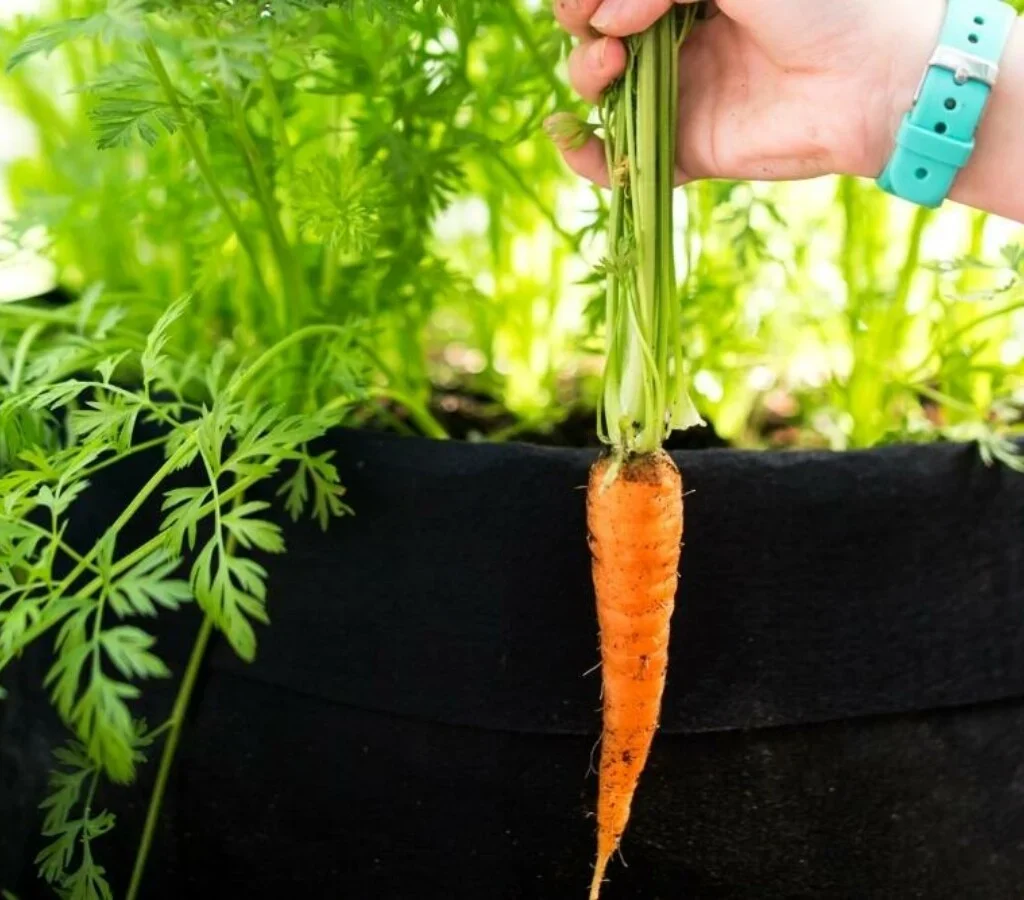
How to Harvest
- Water the pot lightly to soften soil.
- Hold the carrot at the base of the leaves.
- Pull straight upward with gentle pressure.
- Brush off excess soil—don’t wash until use.
Harvesting too late can result in woody, tough carrots.
Common Problems When Growing Carrots in Containers
1. Forked Carrots
Caused by:
- Hard soil
- Fresh manure
- Stones
- Inconsistent watering
2. Cracked Carrots
Due to:
- Irregular watering
- Sudden heavy rainfall
3. Small Carrots
Happens when:
- Not thinned properly
- Too little sunlight
- Poor soil depth
4. Carrot Tops Turning Green
Caused by:
- Exposure to sunlight
Fix by mulching over exposed roots.
Tips for Growing Perfect Carrots in Deep Pots
Use deep pots (12–14 inches minimum)
Keep soil loose, sandy, and stone-free
Water consistently, especially during germination
Thin seedlings for proper spacing
Provide at least 5–6 hours of sunlight
Avoid nitrogen-heavy fertilizers
Remove weeds or competing plants
Harvest at the right time
When done correctly, you’ll get beautifully shaped, sweet, tender carrots every time.
Final Thoughts
Growing carrots in deep pots with loose soil is a rewarding, beginner-friendly gardening project that works beautifully in small urban spaces. With the right soil texture, proper depth, consistent watering, and good care, you can harvest perfect, long, and delicious carrots right from your balcony or terrace.
The beauty of container-grown carrots lies in complete control over the soil and environment—something traditional gardens often struggle with. Once you try growing carrots this way, you may never go back to ground planting!