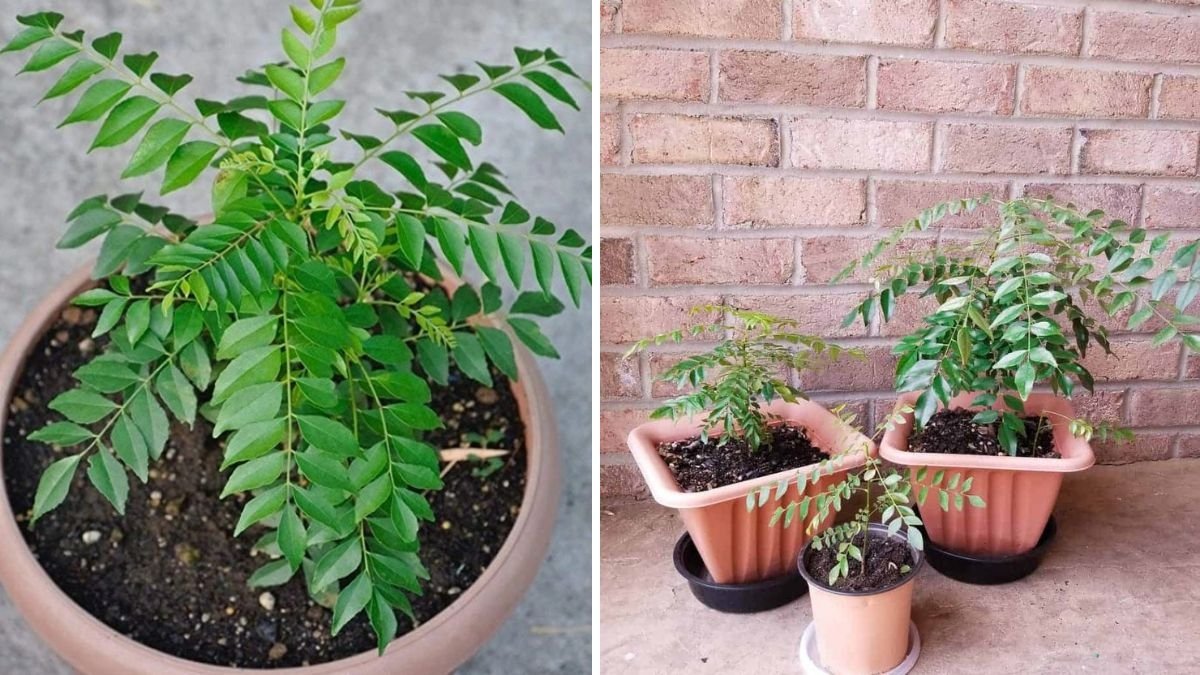
The curry leaf plant (Murraya koenigii)—known as Kadi Patta in India—is a must-have herb for every kitchen garden. Its fresh leaves add unmatched flavor to dals, curries, chutneys, snacks, and more. While most people grow curry leaf plants through cuttings or nursery plants, growing it from seeds is the most natural, long-lasting, and rewarding method.
In this detailed guide, you will learn exactly how to grow Curry Leaf plants from seeds, the best soil mix, germination tricks, sunlight needs, common problems, and a week-by-week update timeline—perfect for gardening blogs and YouTube update videos.
Why Grow Curry Leaf Plant From Seeds?
Growing curry leaf plants from seeds offers several benefits:
- Stronger and healthier plant than store-bought cuttings
- Natural growth pattern with deeper roots
- More branches and fragrant leaves
- Longer plant life
- Zero cost propagation
Although seed germination can be slow, with the right method your seeds can sprout within 15–30 days.
Where Do You Get Curry Leaf Seeds?
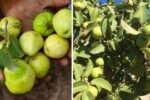
Curry leaf seeds come from the ripe berries of the curry leaf plant.
Choose:
- Fully ripe, dark black berries
- Freshly picked (seeds lose viability quickly)
Avoid:
- Green berries
- Dried or shriveled berries
Important: Remove the fleshy pulp because it contains germination-inhibiting chemicals.
Step 1: Preparing the Seeds (Very Important)
- Collect ripe black berries.
- Squeeze gently to remove the seed inside.
- Wash the seed to remove all pulp.
- Sun-dry for 2–3 hours only (not more).
- Optional: Soak the seeds in water overnight to speed up germination.
Tip: Curry leaf seeds lose power after 2–3 days, so sow them as soon as possible.
Step 2: Best Soil Mix for Fast Germination
Curry leaf seeds germinate best in light, airy and well-draining soil. Use:

Recommended Germination Mix
- 40% Cocopeat
- 30% River Sand
- 30% Compost or Vermicompost
This mix retains moisture but does not rot the seeds.
Avoid:
- Heavy garden soil
- Clay-rich soil
- Over-compacted mixtures
Step 3: Sowing the Seeds
- Fill small pots, seed trays, or cups with the soil mix.
- Make a 1–1.5 cm deep hole.
- Place the seed horizontally.
- Cover lightly with soil.
- Spray water gently to moisten the soil.
- Keep the pot in bright shade (not direct sun).
Watering Routine
- Keep soil consistently moist, never soggy.
- Mist the soil daily during the first two weeks.
- Reduce watering once sprouts appear.
Temperature & Climate for Success

Curry leaf seeds germinate best in:
- Warm temperatures: 24–32°C
- High humidity
- Indirect bright light
Cold weather will delay or prevent germination.
After Sprouting: Light Requirements
Once the seedlings grow 2–3 leaves:
- Keep them in indirect light for 10–12 days.
- After that, gently move them to morning sunlight.
- Within 4–6 weeks, they can handle 4–5 hours of sunlight daily.
Curry leaf plants thrive in full sun once mature.
Feeding Your Curry Leaf Seedlings
Don’t fertilize for the first 30 days.
After 1 month:
Monthly Organic Fertilizers:
- Vermicompost
- Cow dung compost
- Banana peel fertilizer
- Seaweed solution
During growing season (Feb–Oct):
Apply buttermilk spray every 15 days for bushy growth.

When to Repot?
Repot when seedlings reach 4 inches or have 6–8 leaves.
Use this soil mix for the new pot:
- 50% Garden Soil
- 25% Compost
- 25% Sand
Choose a 6-inch pot initially.
After 6–8 months, shift to a 12-inch pot for best growth.
Common Problems & Solutions
1. Seeds Not Germinating
- Seeds were old
- Soil too heavy or wet
- Cold weather
Use fresh seeds
Improve drainage
Keep warm
2. Seedlings Falling Over
This is damping-off disease.
Improve air flow
Use fungicide solution once a week
Avoid overwatering
3. Slow Growth
Curry leaf plants grow slowly during winter.
Add buttermilk or seaweed
Provide more sunlight
4. Yellow Leaves
- Too much water
- Poor soil
- Lack of sunlight
Reduce watering
Improve soil mix
Give morning sun
Update Timeline (Perfect for Update Videos!)
Week 1 – Sowing & Initial Stage
Seeds are sown.
No visible change, but internal germination begins.
Tip: Keep soil moist and warm.
Week 2 – First Swelling
Seeds swell and tiny white roots start forming inside the soil.
Tip: Don’t disturb the pot.
Week 3–4 – Sprouting Begins
Small green shoots emerge.
1–2 tiny leaves appear.
Tip: Move to brighter light.

Week 4–6 – Seedlings Strengthen
Leaves grow bigger.
Roots expand.
Tip: Water lightly and avoid direct afternoon sun.
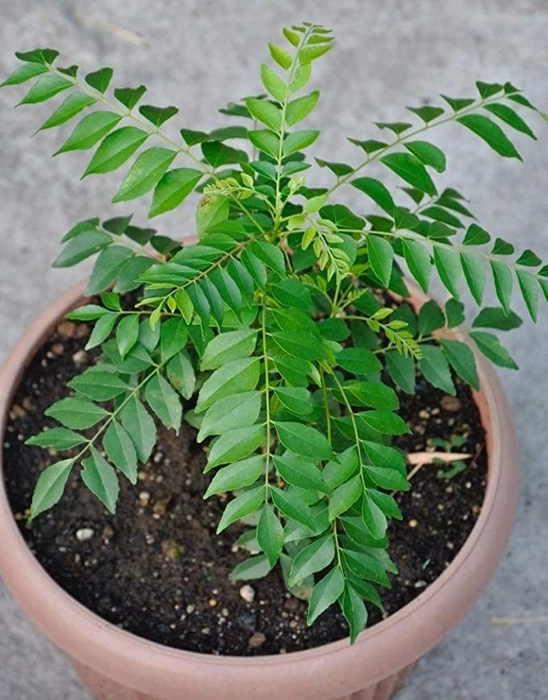
Week 8 – First True Leaves
You’ll see the typical “curry leaf shape” leaves.
Plant height: 3–4 inches.
Tip: Add a light fertilizer like seaweed or vermicompost.
2–3 Months – Ready for Repotting
Seedlings become strong.
6–8 leaves visible.
Tip: Shift to a 6-inch pot.
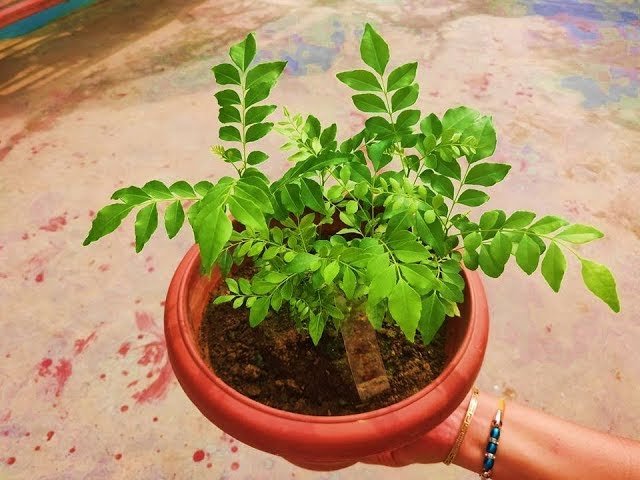
4–6 Months – Bushy Growth Starts
Multiple branches start forming.
Leaves become more aromatic.
Tip: Pinch the top leaves to encourage branching.

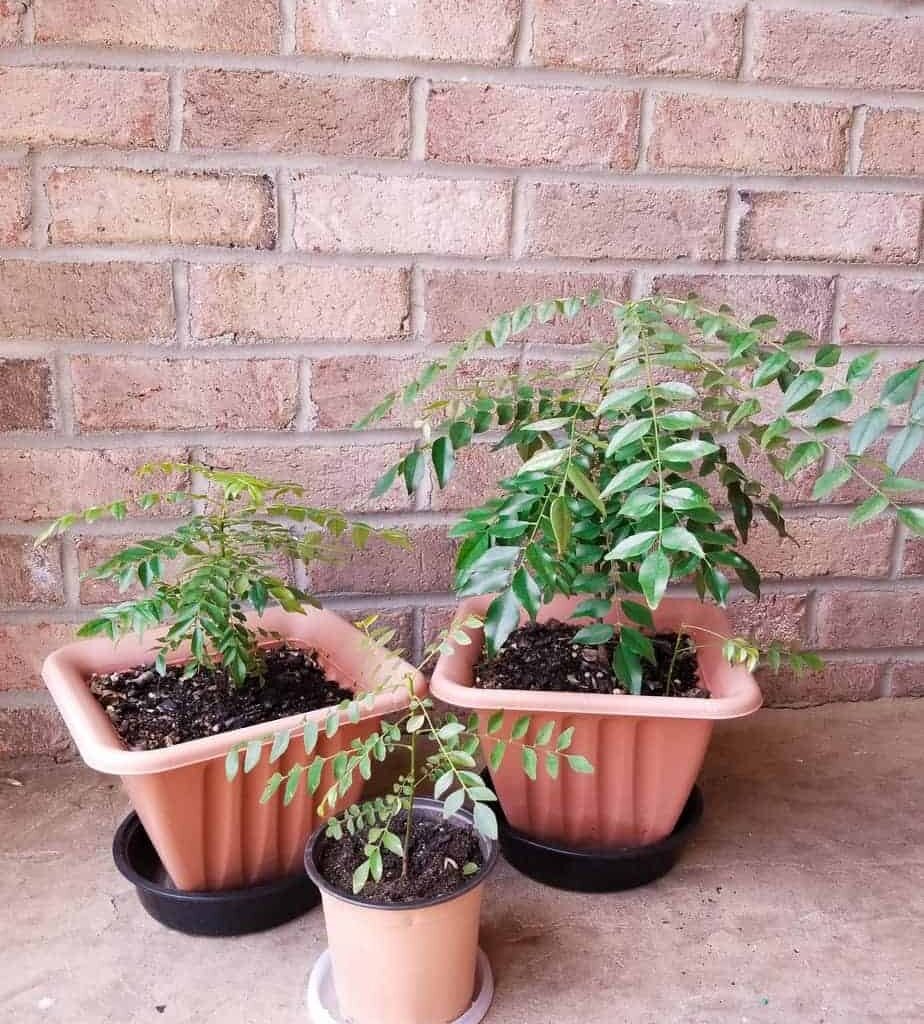
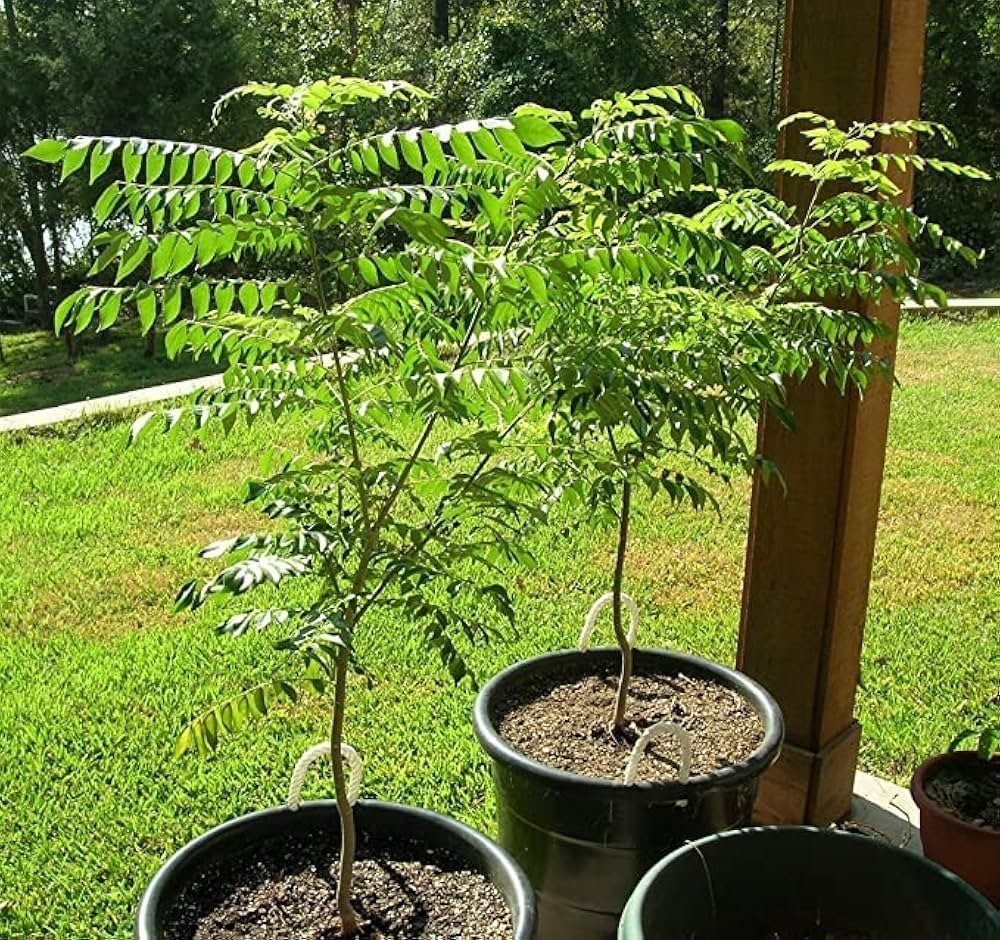
8–10 Months – Strong Plant
Plant reaches 1–1.5 feet.
Much bushier and greener.
1 Year – Mature Plant
Your curry leaf plant is now:
- Strong
- Bushy
- Producing fresh leaves regularly
With proper care, it can grow into a small tree in 2–3 years.
Pro Tips for Fast Growth
- Give 4–6 hours of sunlight daily
- Apply buttermilk diluted 1:4 twice a month
- Use seaweed for glossy leaves
- Prune regularly for bushy shape
- Never overwater
Conclusion
Growing curry leaf plants from seeds is slow but incredibly rewarding. With the right germination method, perfect soil mix, warmth, and patience, you can grow a healthy, aromatic curry leaf plant from scratch—ideal for kitchen gardening, terrace gardens, and balcony growers.
This guide, along with the update timeline, is perfect for your YouTube video, gardening blog, or social media post.
Leave A Comment