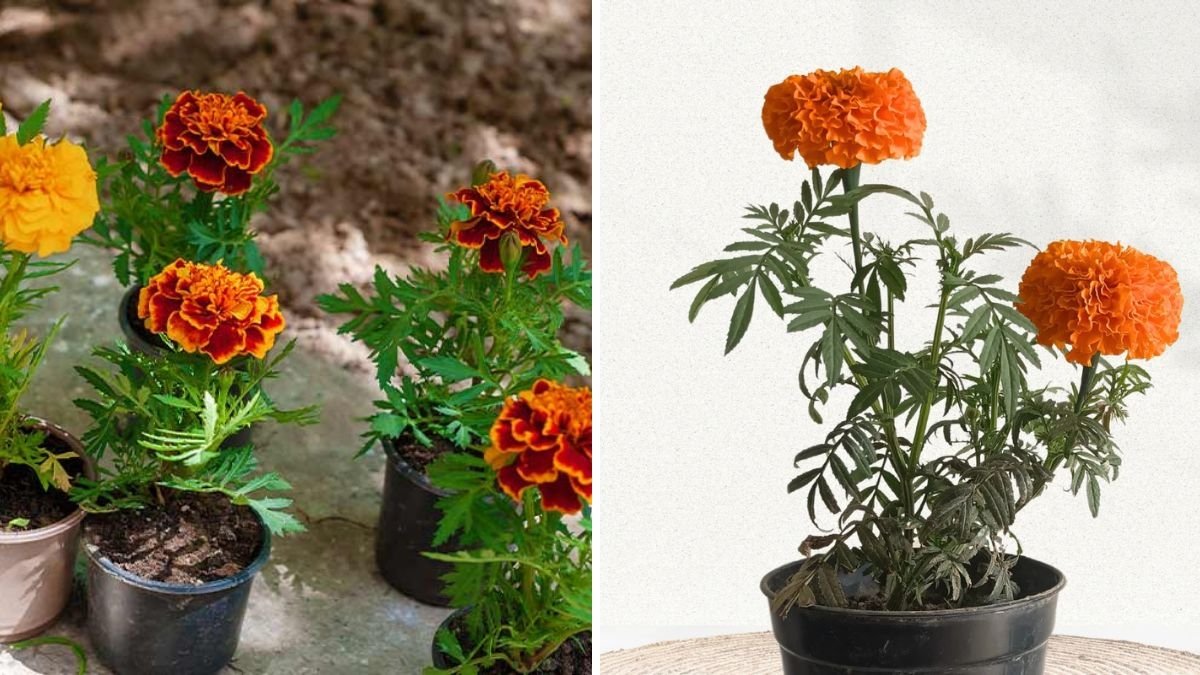
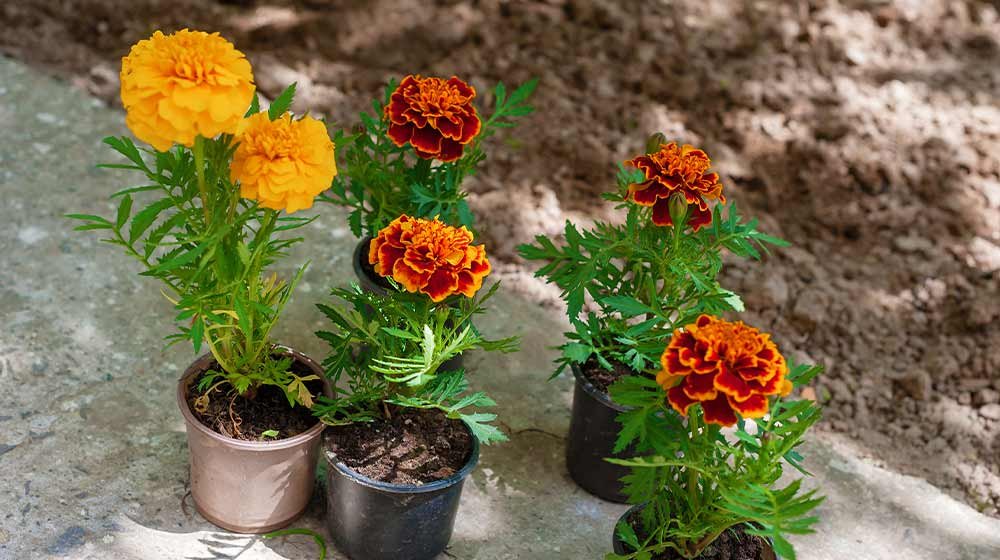
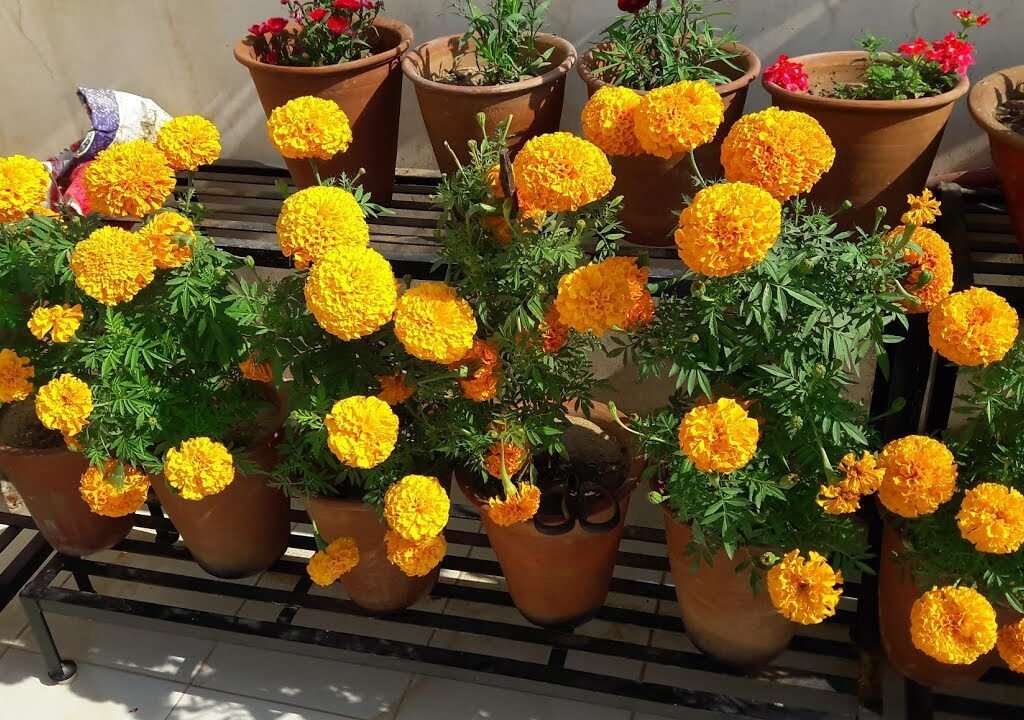
Marigolds are among the easiest and fastest flowering plants you can grow at home. Their bright orange, yellow, and red blooms not only beautify your garden but also repel pests, attract pollinators, and grow quickly with very little care. While most people grow marigolds from seeds, growing them from cuttings is even faster, easier, and gives you identical, strong, disease-free plants.
In this detailed guide, you’ll learn how to grow marigold from cuttings step-by-step, how to root them quickly, how to care for them, and what to expect in the weeks after planting—just like an update video.
Why Grow Marigolds from Cuttings?
Growing marigolds from cuttings has several benefits:
Faster Flowering
Cuttings skip the seedling stage. This helps them grow and bloom 30–40% faster.
Stronger, Identical Plants
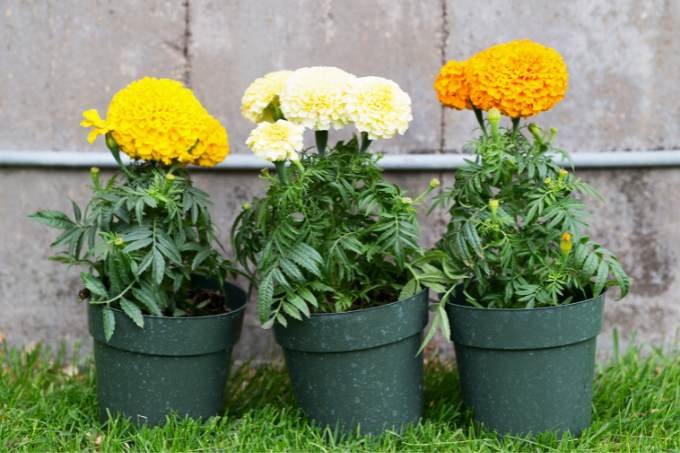
You get exact copies of the mother plant—same flower size, color, and growth pattern.
High Success Rate
Marigolds root very easily, making them perfect for beginners.
Zero Cost Propagation
Just one mother plant can give you 10–30 new plants free of cost.
Materials You Need
Growing marigolds from cuttings is simple. Gather the following items:

- A healthy marigold plant (mother plant)
- Clean scissors or pruning shears
- A small pot/tray
- Light potting mix or propagation mix
- Rooting hormone (optional but helpful)
- Spray bottle
- Water
That’s all you need!
Step 1: Select the Best Cutting
Selecting the right cutting is the key to fast rooting.
Choose a semi-hardwood stem
This means the stem is not too soft (green) and not too woody. Semi-hard stems root faster.
Look for shoots 4–6 inches long
These should be fresh, green, and flexible.
Must have at least 3–4 leaf nodes
Nodes are the points where leaves grow—roots form here.
Avoid flowering stems
Remove any buds or flowers. Leave only leaves on the upper portion so the plant focuses on root growth.
Step 2: Prepare the Cutting
Follow these steps for best results:
- Cut the stem just below a node.
- Remove leaves from the lower half of the cutting.
- Dip the bottom part in rooting hormone (optional but increases success rate).
- Keep the cutting ready for planting within 5 minutes—freshness matters.
Step 3: Prepare the Potting Mix (Fast-Rooting Mix)
Marigold cuttings root best in a light, airy, fast-draining mix.

DIY Fast-Rooting Soil Mix:
- 50% cocopeat or peat moss
- 30% perlite or sand
- 20% compost
Why this mix works:
- Cocopeat keeps the stem moist
- Sand or perlite boosts drainage
- Compost provides nutrients once roots start forming
Do NOT use heavy garden soil—it causes rot.
Step 4: Plant the Cutting
Now it’s time to plant your cutting:
- Make a 2-inch hole in the soil using a pencil or finger.
- Insert the cutting gently without damaging the stem.
- Press the soil lightly for support.
- Water lightly using a spray bottle.
- Place the pot in bright but indirect light.
Within the first week, moisture is very important—keep the soil lightly moist, never soggy.
Step 5: Maintain Humidity (Secret to Fast Rooting)
Marigold cuttings root beautifully when humidity is maintained.
You can use:
- A transparent plastic bag
- A plastic bottle cut from the bottom
- A propagation dome
This creates a mini-greenhouse environment.
Tips:
- Ventilate for 10 minutes every day
- Do NOT keep it in harsh sun—it will burn the cutting
- Spray lightly if soil feels dry
Rooting Timeline (Update-Style Guide)
Here’s what happens after planting your cutting—just like watching an update video, but in writing:
Day 1–3: Settling Period
- Cutting adjusts to new environment
- Leaves may look slightly dull—normal
- Keep soil moist and shaded
Day 4–7: First Root Signals
- Nodes begin activating internally
- If leaves stay fresh, it’s a good sign
- New tiny leaves may show at the top
Important: Do NOT tug the cutting to check for roots.

Day 8–14: Root Development
- Roots begin forming strongly
- Cutting stands more firmly in soil
- Light new growth appears on tips
You can gently tap the stem—if it feels firm, roots have formed.
Day 15–20: Potting Time
Now the cutting has:
- Visible new leaves
- Strong rooting
- Healthy green color
This is the perfect time to transplant into a bigger pot with nutrient-rich soil.
Step 6: Transplanting to Final Pot
After 2–3 weeks, move your rooted cutting to a final container.
Ideal pot size:
- 6–8 inches for single plants
- 12–14 inches for 2–3 plants
Best Potting Soil:
- 50% garden soil
- 30% compost or cow dung
- 20% sand
Make sure the pot has drainage holes.
Plant gently and water thoroughly.
Step 7: Sunlight Requirement
Marigolds LOVE sunlight.
After transplant:
- Give 3–4 hours of morning sunlight for the first week
- Gradually increase to 6–7 hours daily
More sunlight = More flowers.

Step 8: Watering Routine
Marigolds do not like too much water.
Water only when:
- The top 1 inch of soil feels dry
- Leaves look slightly dull
- Weather is hot and dry
Avoid watering at night—moisture invites fungus.
Step 9: Fertilizing for Fast Growth
Fertilizing marigolds is simple and low-cost.
Best Fertilizers:
- Vermicompost
- Cow dung compost
- Seaweed extract
- Mustard cake liquid (very dilute)
- Banana peel fertilizer
When to Feed:
- First feeding: 10 days after transplant
- Repeat every 15–20 days
Avoid chemical fertilizers in the early stage.
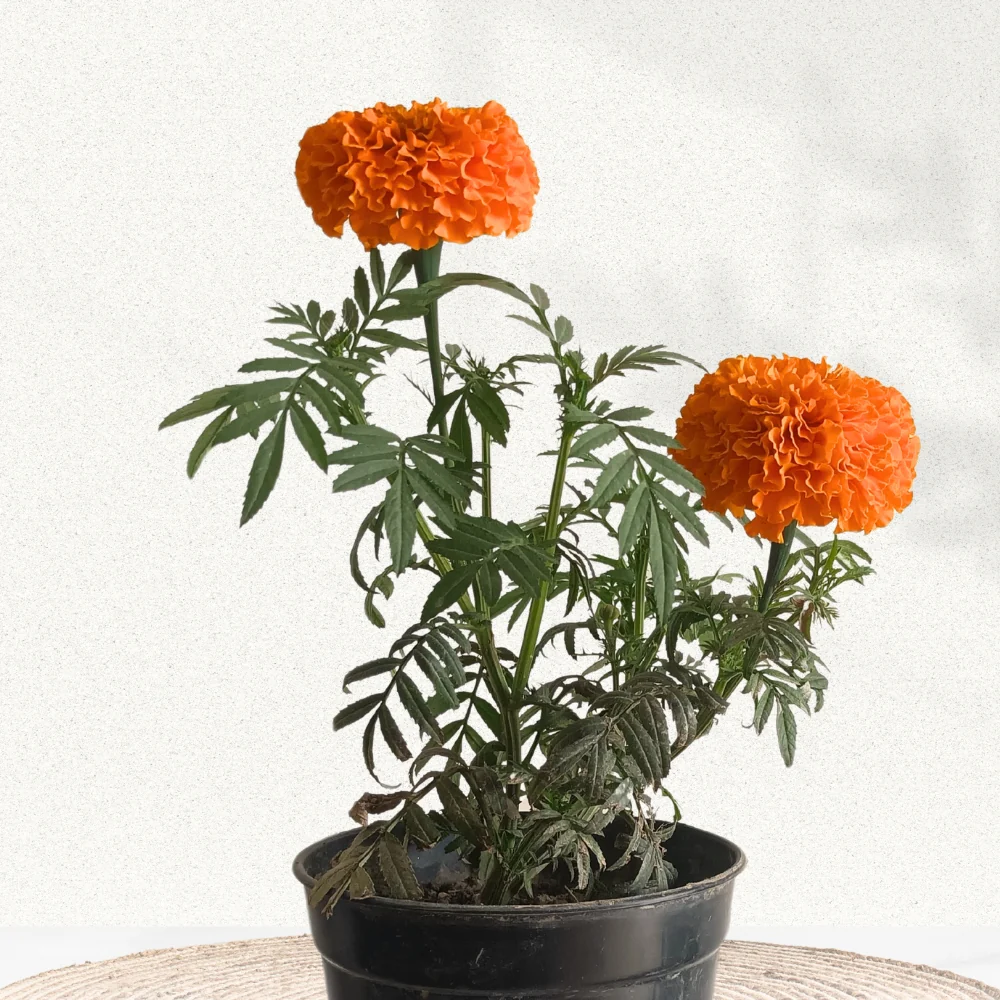
When Will Flowers Appear?
With cuttings, flowering is much faster than seeds.
Average flowering time:
- 35–45 days after planting
- Heavy blooming by day 60
Proper sunlight + mild fertilizing = Maximum blooms.
Update Timeline Summary
| Day | Stage |
|---|---|
| 1–3 | Cutting settles |
| 4–7 | Nodes activate |
| 8–14 | Strong root formation |
| 15–20 | Ready for transplant |
| 25–35 | Strong growth |
| 35–45 | First blooms |
| 45–60 | Heavy flowering |
Common Mistakes to Avoid
Avoid these to ensure maximum success:
Using heavy garden soil for rooting
Overwatering the cutting
Keeping it in full sun during rooting
Cutting stems with flowers
Not removing lower leaves
Tugging the cutting too early

If you avoid these, you’ll get a 90–100% success rate.
Benefits of Growing Marigolds from Cuttings
Fastest method of propagation
Free plants—no seeds needed
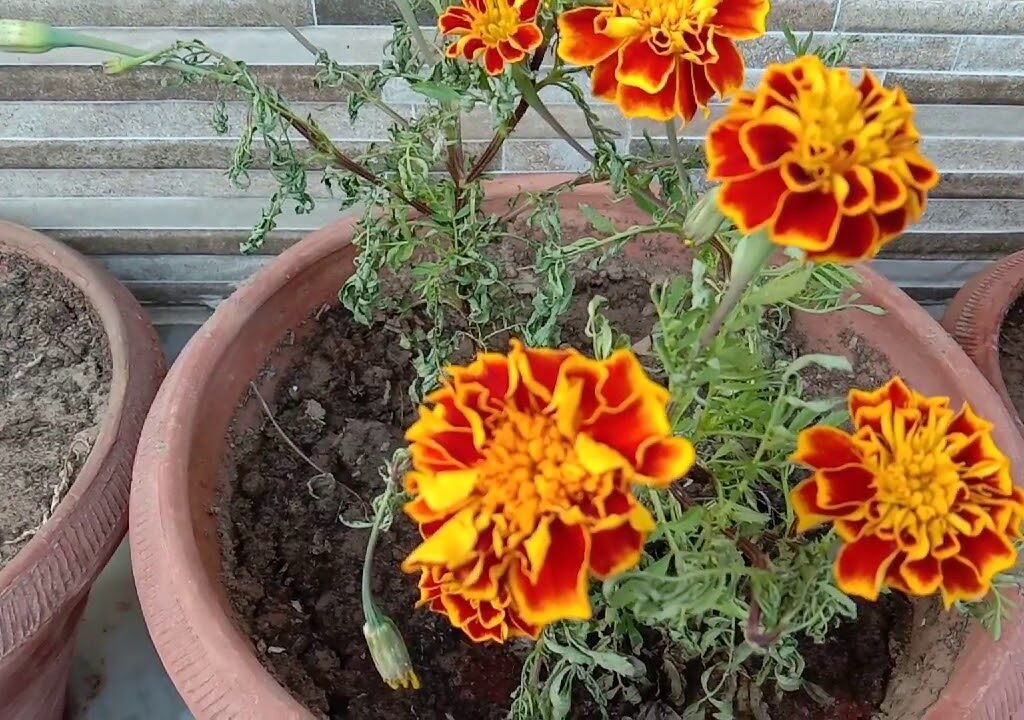
Early and heavy flowering
Strong, healthy clones
Low maintenance
Perfect for home gardens & terraces
Final Thoughts
Growing marigolds from cuttings is one of the easiest gardening projects you can try at home. This method is fast, clean, cost-effective, and gives you lots of beautiful plants in just a few weeks. With consistent care, good sunlight, and the simple steps shared above, your cuttings will root quickly and reward you with bright, cheerful blooms.
Leave A Comment