Cauliflower is one of the most nutritious and versatile vegetables you can grow in your home garden. From salads and soups to curries and snacks, cauliflower easily fits into countless recipes. But growing cauliflower isn’t just about planting seeds and waiting—this vegetable needs proper planning, care, and attention at each stage. The reward? A healthy, organic, and chemical-free harvest right from your own home.
If you’ve ever wanted to grow cauliflower but didn’t know where to start, this complete guide will walk you through everything—from choosing seeds and soil to harvesting and storing fresh cauliflower. With proper updates and care tips included, even beginners can grow this cool-season vegetable successfully.
Why Grow Cauliflower at Home?
Growing cauliflower at home offers multiple benefits:
- Fresh and chemical-free
- Rich in vitamins C, K, and B6
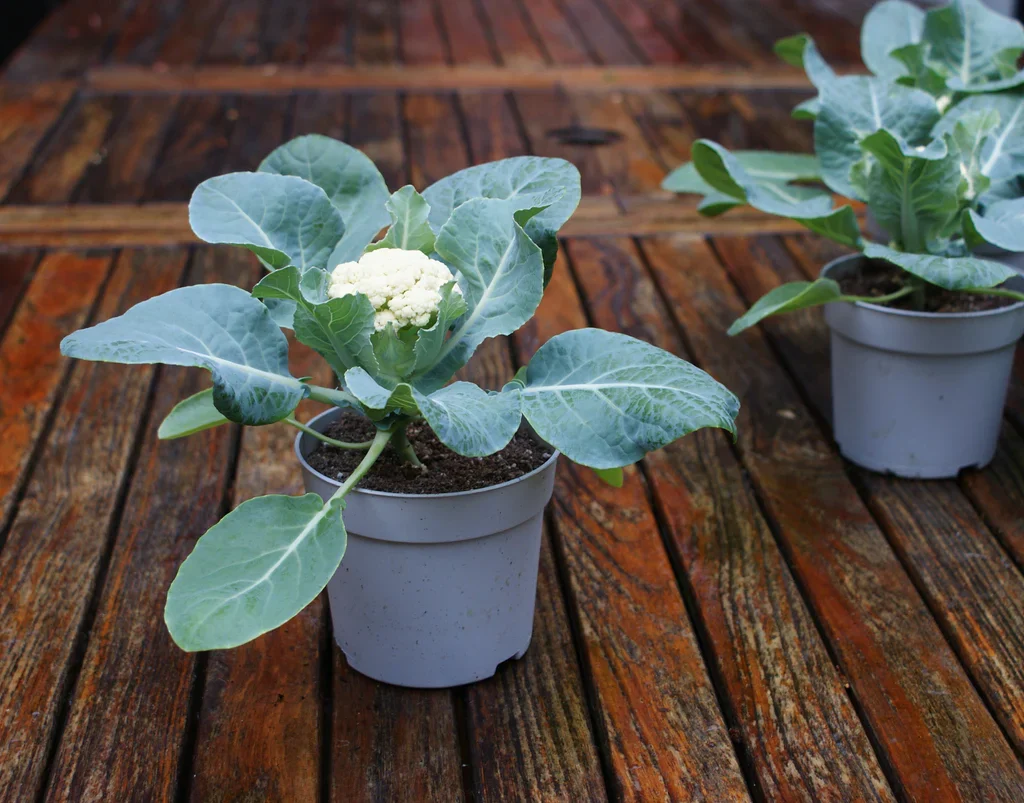
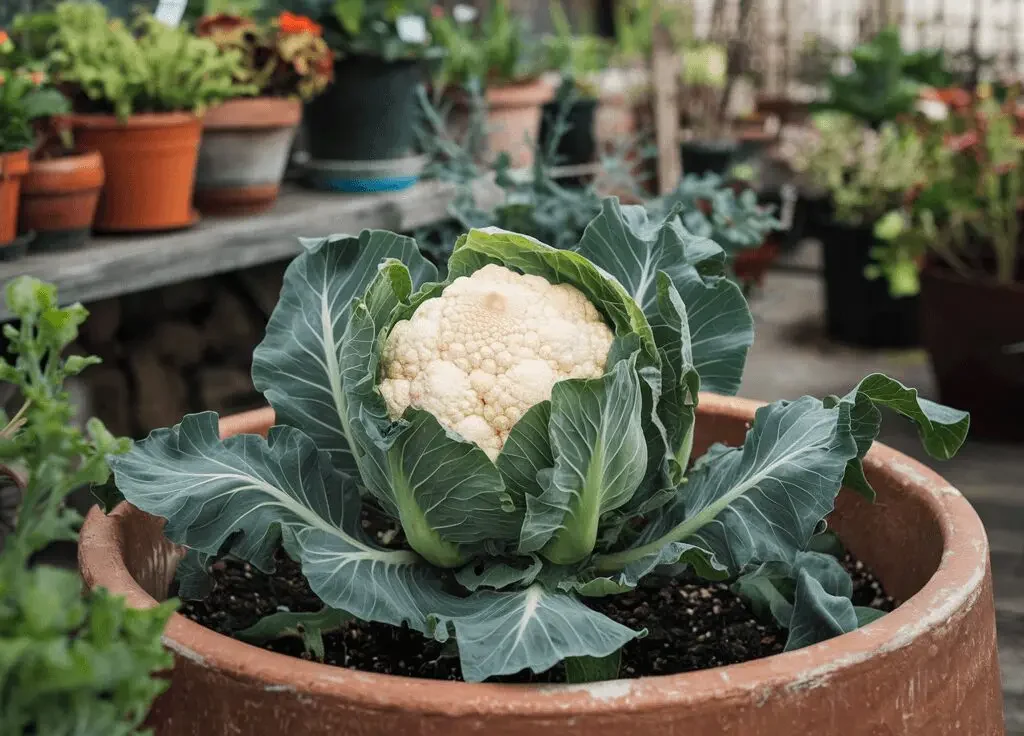
- Requires very little space if grown in containers
- Long-lasting yield with proper care
- One-time effort, high reward crop
Cauliflower thrives best in cooler climates, making it perfect to grow during winter months or in a shaded balcony.
Best Season to Grow Cauliflower
Cauliflower is a cool-season crop, meaning it prefers temperatures between:
- 15°C to 22°C
Extreme heat may cause the plant to bolt (produce flowers instead of a head). The best time to plant is:
- September to January in mild climates
- Autumn or early spring in colder regions
Choosing the Right Seeds
Always select good quality seeds from a reliable source. There are different varieties depending on climate:

| Type | Best For |
|---|---|
| Early varieties | Warmer climates |
| Mid-season varieties | Moderate climates |
| Late varieties | Cold climates |
If growing in a tropical climate, choose heat-resistant or hybrid seeds for better results.
Best Soil for Cauliflower
Cauliflower grows best in nutrient-rich, loose, and well-draining soil.
Ideal Soil Mix:
- 40% garden soil
- 30% compost (cow dung, vermicompost, or organic manure)
- 20% cocopeat or peat moss
- 10% sand or perlite for drainage
Soil pH should be slightly acidic to neutral (6.0–7.0). Add wood ash or lime if soil is too acidic.
Sowing Seeds (Stage 1: Germination)
Cauliflower seeds are small and delicate. Start them in seedling trays or pots.
Steps:
- Fill containers with moist potting mix.
- Make small holes about 1 cm deep.
- Place one seed per hole.
- Cover lightly with soil.
- Mist water—not too much.
Keep the tray in indirect sunlight. Seeds germinate in 7–12 days.

Transplanting Seedlings (Stage 2: Growth)
Once seedlings reach 4–6 inches tall and develop 4 true leaves, they are ready for transplanting.
Spacing:
- 18–24 inches between plants
- 2–3 feet between rows
If growing in containers, choose a 12–18 inch deep pot for each plant.
Before transplanting, harden seedlings by placing them outdoors for a few hours daily for 4–5 days.
Watering Requirements
Cauliflower loves moisture but cannot tolerate waterlogged soil.
- Water deeply 2–3 times per week.
- Keep soil consistently moist—not dry or soggy.
- Mulch using straw or dry leaves to retain soil moisture.
Avoid watering on the head once formed—it may cause rot.
Sunlight Requirements
Cauliflower needs:
- Full sunlight (6–7 hours daily) for healthy growth.
Insufficient light may cause small, underdeveloped heads.
If growing indoors, place the plant near a south-facing window or balcony.
Fertilizing Schedule (Full Updates)
Cauliflower is a heavy feeder. Feed regularly:
| Stage | Fertilizer |
|---|---|
| 2 weeks after transplant | Vermicompost or cow dung manure |
| 30 days after transplant | Potassium-rich fertilizer or wood ash |
| During head formation | Liquid seaweed, compost tea, or bone meal |
Avoid too much nitrogen—it results in leafy plants with no heads.
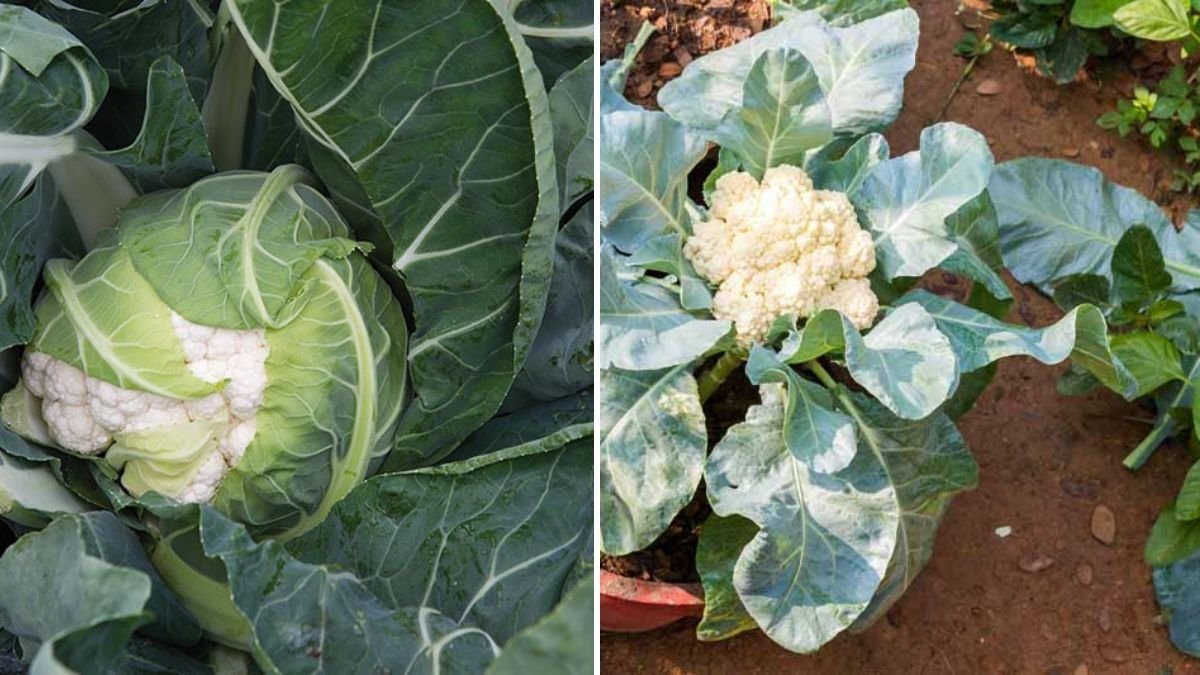
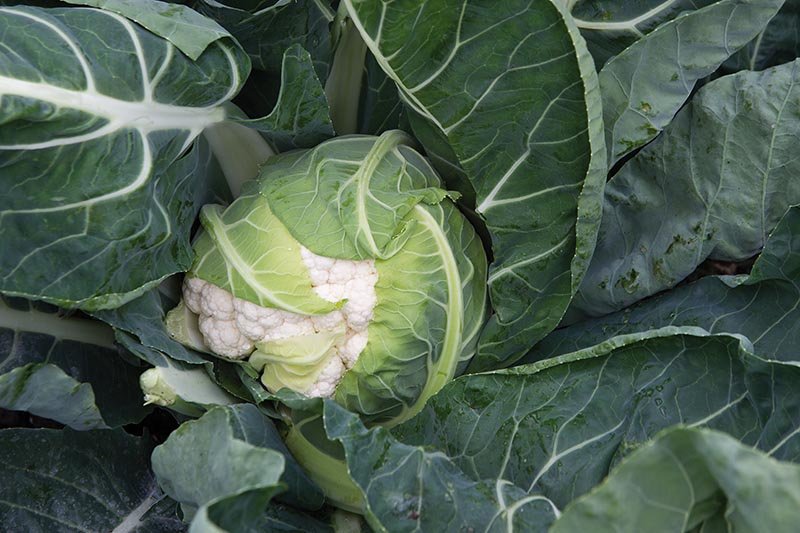
Tying Leaves (Stage 3: Head Formation)
When the cauliflower head appears, cover it by tying the large leaves over it. This protects it from:
- Sunlight discoloration
- Pests
- Temperature stress
This step is especially important for white cauliflower varieties.
Pests and Diseases
Common issues include:

| Problem | Signs | Solution |
|---|---|---|
| Aphids | Sticky leaves | Spray neem oil every 10 days |
| Caterpillars | Holes in leaves | Handpick or use organic insect spray |
| Fungal infection | Yellow or wilted leaves | Avoid overwatering |
Neem oil, garlic spray, and soap water are effective organic solutions.
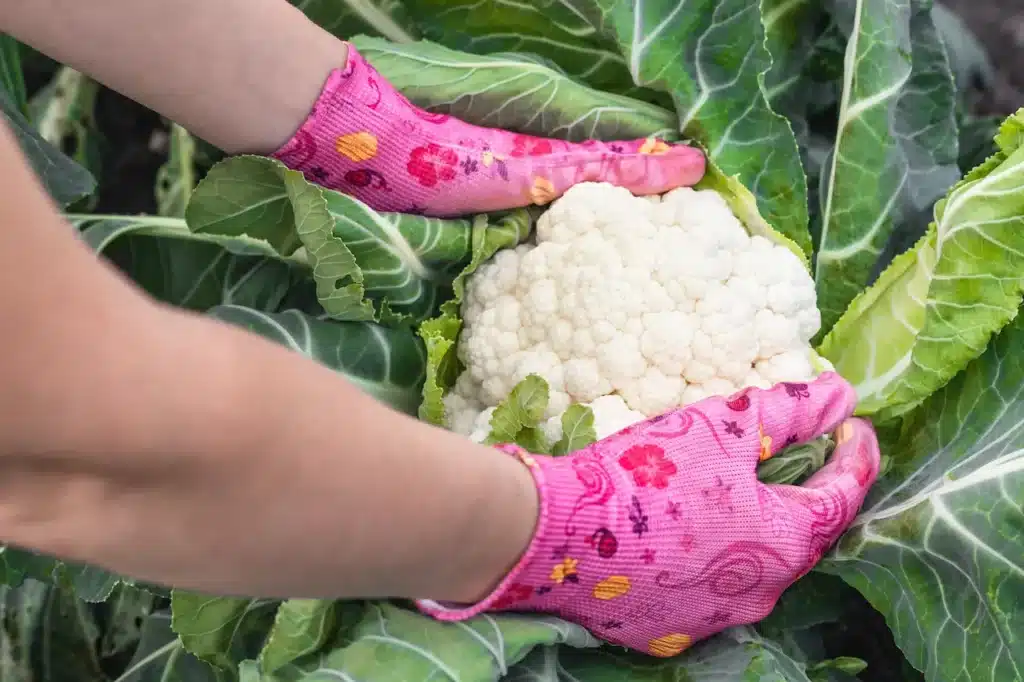
Harvesting Cauliflower
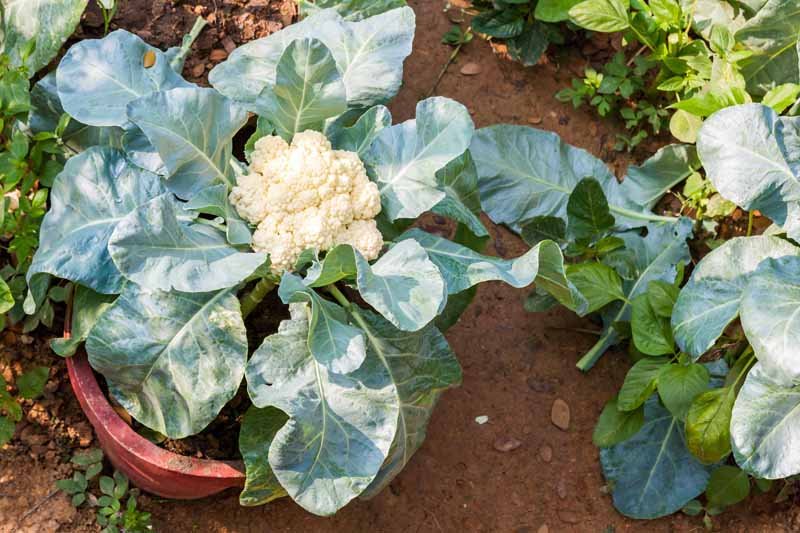
Cauliflower is ready to harvest when:
- The head is full, compact, and firm
- Head diameter is 6–8 inches
- Color is bright and even
Harvest by cutting the head with a sharp knife, leaving some leaves around it for protection.
Do not wait too long—overgrown heads may loosen and turn grainy.
Post-Harvest Storage
Fresh cauliflower can be stored by:
- Keeping whole heads in the refrigerator for 7–10 days
- Freezing after blanching for long-term storage
Do not wash until ready to use—extra moisture reduces shelf life.
Tips for Success
Maintain consistent moisture
Grow in cool weather
Fertilize regularly
Tie leaves during head formation
Protect from pests early

Conclusion
Growing cauliflower at home may seem challenging initially, but with proper care and step-by-step updates, it becomes a rewarding gardening experience. Whether you’re using a balcony, backyard, terrace, or container garden, cauliflower can thrive beautifully with the right environment.
Nothing compares to harvesting a fresh, chemical-free cauliflower that you nurtured from seed to harvest. So start today, follow this guide, and enjoy a healthy and delicious homegrown cauliflower harvest!
Leave A Comment