
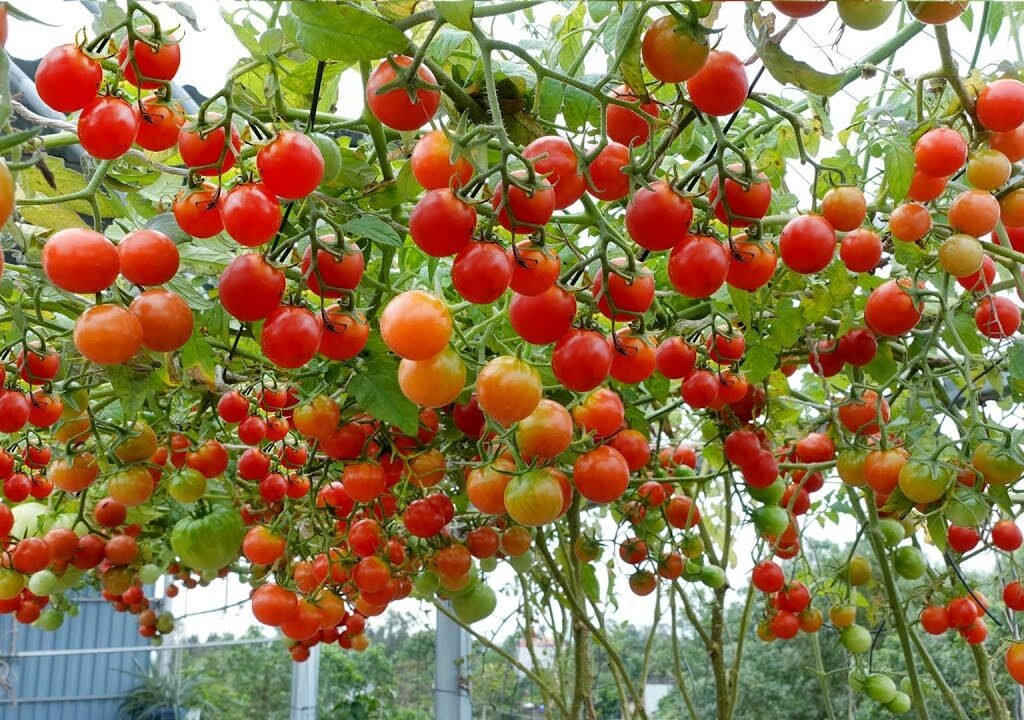
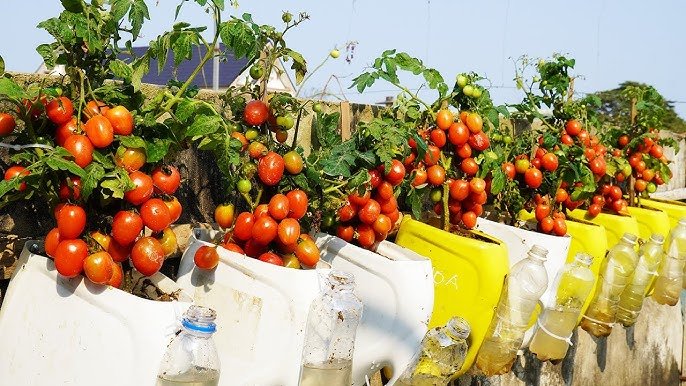
If you’ve ever dreamed of picking fresh, juicy tomatoes right from your home but don’t have space for a garden, here’s good news—you can grow tomatoes in a plastic hanging bottle! Yes, the same bottles you usually throw away can become mini vertical gardens.
This simple and eco-friendly gardening technique is perfect for:
Apartment balconies
Rooftops
Small patios
Windowsills
Urban homes with zero garden space
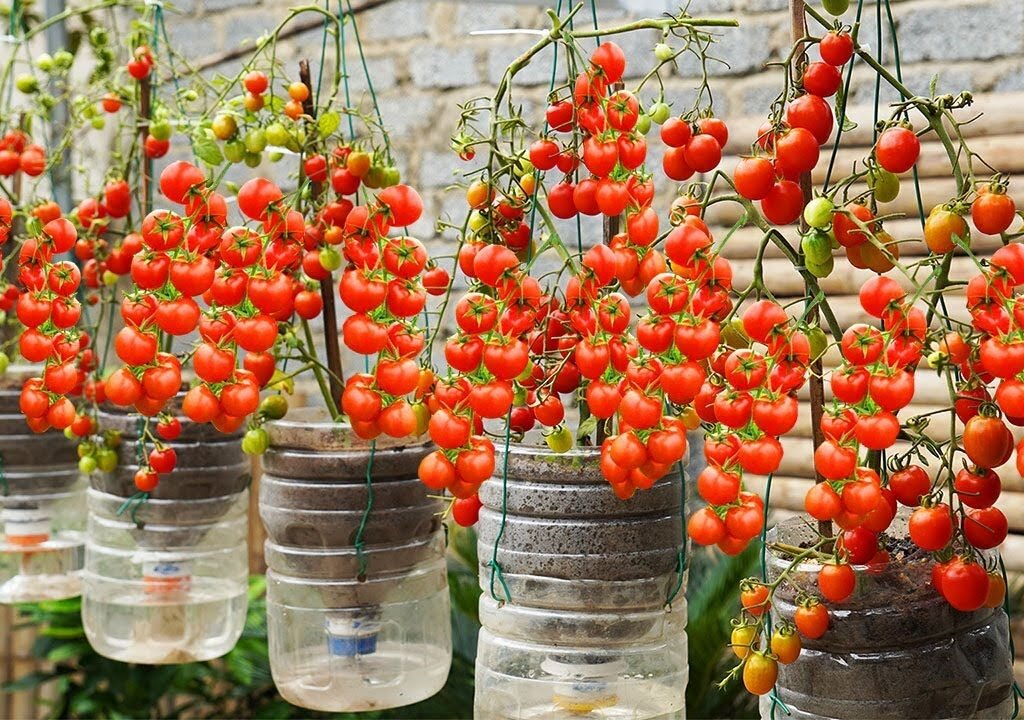
Growing tomatoes in a hanging bottle saves space, reduces waste, and creates a unique decorative garden—all while giving you fresh organic produce. In this guide, you’ll learn step-by-step how to turn a simple plastic bottle into a productive tomato planter.
Why Grow Tomatoes Vertically in a Plastic Bottle?
Before we jump into the steps, let’s understand why this method is brilliant:
Saves space
Low cost—uses recycled materials
Reduces pests (plants are off the ground)
Ensures better drainage and healthier roots
Creates beautiful hanging green décor
Ideal for cherry tomatoes or dwarf varieties
Even if you’re a complete beginner, this method is easy, fun, and rewarding.

Best Tomato Varieties for Bottle Growing
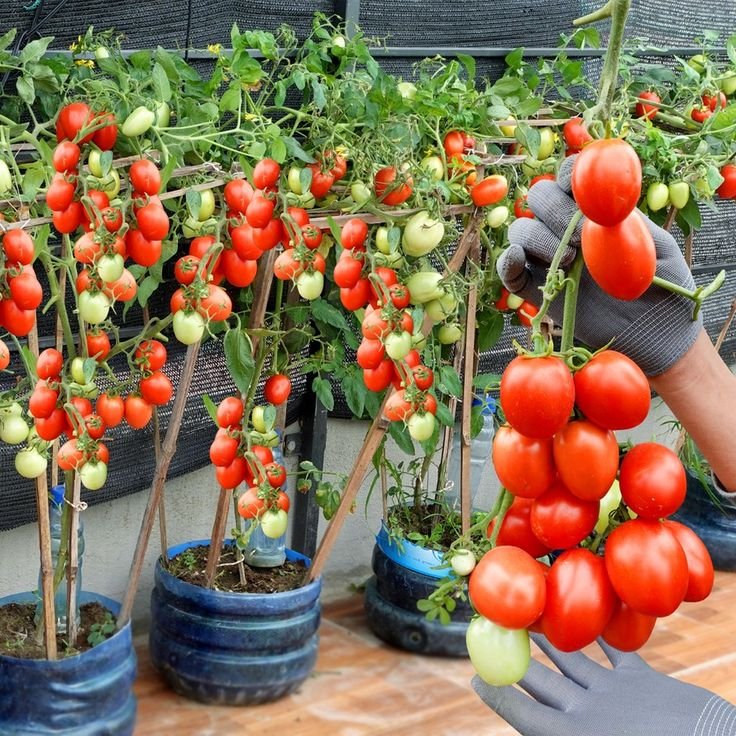
Not all tomato plants are suitable for hanging containers. Choose compact and trailing types such as:
- Cherry tomato
- Tiny Tim
- Roma baby variety
- Balcony tomato
- Micro dwarf tomatoes
These types grow well in limited space and produce plenty of fruits.
Materials Needed
You don’t need expensive gardening tools. Just collect:
- 1 large plastic bottle (1–2 liters)
- Tomato seedling (15–20 days old)
- Garden soil or potting mix
- Cocopeat or peat moss
- Compost (vermicompost preferred)
- Sand or perlite (optional but helpful)
- Scissors or sharp blade
- Rope or strong thread
- Small piece of cotton cloth
Step 1: Prepare the Bottle
- Remove the label from the bottle and clean it.
- Using a blade, cut the bottom end of the bottle to create a wide opening.
- Make 2–4 small drainage holes near the cap area.
- Create two holes at the sides near the cut end for hanging ropes.
Your bottle is now ready to turn into a planter.
Step 2: Create a Soil Mix
Good soil is key for healthy tomatoes.
Best Soil Recipe:
| Ingredient | Ratio |
|---|---|
| Garden soil | 40% |
| Cocopeat | 30% |
| Vermicompost | 20% |
| Sand/Perlite | 10% |
This blend ensures:
Proper drainage
Nutrient-rich environment
Moisture retention

Add one tablespoon of neem powder to prevent fungal problems.
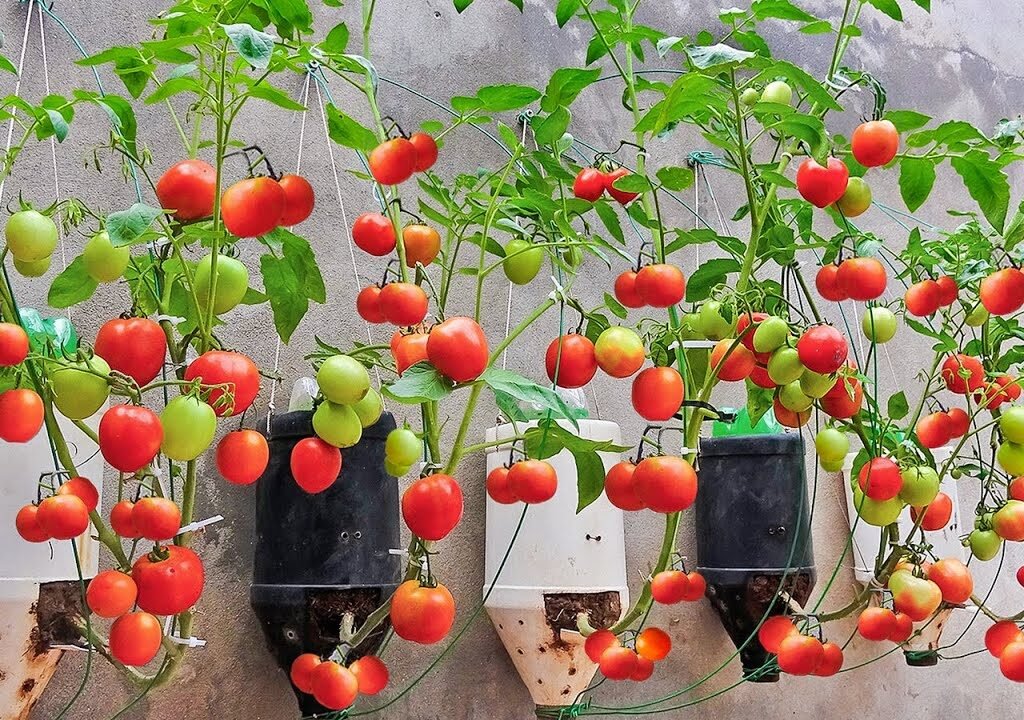
Step 3: Planting the Tomato Seedling
Unlike normal planting, in this method the tomato plant goes through the bottle mouth and hangs downward.
Here’s how:
- Unscrew the bottle cap and insert a small piece of cloth inside.
This prevents soil leakage and helps with moisture retention. - Hold your tomato seedling carefully and push the root ball from the top opening until it comes out through the bottle neck.
- Gently pull until the plant stems hang downward.
- Fill the bottle with the soil mix from the top opening.
- Press the soil lightly to remove air gaps.
Your upside-down tomato planter is ready!
Step 4: Placement and Hanging
Tomatoes love sunlight.
Place or hang the bottle where it gets:
At least 6–7 hours of direct sunlight daily.

Suitable locations include:
- Balconies
- Rooftops
- Window grills
- Pergolas
- Boundary walls
Hang it strong and stable so wind doesn’t move the planter.
Step 5: Watering the Plant
Because the bottle has a small soil capacity, watering needs attention.
Watering Tips:
- Water slowly from the top opening until moisture drips from drainage holes.
- NEVER overwater.
- During summers: Water every 1–2 days
- Winters/monsoon: Water only when the top feels dry
Using a watering can or spray bottle works best.
Step 6: Feeding and Plant Care
Tomatoes are heavy feeders, and regular nutrition helps produce more fruits.
Fertilizer Schedule:
| Time | Fertilizer Type |
|---|---|
| After 15 days | Vermicompost or cow dung manure |
| After 30 days | Banana peel fertilizer or bone meal |
| Flowering stage | Liquid fertilizer like compost tea |
| Fruit stage | Seaweed fertilizer or Epsom salt solution (optional) |
Sprinkle crushed eggshells once a month to prevent blossom end rot.
Step 7: Supporting the Plant
Since the tomato plant grows downward, no staking is needed. However:

- Remove yellow or damaged leaves
- Pinch side shoots to encourage bushy growth
- Keep the bottle free of weeds
Your plant will naturally trail downward and create an attractive hanging display.
Common Issues and Solutions
| Problem | Cause | Solution |
|---|---|---|
| Leaves turning yellow | Overwatering or lack of nutrients | Reduce watering & add fertilizer |
| Flowers dropping | Too little sunlight | Increase sun exposure |
| Small tomatoes | Lack of potassium | Add banana peel fertilizer |
| Pest attack | Exposure outdoors | Spray neem oil weekly |
Prevent issues early to keep your plant healthy.
When and How to Harvest
Tomatoes are ready for harvest 60–90 days after planting.
Signs they are ready:
Bright uniform color
Firm but slightly soft
Fresh aroma
Cut or gently twist ripe tomatoes—avoid pulling hard.
The more you harvest, the more the plant produces!

Final Tips for Success
Always choose a sunny spot
Don’t use garden soil alone—use a mix
Water slowly and wisely
Feed regularly for bigger harvests
Rotate the bottle occasionally for even sunlight
With just one plastic bottle, you can grow a surprising number of tomatoes throughout the season.
ConclusionGrowing tomatoes in a hanging plastic bottle is not just a gardening method—it’s a creative, sustainable, and space-saving solution for modern living. Whether you want fresh homegrown food or simply a beautiful green corner, this project is an exciting way to start urban gardening.
The best part? No matter where you live, you can enjoy gardening and harvest your own fresh tomatoes—even from a tiny balcony or window.
So grab a bottle, plant a seedling, and start watching your vertical tomato garden grow beautifully—one step at a time!
Leave A Comment