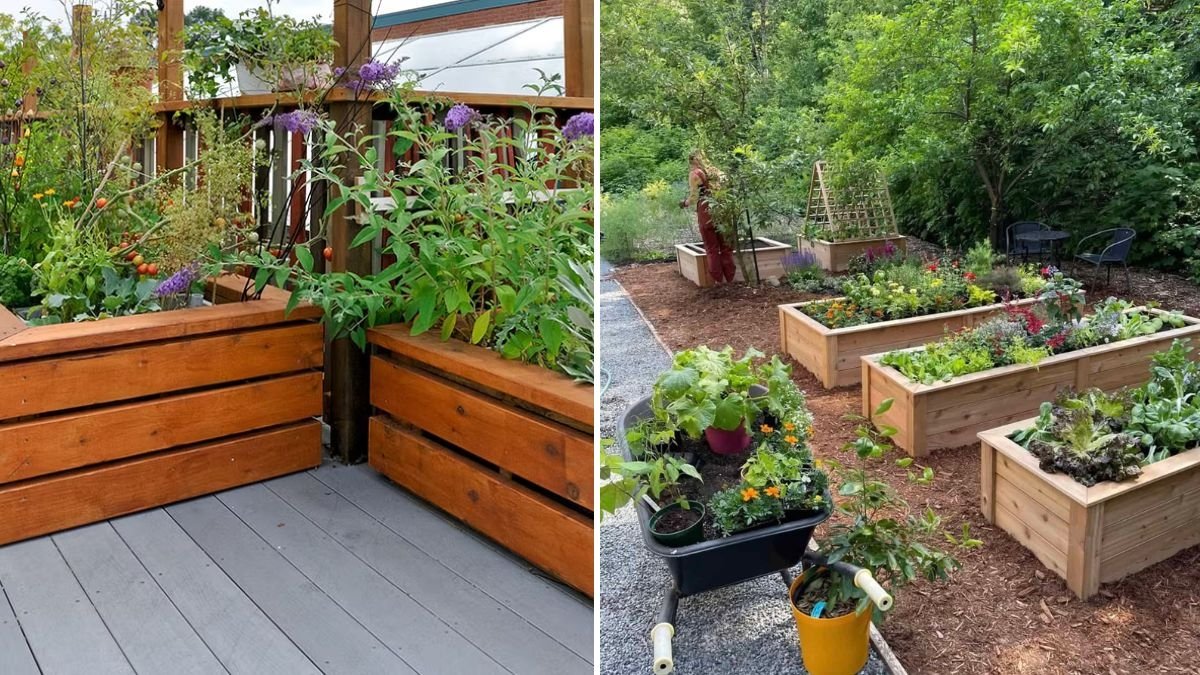
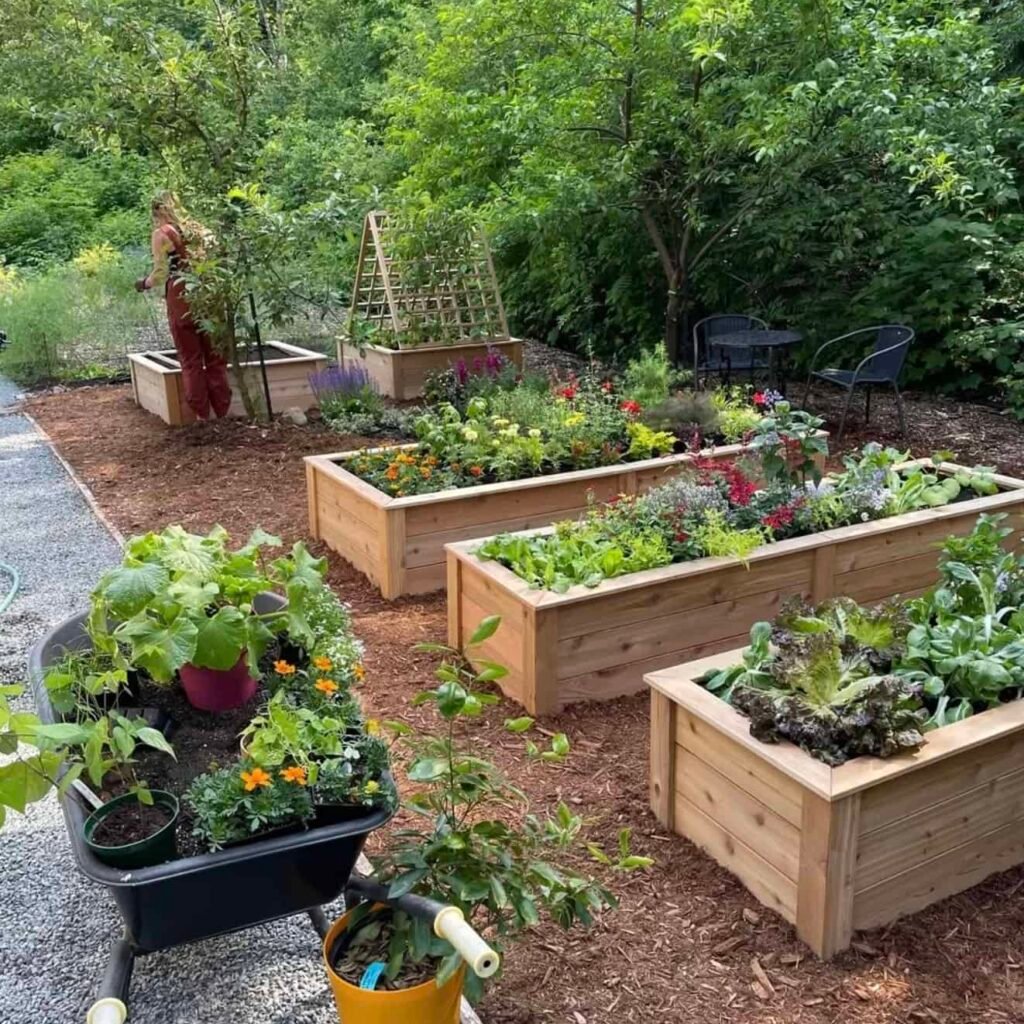
Balcony gardening has become increasingly popular as more people living in urban environments look for creative ways to grow their own food and enjoy greenery in small spaces. One of the most effective and space-efficient methods is building raised beds. Raised beds allow you to garden more comfortably, improve soil quality, maximize vertical space, and grow a variety of plants even on small balconies.
Whether you want a productive vegetable garden, a herb corner, or a decorative flower bed, building raised beds on a balcony is easier than it sounds. This comprehensive guide covers everything you need—from assessing your space and choosing materials to constructing, filling, and maintaining your raised beds.
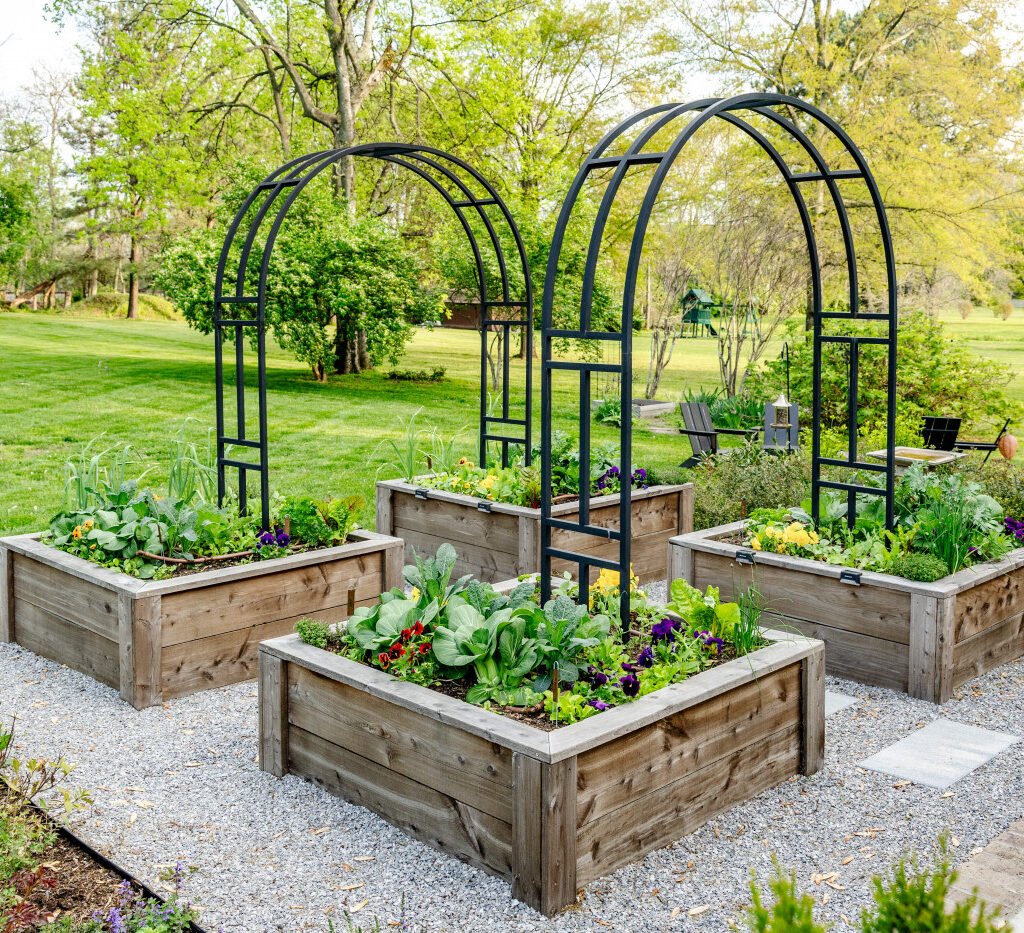
Why Raised Beds Are Perfect for Balconies
Before diving into the step-by-step process, it’s essential to understand why raised beds work so well in balcony settings.
1. Space Efficiency
Raised beds help you grow more in limited space by:
- Allowing deeper soil in areas where pots restrict root growth
- Making it easy to arrange multiple plants in a compact area
- Allowing vertical gardening with trellises and supports
2. Better Soil Control
You control the soil mix entirely, which ensures:
- Proper drainage
- Better aeration
- Higher nutrient content
- Reduced diseases from poor ground soil
3. Less Bending and More Comfort
Raised beds are higher than standard pots, so you strain less when watering, pruning, or harvesting.
4. Cleaner and More Organized
A balcony can quickly get cluttered with pots. Raised beds simplify the layout and give your gardening space a neat, aesthetic appearance.
Step 1: Assess Your Balcony’s Space, Sunlight, and Weight Capacity
Before building anything, you should evaluate whether your balcony is suitable for raised beds.
Measure the Available Area
Sketch your balcony layout and note:

- Corners
- Safety railings
- Walls
- Open walking area
- Drainage outlets
This helps you decide the right size and number of raised beds. A typical balcony raised bed is:
- 2–4 feet long
- 1–2 feet wide
- 1–2 feet deep
These dimensions allow root growth while keeping the weight manageable.
Check Weight Capacity
Soil is heavy—especially when wet. Raised beds hold large volumes of soil, so knowing how much weight your balcony can support is crucial. If unsure:
- Consult building management
- Avoid extremely large or deep beds
- Choose lightweight materials like grow bags or wooden frames
Observe Sunlight
Identify which parts of your balcony get the most sunlight:
- 6+ hours: Ideal for vegetables and herbs
- 3–5 hours: Good for leafy greens and shade-tolerant plants
- Very little sun: Choose shade-loving ornamentals or install reflectors
Sun mapping helps you position your raised beds for maximum growth.
Step 2: Choose the Best Type of Raised Bed for Your Balcony
Raised beds aren’t one-size-fits-all. Choose one that matches your space, weight limitations, and aesthetic preferences.
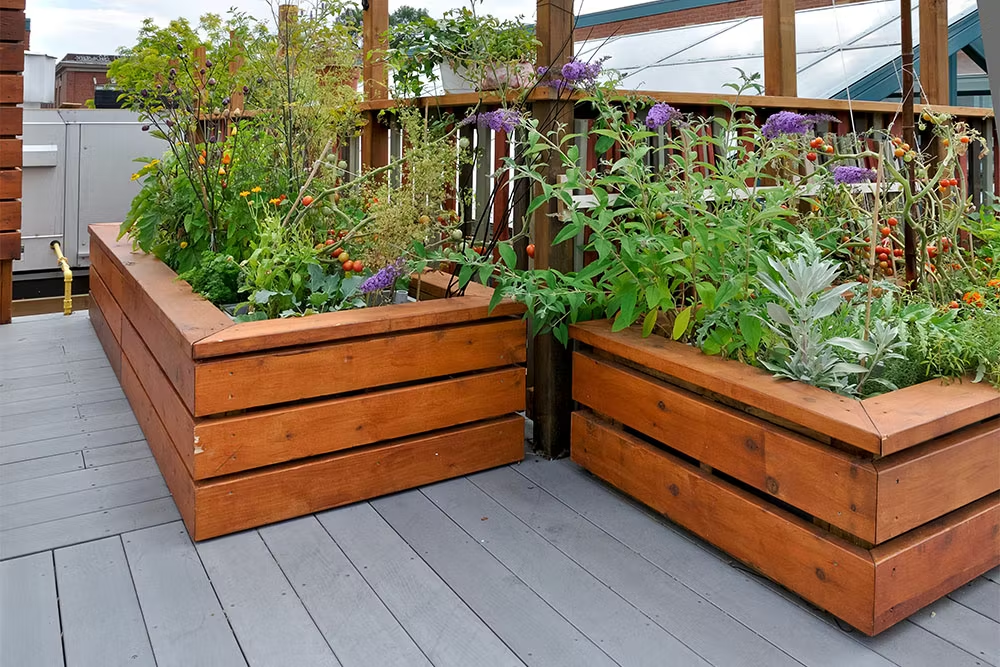
Wooden Raised Beds
Wood is the most popular material because it is:
- Lightweight
- Affordable
- Easy to assemble
- Visually appealing
Use rot-resistant wood like cedar, pine, teak, or bamboo composite.
Metal Raised Beds
Metal beds are long-lasting and modern-looking. However:

- They can get hot in summer
- They’re slightly heavier
- They need a lining to protect roots
Fabric Grow Bags
If weight is your primary concern, grow bags are perfect. They are:
- Extremely lightweight
- Affordable
- Breathable
- Easy to move around
You can place multiple grow bags inside a wooden or metal frame to create a “raised bed look.”
Plastic or Resin Beds
These are durable and resist moisture but may not be eco-friendly.
Step 3: Build or Assemble Your Raised Bed Frame
Depending on your chosen material, you can either build your raised bed manually or assemble pre-made kits.
For Wooden Raised Beds
You’ll need:
- Boards (1–2 inches thick)
- Screws or corner brackets
- Drill or screwdriver
Steps:
- Cut your wood to size or buy pre-cut planks.
- Join the corners with screws or metal brackets.
- Sand rough edges.
- Apply a natural sealant to extend its life.
For Metal Raised Beds
Most metal beds come as kits. Just:
- Align the panels.
- Attach with screws or provided fasteners.
- Add protective edge covers if included.
For Fabric or Plastic Options
Simply unfold and place them where you want.
Step 4: Prepare the Base and Ensure Proper Drainage
Drainage is vital in balcony gardens to prevent waterlogging and structural issues.

Protect the Balcony Floor
Use one of these options:
- A waterproof sheet
- Rubber mat
- Wooden pallet base
- Plastic tray
This prevents staining and directs water toward the drainage outlet.
Elevate the Raised Bed
Use blocks or stands to slightly raise the bed. This:
- Improves drainage
- Allows airflow underneath
- Reduces mold buildup
Add a Bottom Layer
Before adding soil, create a drainage layer:
- 1–2 inches of gravel
- Broken terracotta pieces
- LECA balls (lightweight and efficient)
This helps prevent root rot and improves soil performance.
Step 5: Fill the Raised Bed with a Balcony-Friendly Soil Mix
The right soil mix ensures healthy plant growth and reduces weight.
Ideal Balcony Soil Mix
A lightweight, nutrient-rich blend:
- 40% cocopeat – retains moisture without becoming heavy
- 30% compost – provides nutrients
- 20% garden soil – gives structure
- 10% perlite or sand – improves drainage
Avoid using heavy clay soil.
Enrich the Soil
Before planting, mix in:

- Vermicompost
- Neem cake powder
- Organic micronutrients
These boost plant growth naturally.
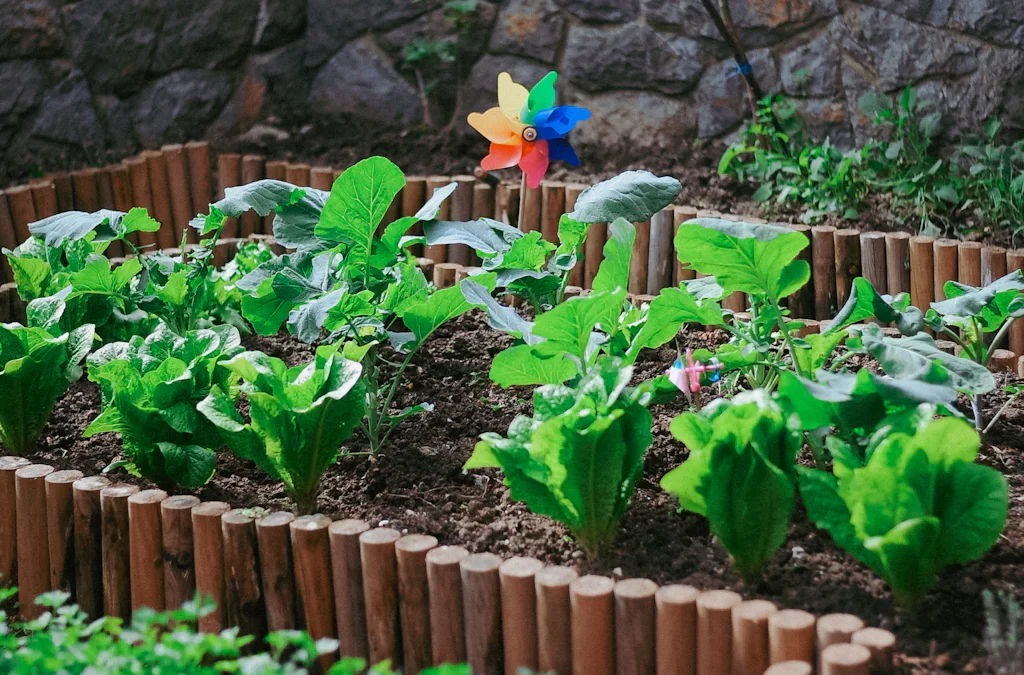
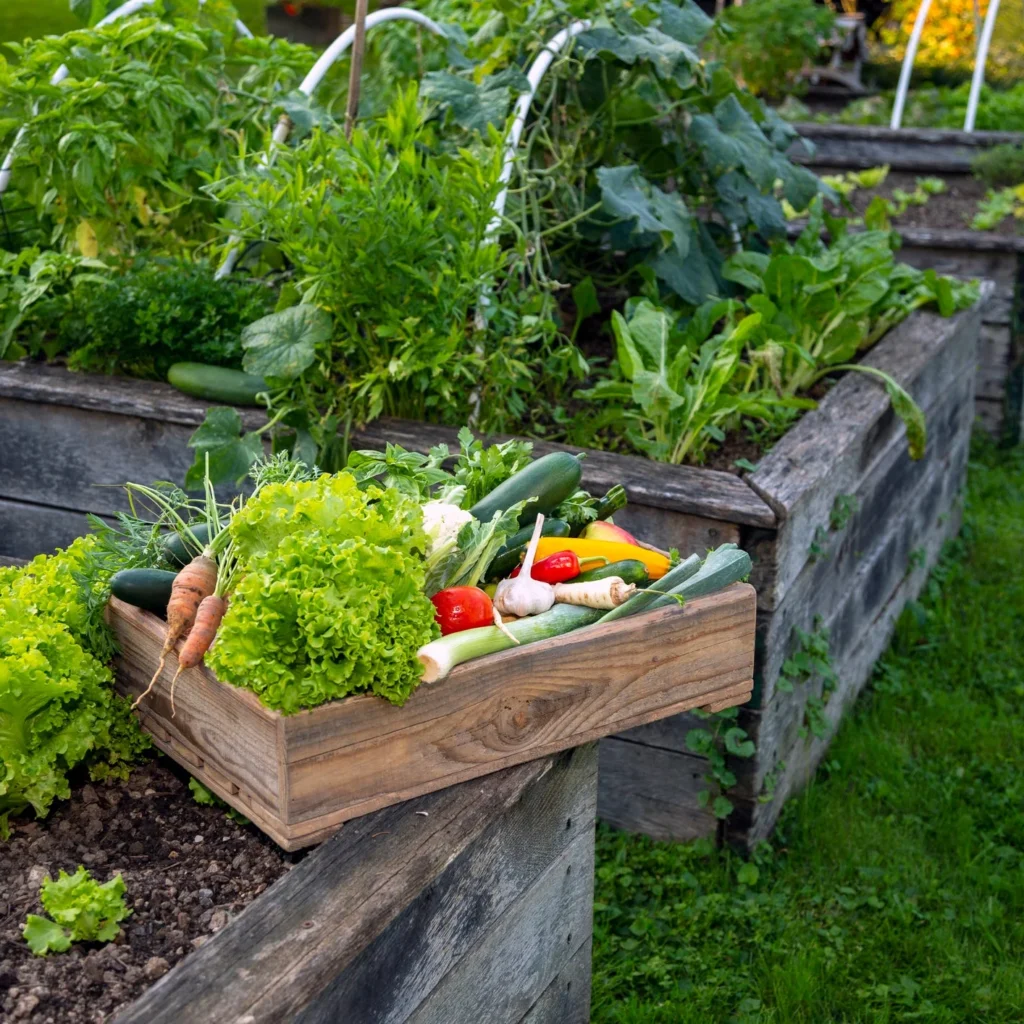
Step 6: Planting Vegetables, Herbs, and Flowers in Your Raised Bed
Raised beds on balconies can support many crops. Choose plants that match your sunlight conditions.
Best Plants for Sunny Balconies
- Tomatoes
- Chilies
- Beans
- Okra
- Spinach
- Basil
- Marigold
- Eggplant
Best Plants for Partial Shade
- Lettuce
- Mint
- Fenugreek
- Coriander
- Pansies
- Ferns
- Peace lilies
Companion Planting Tips
Grow plants that benefit each other:
- Basil + tomatoes
- Marigold + vegetables (repels pests)
- Mint + leafy greens
Avoid overcrowding—each plant needs space to breathe.
Step 7: Maintain Your Balcony Raised Beds for Long-Term Success
Once your raised beds are set up and planted, consistent care helps them thrive.
Watering
Balcony beds dry faster due to wind exposure.
Tips:
- Water early morning or evening
- Use a watering can for gentle flow
- Add mulch to retain moisture
Mulch options:
- Dry leaves
- Coco chips
- Grass clippings
Fertilizing
Container gardening requires regular nutrition. Feed every 3–4 weeks using:
- Compost tea
- Vermicompost
- Seaweed extract
- Banana peel fertilizer
Pruning and Harvesting
Regular pruning:

- Keeps plants bushy
- Prevents pests
- Encourages more yield
Harvest frequently to promote new growth.
Pest Management
Use natural solutions:
- Neem oil spray
- Soap water
- Garlic-chili spray
Check your plants weekly for early signs of pests.
Final Thoughts
Building raised beds on a balcony is one of the best ways to create a productive, organized, and visually appealing garden in a small space. With the right materials, soil mix, and care routine, your balcony can become a thriving green sanctuary filled with vegetables, herbs, and flowers.
Whether you’re a beginner or an experienced gardener, raised beds make balcony gardening easier, cleaner, and more enjoyable. Start small, experiment with different plants, and watch your balcony transform into your favourite escape.
Leave A Comment