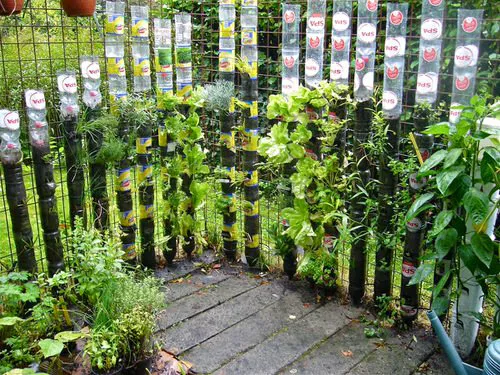
Vertical gardening has become a popular trend among urban gardeners, balcony growers, and anyone trying to make the most of limited space. But while many vertical garden systems can be expensive, you don’t need to spend thousands to create your own. With a stack of empty plastic bottles and a bit of creativity, you can build a beautiful, productive, and eco-friendly vertical garden right at home.
Plastic bottles are durable, easy to work with, and widely available—making them perfect for low-cost gardening projects. Whether you want to grow herbs, leafy greens, flowers, or small vegetables, a vertical plastic bottle garden is a smart solution for turning trash into treasure.
In this complete guide, you’ll learn exactly how to build one—from the materials you need to step-by-step instructions, plant choices, watering tips, and maintenance hacks.
Why Build a Vertical Garden with Plastic Bottles?
Before we dive into the steps, here are a few reasons why plastic bottle vertical gardens are a great choice:
Space-Saving
Perfect for balconies, small patios, terraces, or even indoor walls.
Eco-Friendly
You’re recycling waste and helping reduce plastic pollution.
Low Cost
No fancy tools or expensive planters needed—just simple household items.
Customizable
Make it as tall, wide, colorful, or minimal as you want.
Beginner-Friendly
Even first-time gardeners and kids can build one easily.
Materials You Will Need
To create your vertical garden, gather the following:

- 1–2 litre plastic bottles (as many as needed)
- Cutter or knife
- Scissors
- Marker
- Twine, rope, or strong string
- Nails or wall hooks
- Drill or a heated metal rod (for holes)
- Potting soil
- Small plants, seedlings, or seeds
- Paint or decorations (optional)
Once your materials are ready, you can begin building your vertical garden.
Step-by-Step Guide to Building Your Vertical Garden
Step 1: Choose the Right Bottles
Any sturdy plastic bottle can work, but 1–2 litre bottles are ideal because:
- They hold enough soil for most small plants
- They are easy to cut and hang
- They are lightweight even when filled
Try to avoid very thin disposable bottles because they may collapse over time.
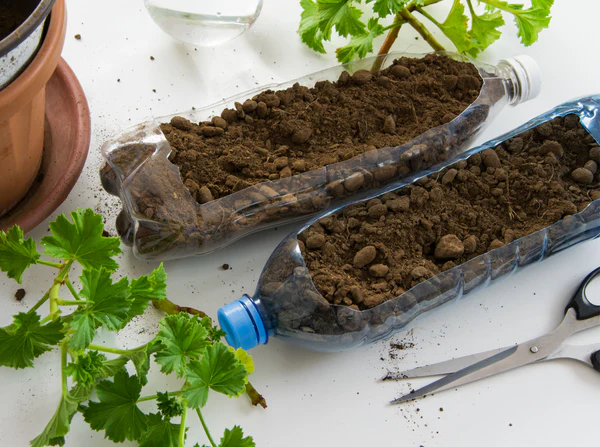
Step 2: Mark and Cut the Bottle
There are two common designs for vertical plastic bottle planters:
Option A: Side-Cut Planters (Horizontal)
Great for herbs, spinach, strawberries, and flowers.
- Lay the bottle horizontally.
- Mark a rectangular opening on one side.
- Cut the opening using a sharp cutter.
- Leave 2–3 cm on all sides for strength.
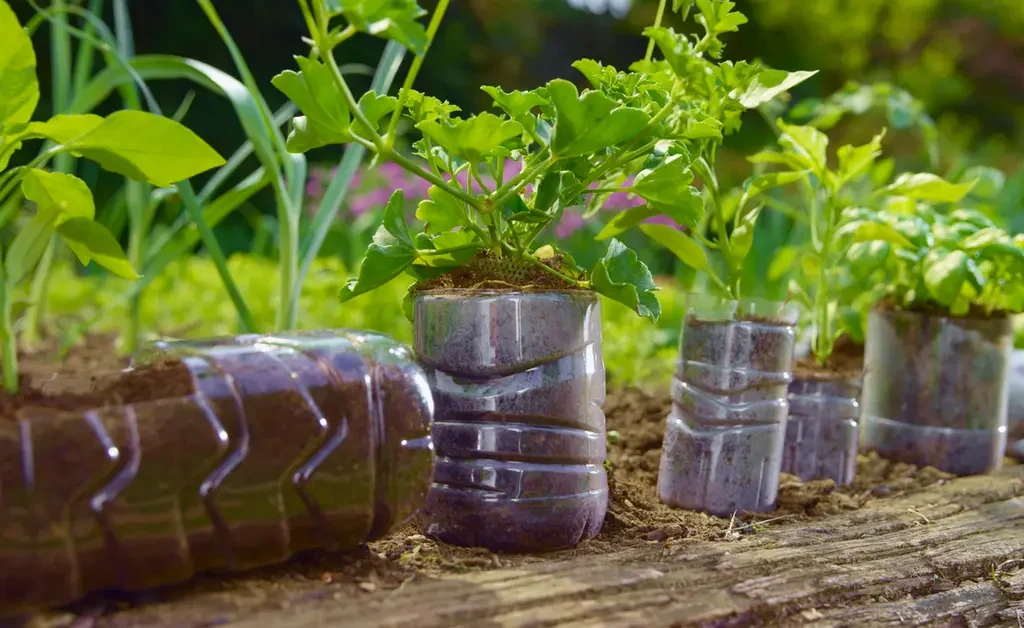
Option B: Top-Cut Planters (Vertical)
Best for deep-root plants like carrots or basil.
- Stand the bottle upright.
- Cut the top section (the narrow part) and remove it.
- The bottle becomes a simple vertical pot.
Both designs work well—choose based on the plants you want to grow.
Step 3: Create Drainage Holes
Proper drainage is essential for healthy plants.
- Use a drill or heat a metal rod and poke 4–5 holes at the bottom.
- Add 1–2 small holes on the sides for extra airflow.
Without drainage, water will stagnate and roots may rot.
Step 4: Add Hanging Holes
To hang your bottles vertically:

- Make two holes at the top corners of the bottle (for horizontal planters).
- Thread rope or twine through the holes.
- Tie knots to secure the bottle.
If you’re using vertical-style planters:
- Make two small holes near the rim.
- Add twine to create a hanging loop.
Now your bottles are ready to be suspended on hooks or nails.
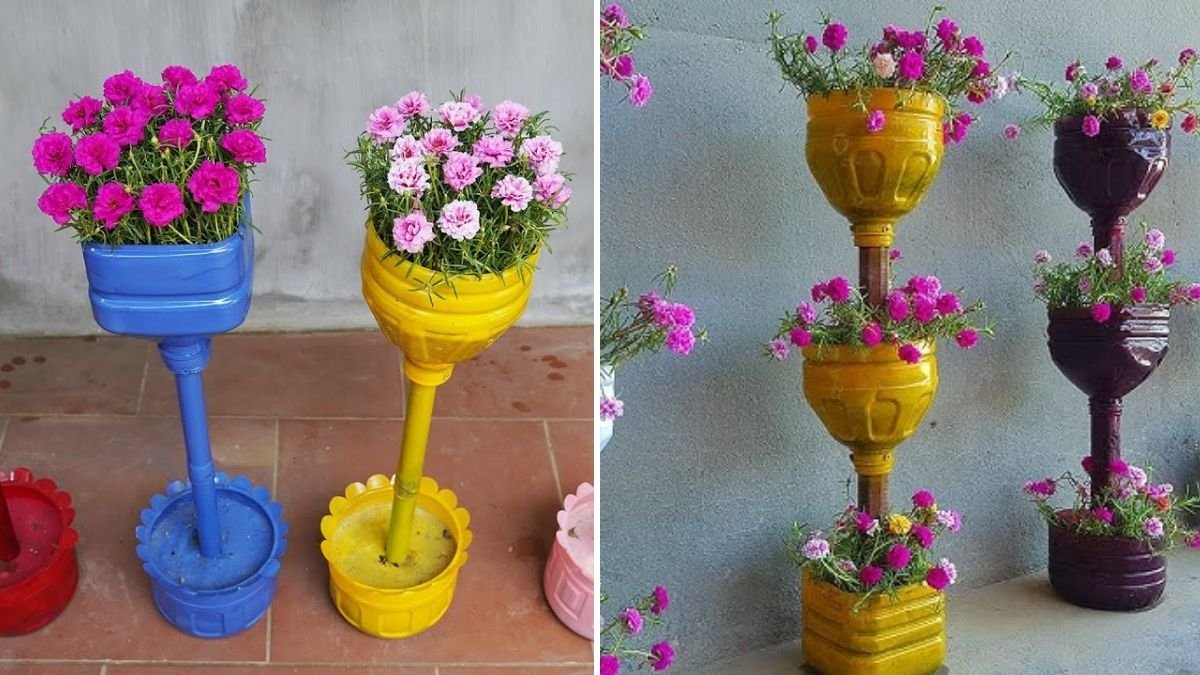
Step 5: Decorate the Bottles (Optional)
If you want a colorful or aesthetic look:
- Paint the bottles with acrylic paint.
- Wrap them with jute rope.
- Add stickers or stencil designs.
- Use waterproof markers to label plant names.
Decorations make your garden look even more beautiful, especially for balconies and indoor walls.
Step 6: Fill the Bottles with Soil
Use a lightweight potting mix instead of garden soil.
Potting mix offers:
- Good drainage
- Better airflow
- Faster root growth
Fill each bottle up to ¾ full, leaving space for watering.
Step 7: Plant Your Seeds or Seedlings
For best results:
- Make a small hole in the soil.
- Place the root ball or seed inside.
- Cover gently with soil.
Water lightly right after planting.
If you’re planting seeds:

- Sprinkle them evenly on top.
- Cover with a very thin layer of soil.
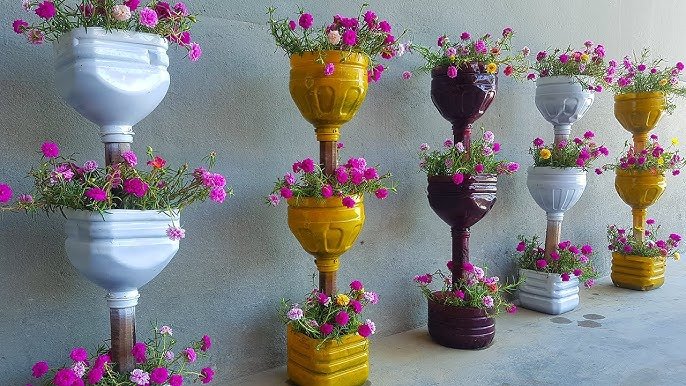
Step 8: Hang Your Vertical Garden
Choose a spot where your plants can thrive.
Ideal locations:
- Balcony walls
- Sunny indoor windows
- Terrace railings
- Fences
- Kitchen walls (for herbs)
Mount nails, hooks, or a wooden board on the wall.
Hang the bottles one below another using rope or a vertical string system.
Tip: Keep at least 6–8 inches of space between bottles to allow airflow and sunlight.
What to Grow in Your Vertical Plastic Bottle Garden
Choosing the right plants is key to success, especially for limited soil space. Here are the best options:
Herbs
Perfect for beginners and small containers:
- Basil
- Mint
- Coriander
- Parsley
- Thyme
- Oregano
Leafy Greens
They grow fast and don’t need deep soil:
- Spinach
- Lettuce
- Rocket (arugula)
- Mustard greens
Fruits & Small Veggies
- Strawberries
- Cherry tomatoes (with support)
- Small chili peppers
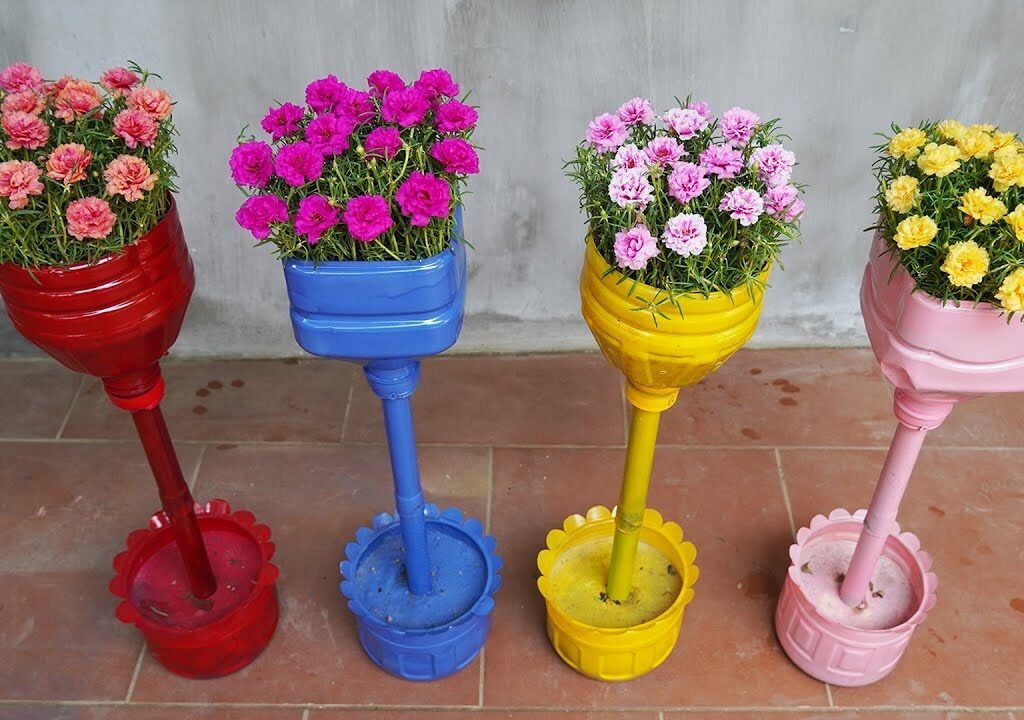
Flowers
Add beauty and attract pollinators:
- Petunias
- Marigolds
- Pansies
- Zinnias
Succulents
Great for hot climates and forgetful gardeners:
- Jade plant
- Aloe vera (small pups)
- Echeveria
Watering Your Vertical Garden
One major advantage of vertical gardens is gravity-assisted watering.
How to Water Properly
- Start watering from the top bottle.
- Excess water will drip down to the lower bottles.
- This reduces water waste and ensures even hydration.
Tips to Avoid Overwatering
- Check soil moisture with your finger before watering.
- Add a small layer of pebbles at the bottom of each bottle.
- Water lightly but frequently during summers.
Sunlight Requirements
Different plants need different amounts of sunlight.

Full Sun Plants (5–6 hours of sun)
- Basil
- Tomatoes
- Mint
- Chilies
Partial Shade (3–4 hours of sun)
- Spinach
- Lettuce
- Parsley
- Strawberries
Low Light Indoor Plants
- Money plant
- Spider plant
- Snake plant (small pups)
Choose your plant varieties based on the spot where you’re installing the garden.
Maintenance Tips for a Healthy Vertical Bottle Garden
Keeping your garden fresh and productive doesn’t require much time.
1. Trim Regularly
Remove dead leaves and prune overgrown branches to promote new growth.
2. Rotate Bottles
Rotate bottles every 2–3 weeks to ensure equal sunlight exposure.
3. Watch for Pests
Look out for aphids, mealybugs, and fungus gnats.
Use neem oil spray if needed.
4. Replace Soil Every 4–6 Months
Vertical gardens need fresh nutrients from time to time.
5. Fertilize Monthly
Use:
- Diluted liquid fertilizer
- Compost tea
- Vermicompost
These keep your plants healthy and productive.
Benefits of a Vertical Bottle Garden
Creating a plastic bottle vertical garden brings long-term advantages:
Reduces Household Plastic Waste
Every bottle reused is one less in the landfill.

Suitable for Tight Spaces
Perfect for apartment balconies or small urban homes.
Easy to Expand
Add more bottles anytime to grow additional plants.
Improves Indoor Air Quality
If placed indoors, the plants purify air and add freshness.
A Fun DIY Project
Kids and adults alike enjoy building and styling the garden.
Final Thoughts
A vertical garden made from plastic bottles is one of the simplest, most affordable, and most eco-friendly gardening projects you can do at home. It uses materials you already have, takes very little space, and gives you the joy of growing fresh herbs, fruits, flowers, or greens all year long.
Whether you’re a beginner gardener or someone looking to decorate your balcony, this project is a perfect weekend activity that yields long-lasting benefits. With the step-by-step guide above, you can start building your own green wall today and watch it flourish into a beautiful, productive, living display.
Leave A Comment