Transforming a plain rooftop into a lush green oasis is one of the most satisfying and sustainable ways to use your outdoor space. Whether you live in an apartment, a small urban home, or simply want to maximise unused space, a rooftop garden can give you fresh vegetables, vibrant flowers, improved air quality, and even a private relaxation zone. The best part? You can start even if you have zero gardening experience.
This guide breaks down five essential steps to create a rooftop garden from scratch. From planning and selecting the right containers to choosing plants and maintaining the space, you’ll learn everything you need to begin your gardening journey confidently.
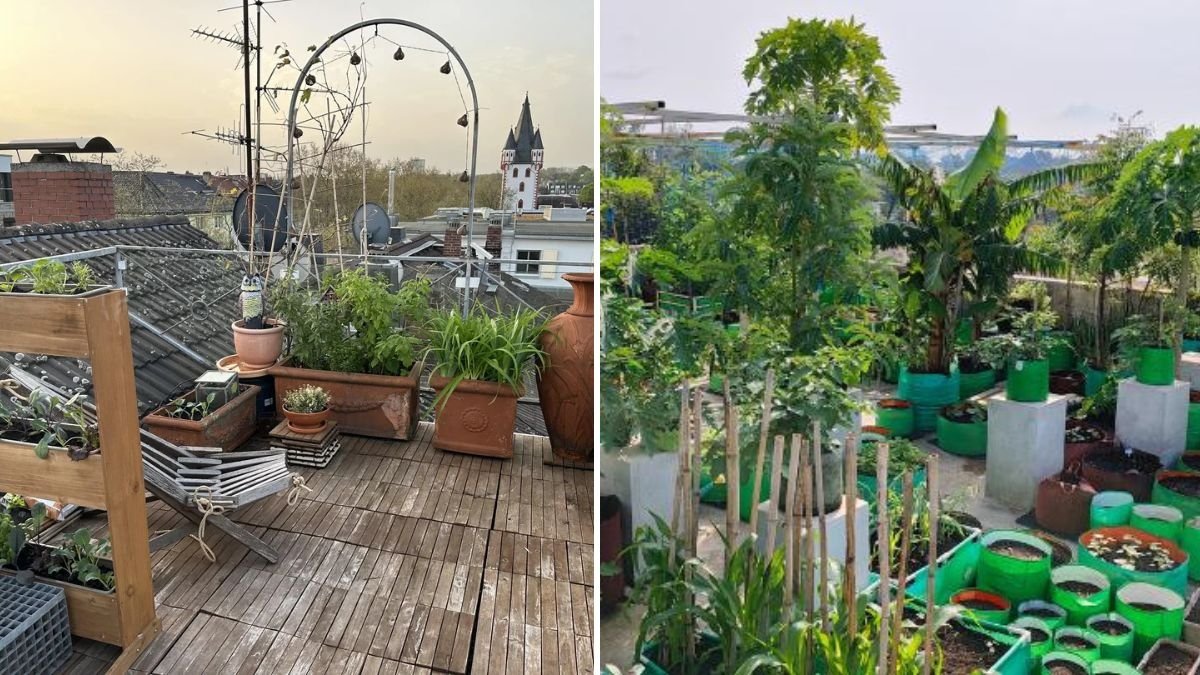
Step 1: Assess Your Rooftop and Plan the Layout
Before you buy soil or plants, the first and most important step is understanding your rooftop’s structure and environment. Rooftop gardening is slightly different from ground gardening because of sun exposure, wind, heat, and weight capacity.
Check the Load-Bearing Capacity
Soil, pots, water, furniture, and plants all add weight. A structural engineer or your building management can help confirm whether your terrace can safely support a garden. Opt for lightweight containers and soil mixes if your rooftop has lower load limits.
Observe Sunlight Exposure
Most rooftop gardens receive full sun, especially in tropical and subtropical climates. Spend a few days observing how many hours of sunlight your rooftop gets:
- 6–8 hours: Ideal for vegetables, herbs, and flowering plants
- 3–5 hours: Suitable for shade-loving plants like ferns and peace lilies
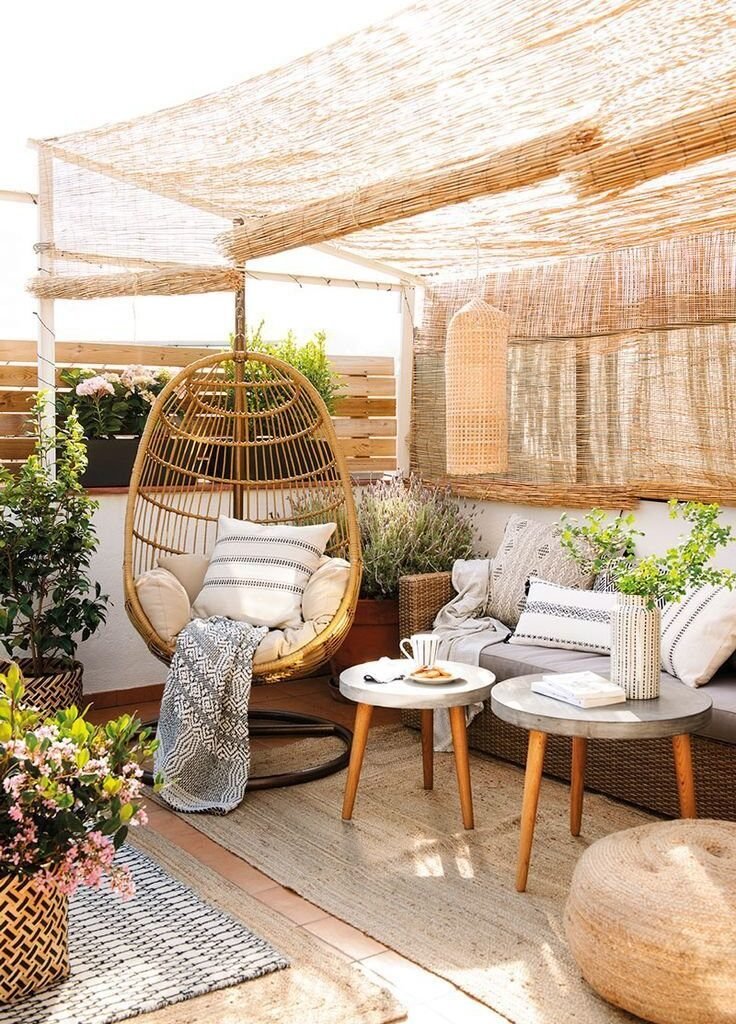
- Full sun all day: Use shade nets or pergolas to protect sensitive plants
Consider Wind and Heat
Rooftops experience stronger winds and temperature fluctuations. To protect your plants:
- Install windbreaks using bamboo screens, trellises, or tall plants.
- Use mulch to prevent soil from drying out.
- Avoid metal containers in hot climates as they heat up quickly.
Sketch Your Layout
Plan where each section will go:
- A vegetable corner
- A flower area
- A seating zone
- Space for storage or composting
This simple planning saves time, effort, and plant losses later.

Step 2: Set Up Proper Waterproofing and Drainage
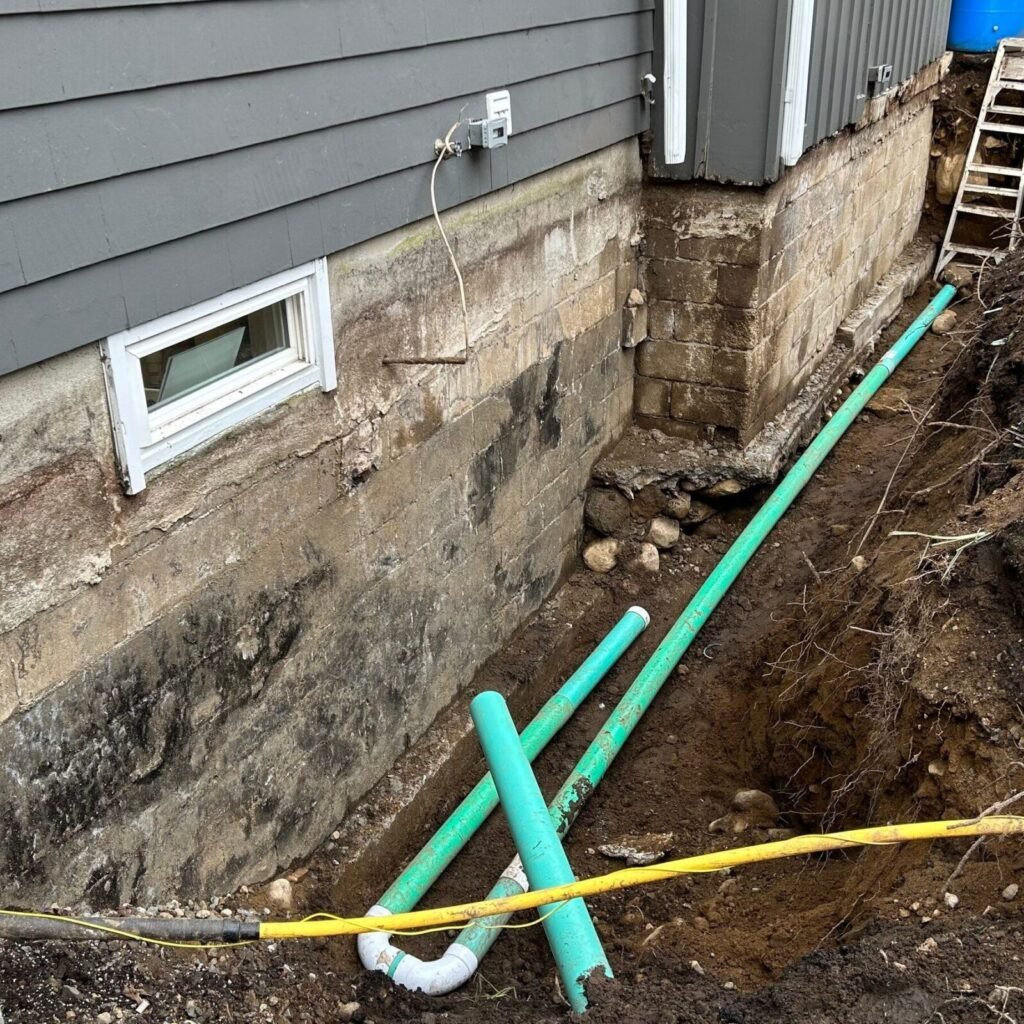
Rooftop gardening requires responsible water management. Improper drainage or soil seepage can damage ceilings and walls below. Proper waterproofing keeps your garden safe and long-lasting.
Waterproof the Rooftop
If your terrace isn’t waterproofed, get it coated with a reliable waterproof membrane. Many homeowners skip this step and regret it later when they face leakage problems. This is a crucial long-term investment.
Create Good Drainage
Plants don’t like sitting in water, and neither does your terrace surface. Ensure:
- Drainage outlets are clear
- There is a slight slope for water to flow
- You use trays under pots to prevent water from spreading
You can also use drainage mats, gravel layers, or elevated stands to help excess water flow out easily.
Step 3: Choose the Right Containers, Soil, and Tools
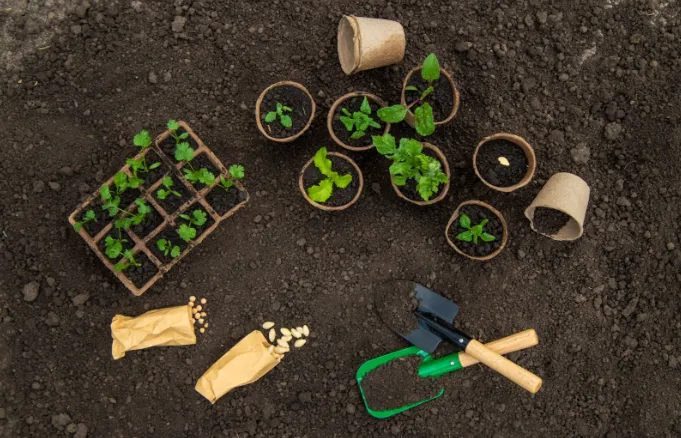
Once your rooftop is ready, it’s time to gather the essentials.
Select Lightweight Containers
Because weight is a concern, choose containers such as:
- Grow bags
- Plastic or resin pots
- Wooden planters
- Fiber-reinforced containers
- Vertical garden pockets
Avoid heavy ceramic and concrete pots unless your terrace can handle them.
Use Rooftop-Friendly Soil Mix
Rooftop plants need a soil mixture that is:

- Lightweight
- Well-aerated
- Moisture-retaining but not waterlogged
A good mix:
- 40% cocopeat
- 30% compost
- 20% garden soil
- 10% perlite or sand
This blend keeps plants healthy and reduces the weight carried by your terrace.
Essential Gardening Tools
Start with basic tools:
- Hand trowel
- Pruning shears
- Watering can or hose
- Gloves
- Spray bottle
- Organic fertilizers
You don’t need fancy tools; consistency and good care matter more than equipment.
Step 4: Choose the Right Plants for Your Rooftop Garden
Plant selection can make or break your rooftop gardening experience. Choose plants that thrive in your climate and rooftop conditions.
Start with Easy-Growth Plants
If you’re new to gardening, begin with plants that require minimal care:
- Herbs: Basil, mint, rosemary, coriander, thyme
- Vegetables: Tomatoes, chilies, brinjal, okra, spinach, lettuce
- Flowers: Marigold, zinnias, vinca, hibiscus
These plants are adaptable, fast-growing, and rewarding for beginners.
Add Vertical and Climbing Plants
Climbers are perfect for rooftops because they:

- Save space
- Add privacy
- Reduce heat
- Look beautiful
Try:
- Money plant
- Morning glory
- Cucumbers
- Beans
Install trellises or netting to support them.
Grow Shade and Air-Purifying Plants
To cool down a hot terrace, include:
- Areca palms
- Snake plants
- Spider plants
- Bamboo palms
They help create a comfortable microclimate.
Create Zones for Aesthetic Balance
Distribute plants thoughtfully:
- Tall plants at the back or corners
- Medium plants in the center
- Small pots and herbs in the front
This gives a clean, visually pleasing layout.
Step 5: Maintain and Care for Your Rooftop Garden

A rooftop garden requires consistent but manageable care. Once your garden is set up, maintaining it becomes an enjoyable routine.
Watering Wisely
Rooftops dry faster due to sun and wind, so check soil moisture regularly. Water early in the morning or late evening to reduce evaporation.

To make watering easier:
- Install a simple drip irrigation system
- Use self-watering pots
- Add mulch made of dry leaves, coco chips, or straw
Fertilize Regularly
Plants in containers need nutrients more frequently than ground plants. Feed them with organic options like:
- Compost
- Vermicompost
- Cow dung manure
- Neem cake
- Banana peel fertilizer
Feed every 20–30 days for healthy growth.
Prune and Clean
Remove:
- Dead or yellowing leaves
- Weeds
- Weak branches
Pruning encourages healthy plant growth and prevents disease buildup.
Monitor for Pests
Rooftop gardens sometimes attract pests like aphids, mealybugs, or caterpillars. Use natural solutions:
- Neem oil spray
- Soap water spray
- Garlic-chili homemade insect repellent
Check your plants weekly to catch problems early.
Seasonal Care
Adapt your garden to each season:

- Add shade nets in summer
- Move delicate plants indoors during monsoon or winter
- Replace spent plants with seasonal ones
This ensures year-round greenery and productivity.
Final Thoughts
Creating a rooftop garden from scratch may seem overwhelming, but once you begin, it becomes one of the most fulfilling and therapeutic hobbies you can adopt. These five steps—planning, waterproofing, choosing the right materials, selecting suitable plants, and maintaining them—are all you need to transform an empty terrace into a beautiful green escape.
A rooftop garden not only enhances your home but also supports the environment, reduces heat, improves air quality, and gives you fresh produce. Start small, stay consistent, and watch your rooftop slowly turn into a thriving garden sanctuary.
Leave A Comment